


Planting Bulbs In The Winter
Plant bulbs are generally planted in the fall or spring, but in reality, they can be planted anytime so long as you can physically dig a hole. There are many types of bulb plants, including lilies, hyacinths, daffodils and tulips, just to name a few. While each plant is different, you can generally plant them in the same manner, but you should always adhere to the planting instructions that come with your specific bulbs.
Step 1
Plant your bulbs in early winter if possible. You cannot plant bulbs while the ground is frozen, so if it is, place your bulbs in a thick plastic bag called a poly bag, which is available at your local home and garden store. Then store them in a cool, dark and dry place like your garage. However, plant them as soon as possible when you can successfully dig some holes.
Step 2
Plan to plant bulbs about three to six inches apart, depending on the type of bulbs. For instance, tulips and daffodils spread and grow quickly and should be planted about six inches apart, but crocuses and snowdrops should be planted only three inches apart
Step 3
Plan to cluster your bulbs together. You can even mix varieties. Place smaller growing plants in front and larger ones in the back.
Step 4
Dig holes that are about five inches deep for small bulbs and eight inches deep for large bulbs. The diameter of the hole should be twice as large as the bulb.
Step 5
Put the bulbs in the ground with the pointed end facing up. This is the end from which the sprout will emerge.
Step 6
Mix some compost or peat moss in with the soil you just dug up. Use that new soil mix to cover the bulbs. Pat the soil down with your hands to avoid any air pockets.
Step 7
Mulch over the area. A couple inches of mulch will help keep your bulbs in the ground warm until spring when you may see the green sprouts begin to emerge and then bloom soon thereafter. If not, they should bloom the next season.
Tips on using rock salt in the Winter
5 Steps To Improving Results When Melting Ice
Step 1: Get rid of the snow. Sounds easy enough. Clear any snow accumulations using a shovel, broom or snow blower. Lets face it, you cant just throw salt on 8″ of snow and hope it melts.
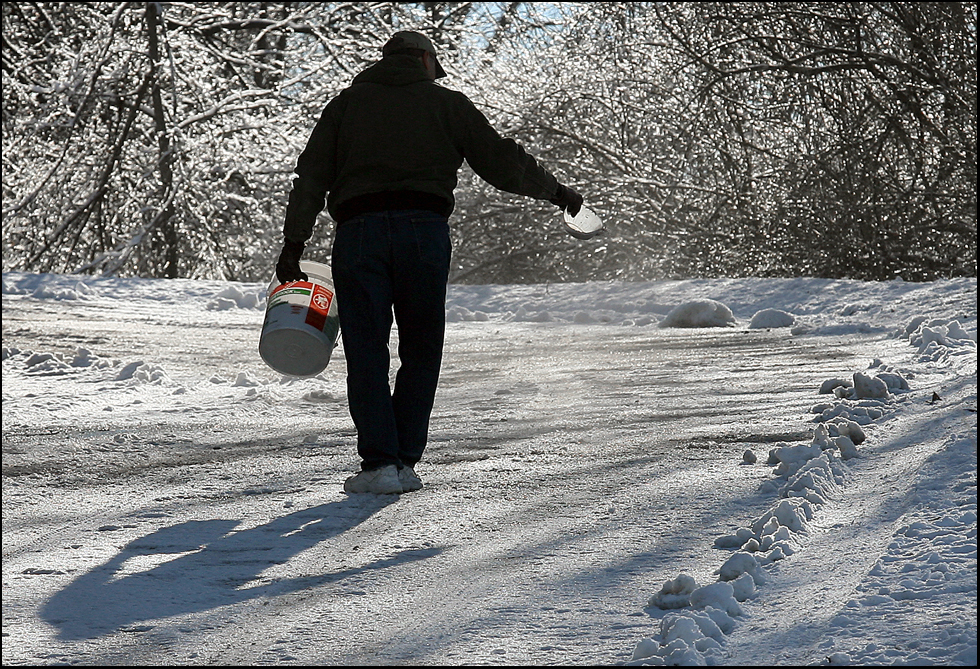
Step 2: Apply it right. If you have one, use a spreader. A fertilizer spreader with wheels or handheld spreader ensures that you apply ice melt in a thin, even layer. Rinse the spreader between uses. Or sprinkle it on using an old coffee can with holes punched in the bottom. Always wear gloves if applying by hand. If you apply too much spread it out with a broom.
Step 3: Protect concrete, grass and shrubs when melting ice. Most of the damage to concrete surfaces is caused by using too much ice melt and, especially for concrete, the freeze/thaw cycle that they’re subjected to. If your concrete is less than a year old, its not recommended to use rock salt or magnesium chloride products.
Follow the application amount on the packaging. If you’re concerned about surface damage, consider kitty litter, playsand, or sawdust. Avoid spreading ice melt close to plants and shrubs and getting too much on your lawn.
Step 4: Protect your family and neighbors. Ice melt pebbles are most commonly brought into the house by winter boots and shoes. If you have small children or toddlers, be sure you are cleaning off your shoes before coming into the house.
If anyone ingests ice melt, call 911 or the American Association of Poison Control Centers (800-222-1222). before visiting the ER because they’re equipped to handle these exposures.
Step 5: Protect your pets. Pets can develop dryness and irritation on their paws and skin if they walk through ice melting products. Pets can also develop mouth irritation if they eat the chemicals or the resulting water. Consider using a salt-free ice melt that is safe for pets.