

Spring Cleaning Tips for Your Yard and Garden
Spring Cleaning Tips for Your Yard and Garden
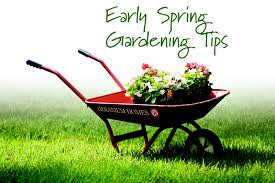
The snow and ice have melted, but this winter’s wild storms have left yards across the country in need of a major spring-cleaning. Here are some ideas for how to begin, inspired by the hyper-organized folks at Uncluttered:
- Remove the debris. If the winter’s seemingly incessant wind, rain, and snow have done a number on your trees, start your clean-up efforts by collecting the fallen branches and scattered sticks. If your town doesn’t pick up lawn debris on a regular basis, find out if any spring collection days have been planned or if there’s a nearby drop-off location you can deliver it to. You also can rent a wood-chipper from many garden or hardware stores and turn your debris into mulch.
- Rake dead leaves and twigs. Last year’s leaves will make great compost, but not if they keep the grass from absorbing sunlight. Thoroughly rake the yard and garden beds and, if you don’t plan to compost, investigate whether your town will be making special arrangements to collect bagged leaves.
- Prune and trim. Prune back weatherworn bushes and hedges as well as any perennials that look overgrown. Trim damaged tree limbs and branches that you can reach, and make arrangements for a professional tree-trimmer to take care of the rest.
- Map out landscaping and garden plans. If you’re going to make any changes to your current landscaping, make a sketch of your lawn indicating what sort of trees, shrubs, or plants you’d like to add. Even for DIY types, it’s always a good idea to consult with a gardener or landscaper at the nursery before making any final decisions or purchases.
- Start planting. Check the planting dates on your new purchases. Any plants, trees or shrubbery hearty enough to survive early spring’s still-cool nights can be put in the ground now.
Source: Unclutterer.com
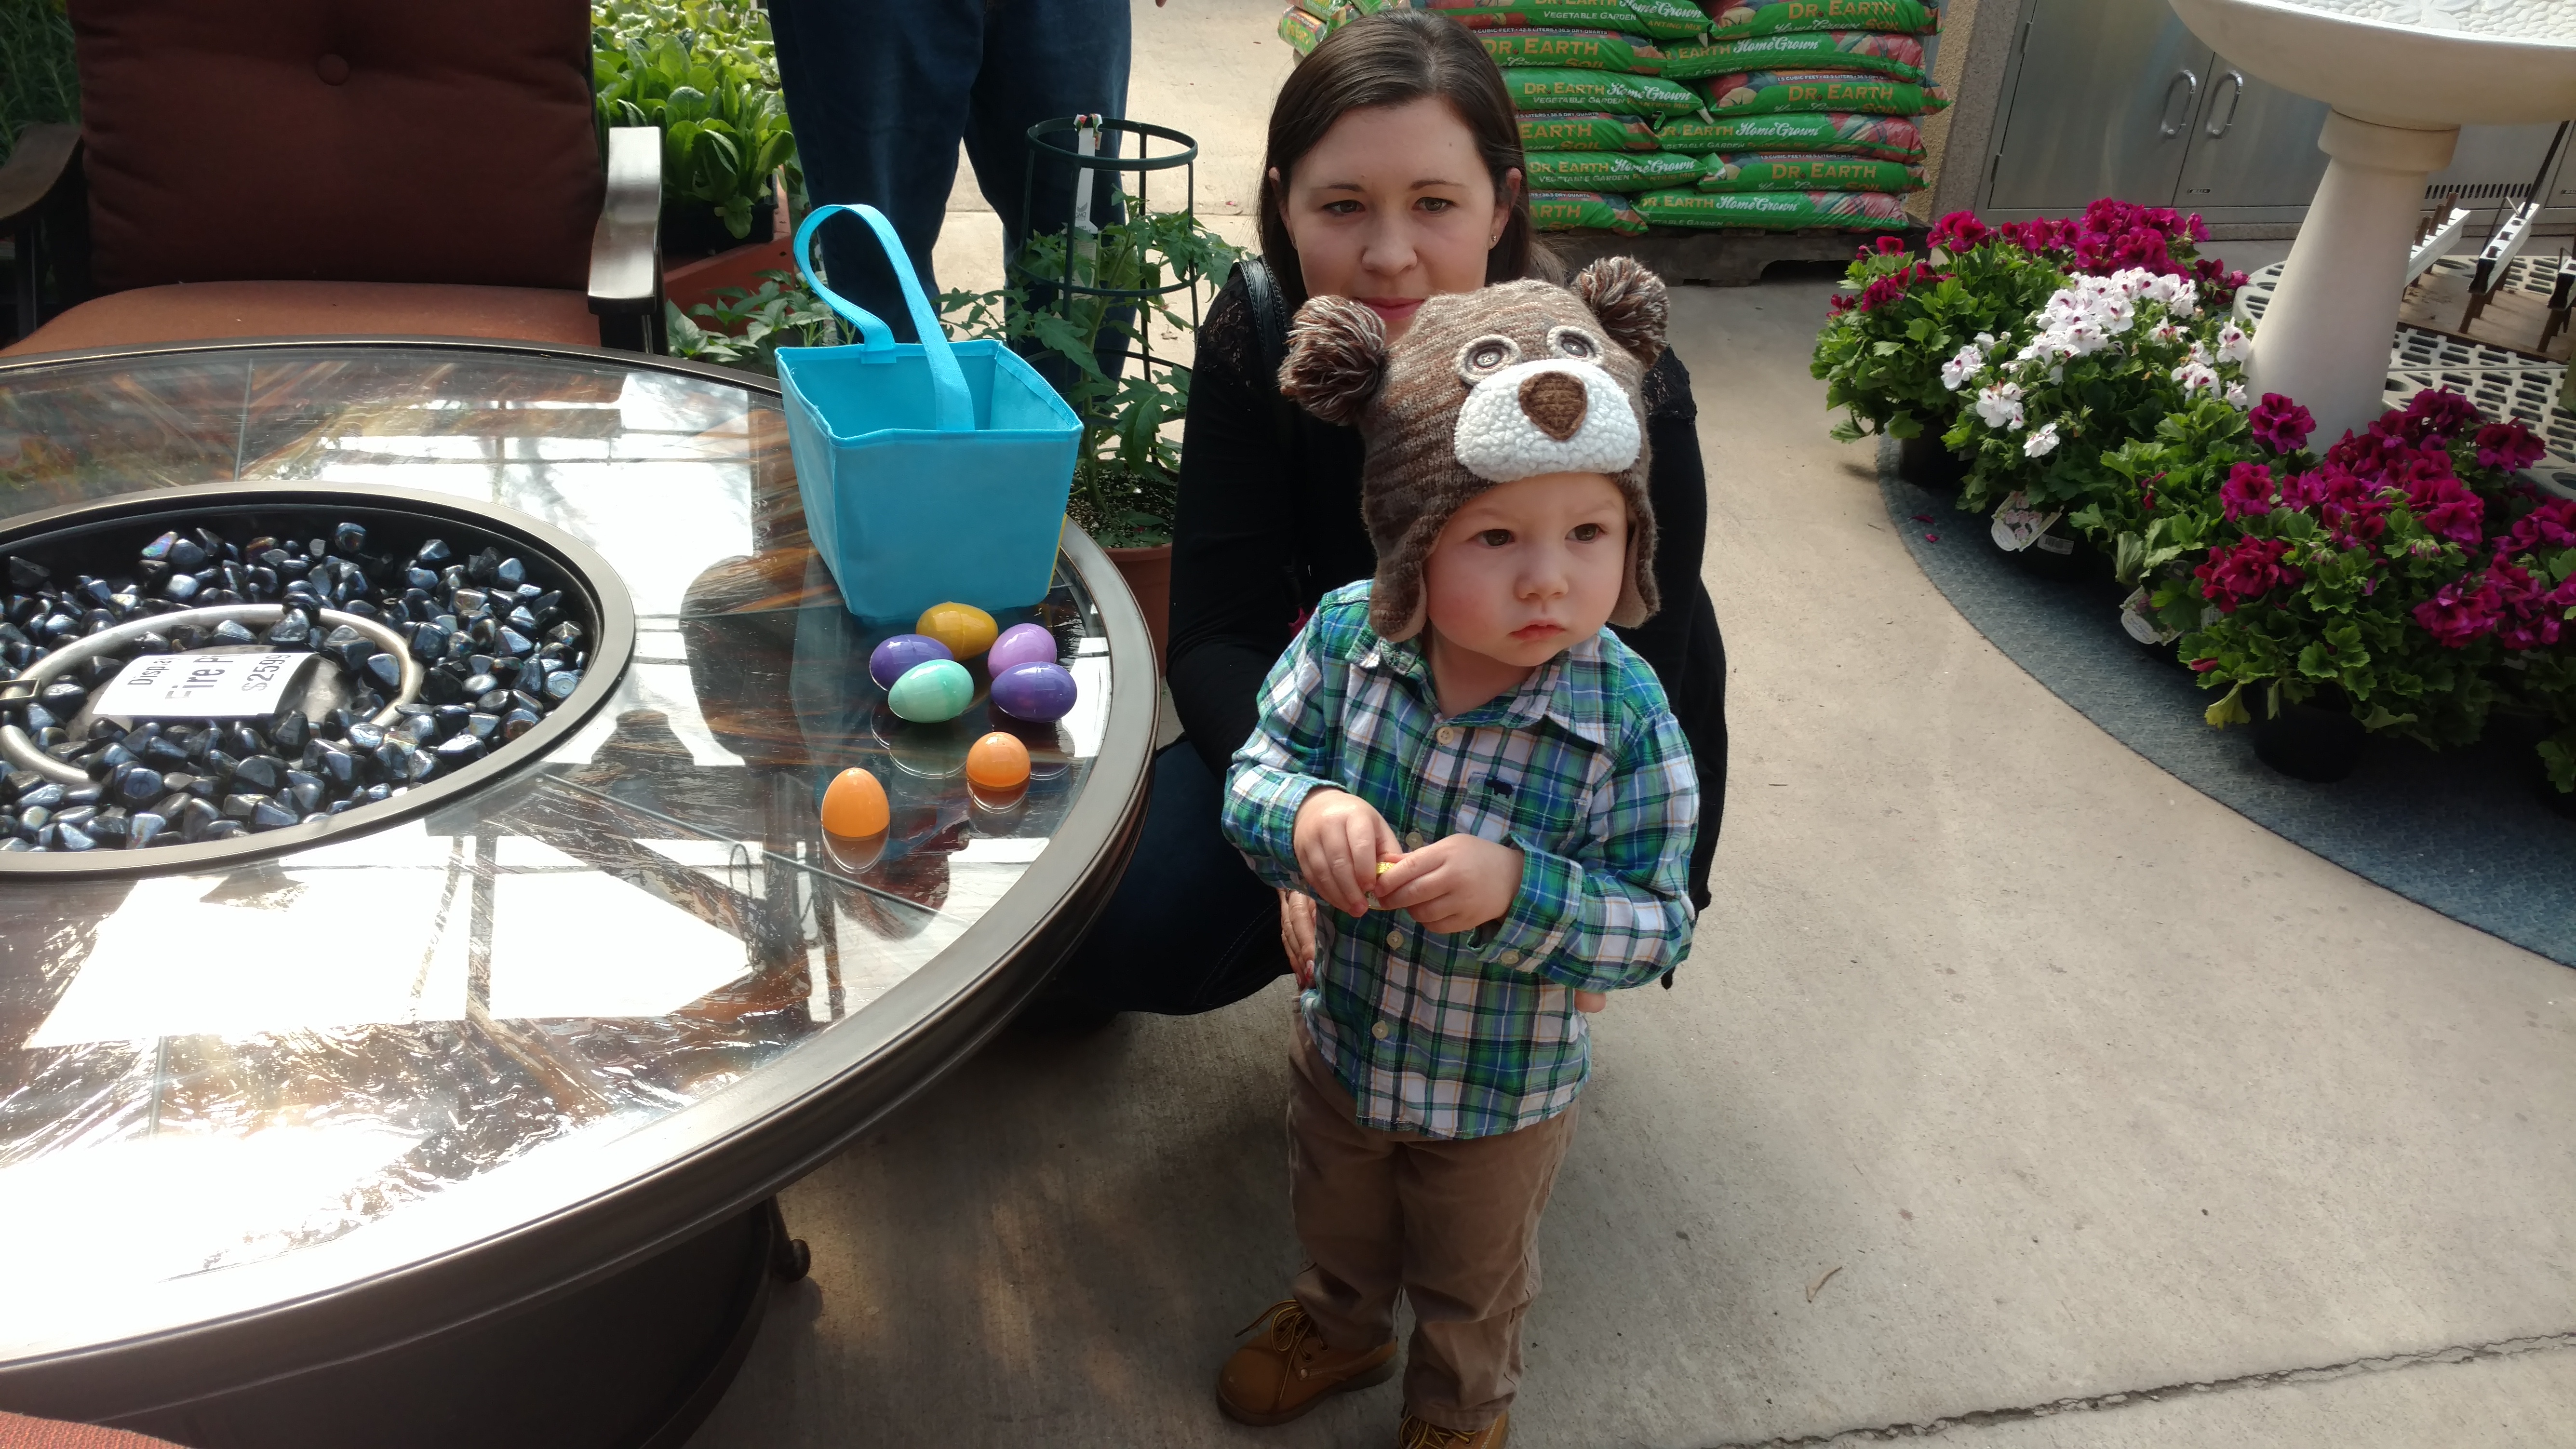
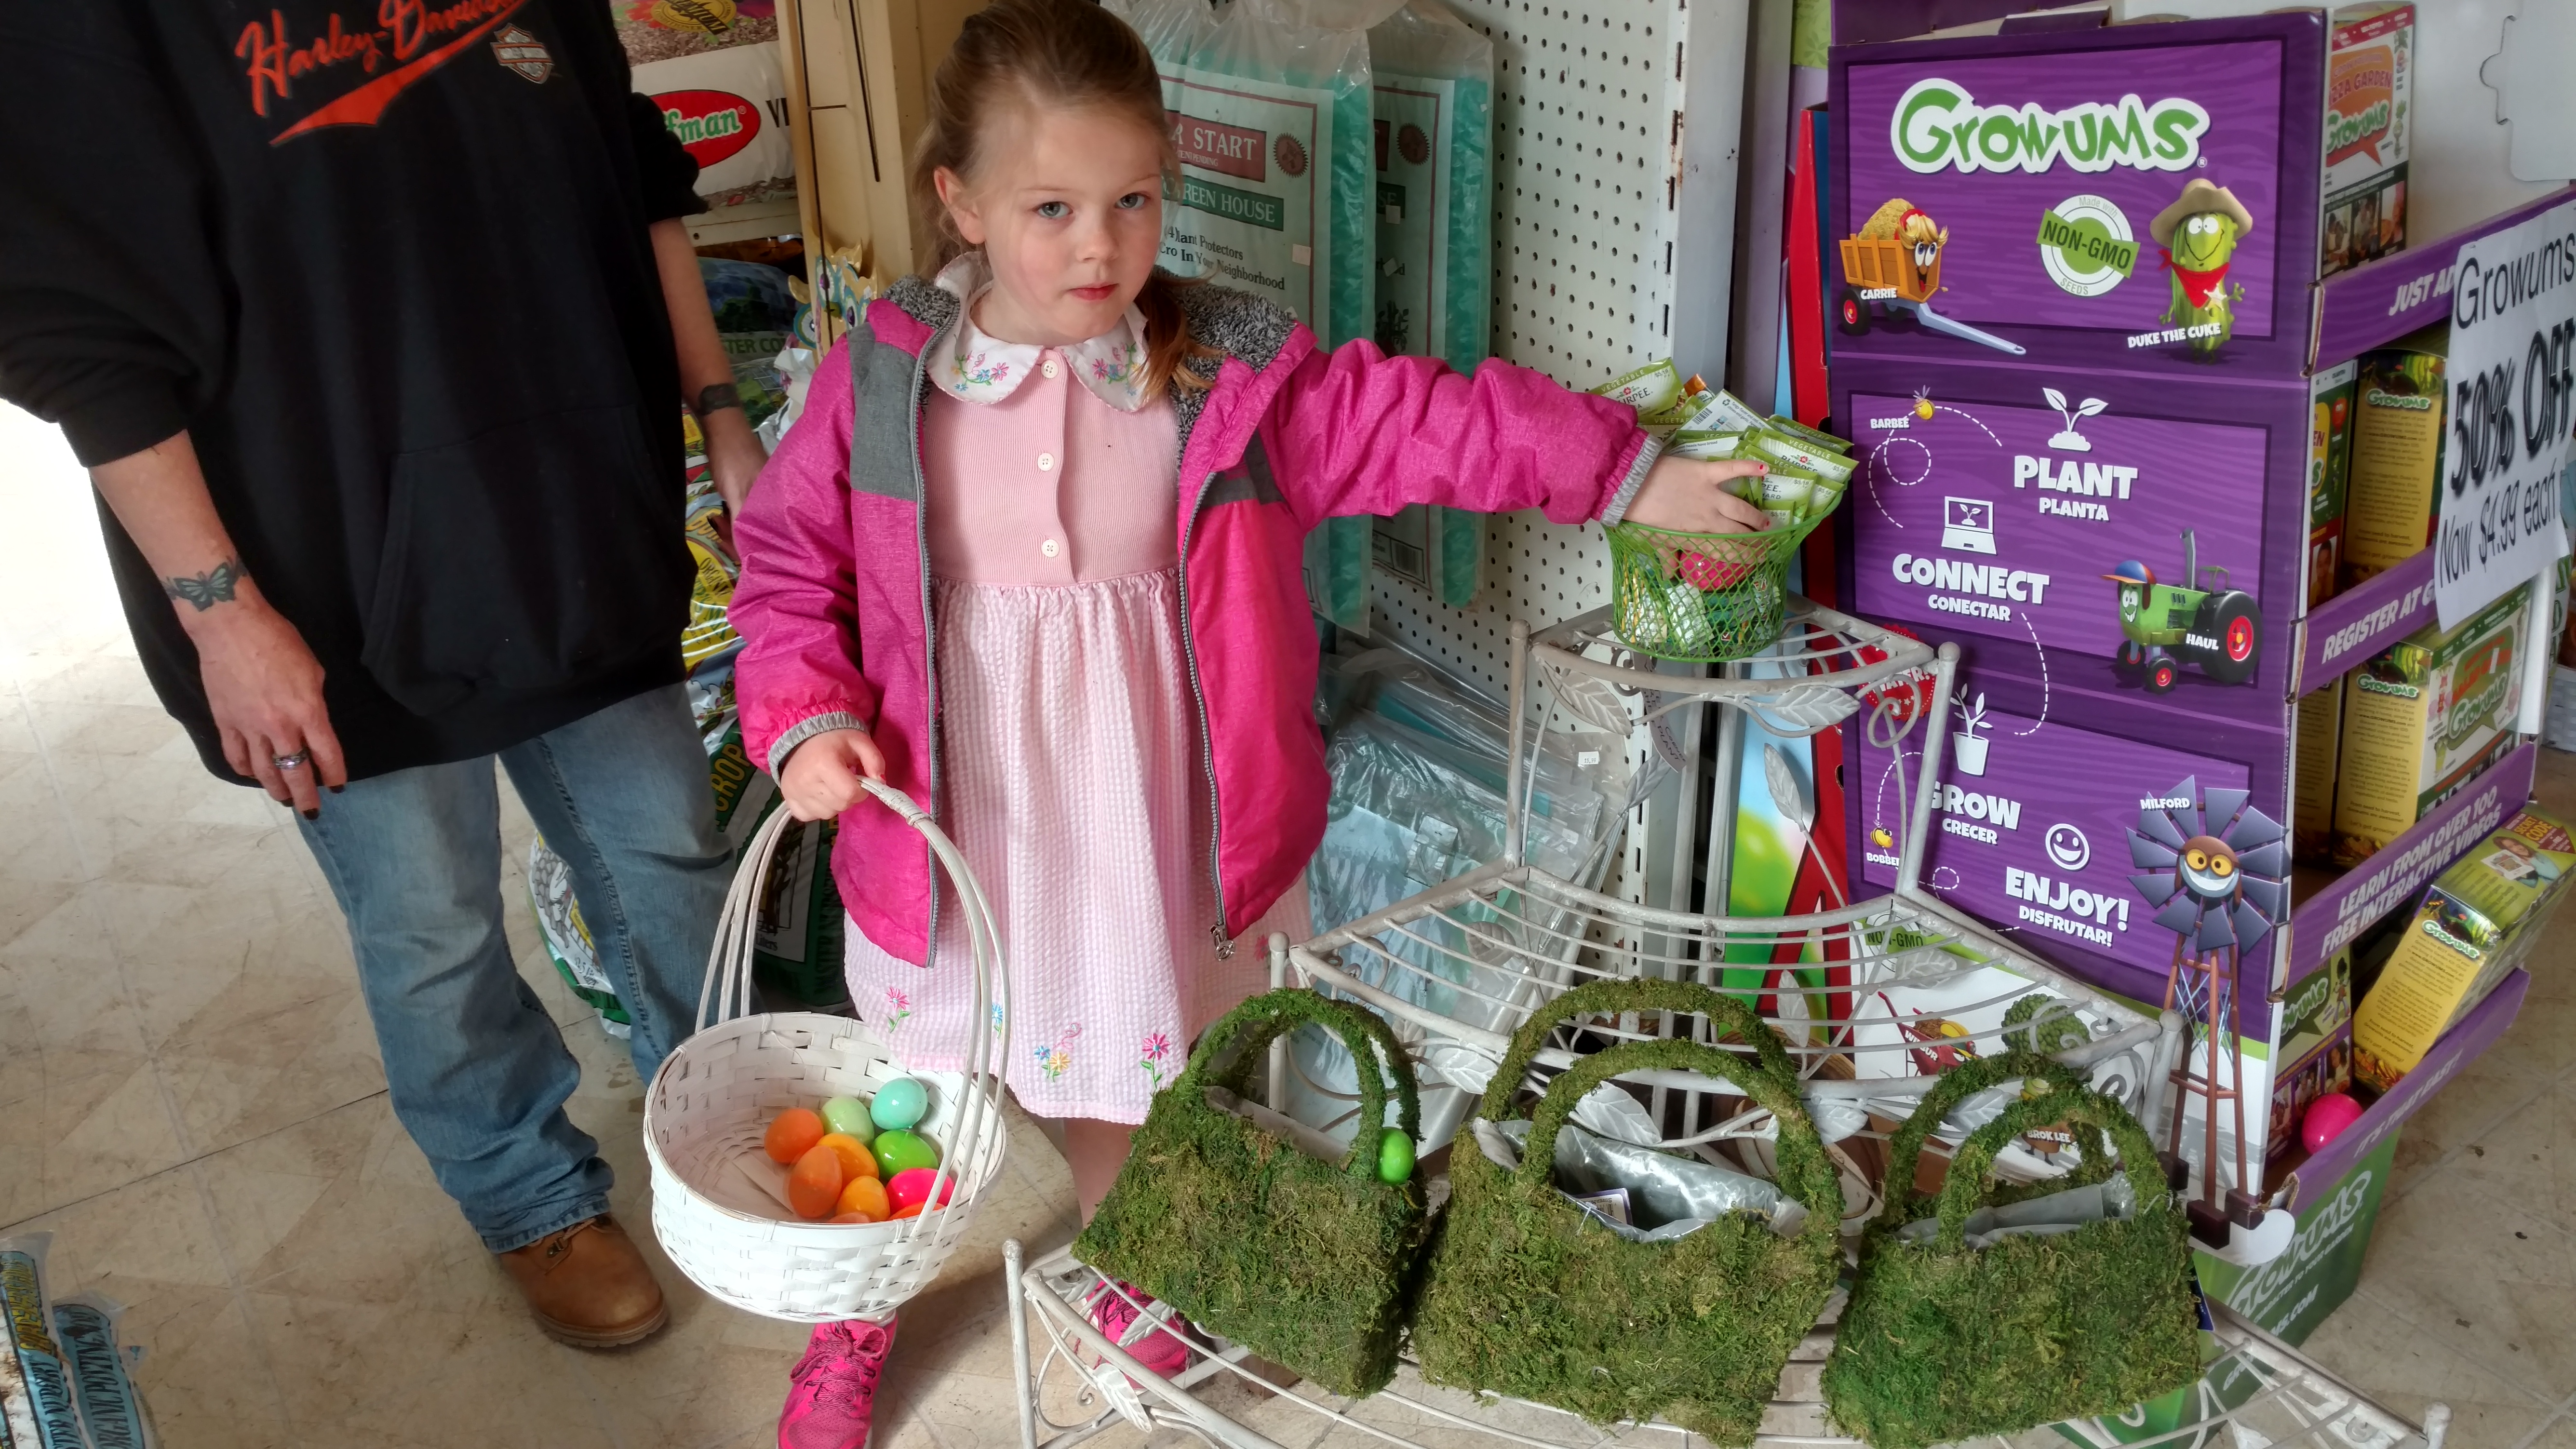
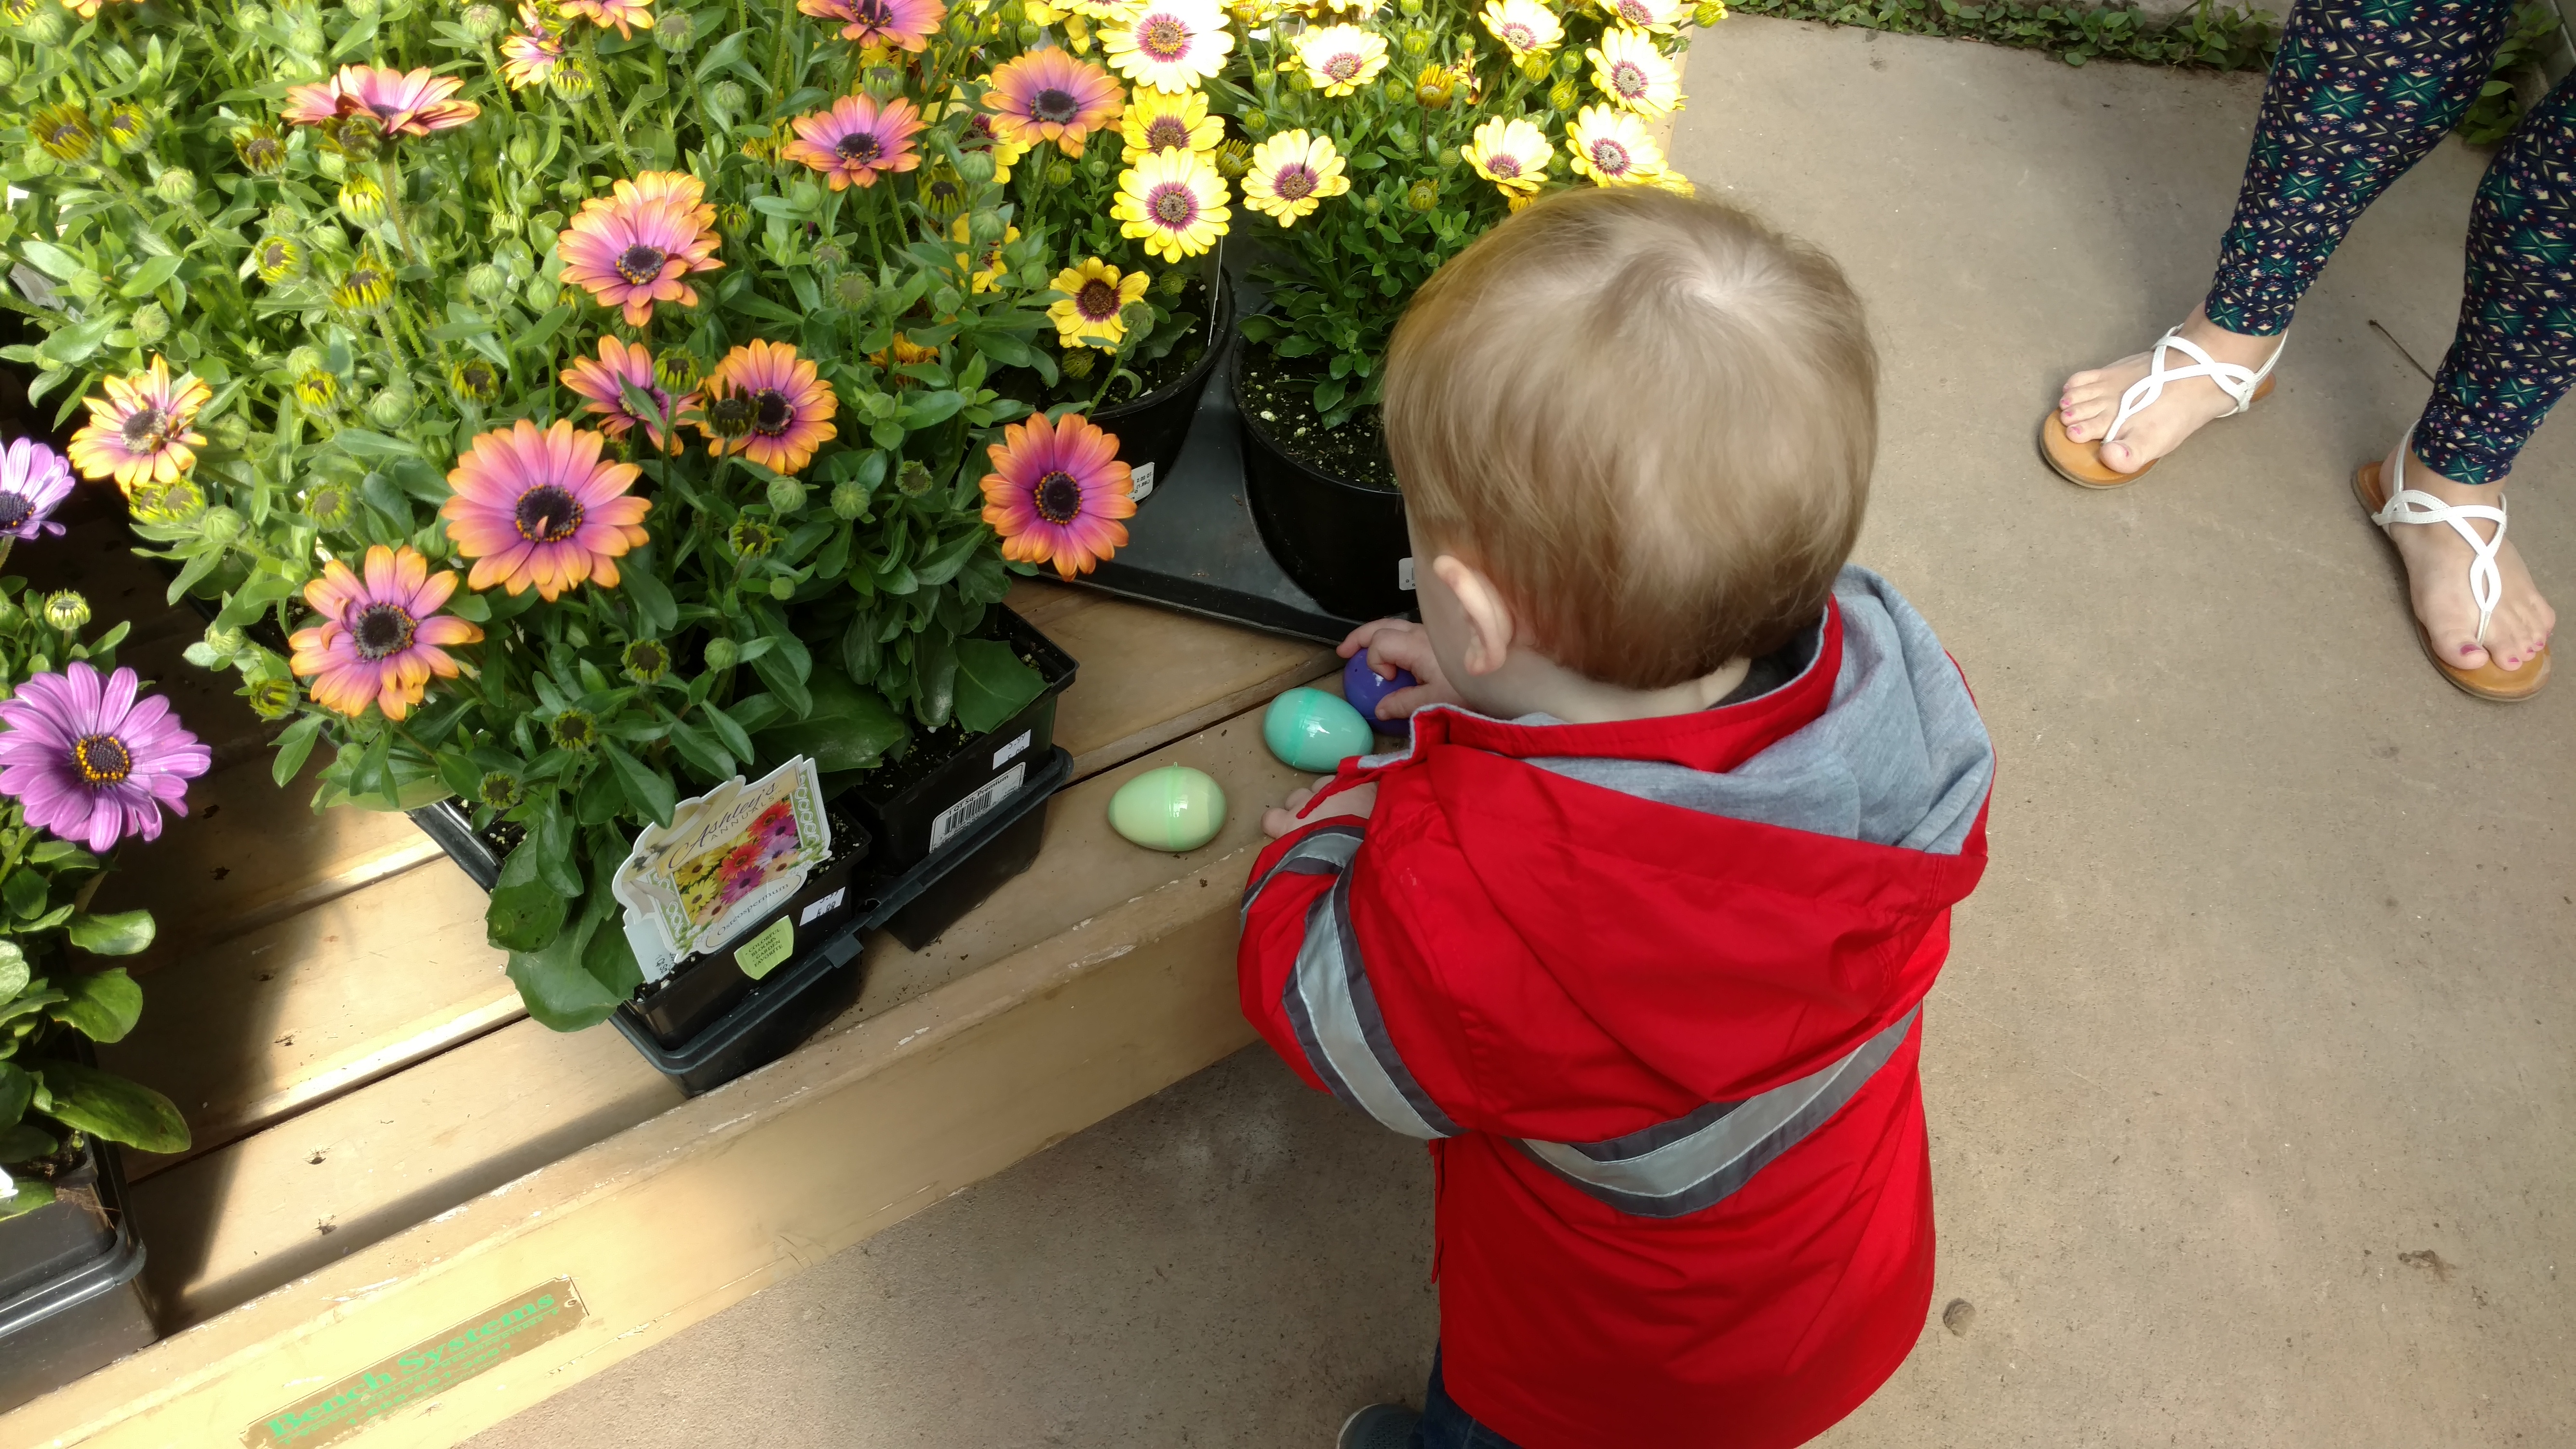
Our Easter Egg Hunt and Easter Bunny visit was a great success!!
What a great time we had this past weekend at our Easter Egg hunt and Easter Bunny Visit! Stop on by this week for some great savings as well as checking out our new spring plant arrivals!
Don’t forget our Mulch Madness sale is still going on!


Planting Bulbs In The Winter
Plant bulbs are generally planted in the fall or spring, but in reality, they can be planted anytime so long as you can physically dig a hole. There are many types of bulb plants, including lilies, hyacinths, daffodils and tulips, just to name a few. While each plant is different, you can generally plant them in the same manner, but you should always adhere to the planting instructions that come with your specific bulbs.
Step 1
Plant your bulbs in early winter if possible. You cannot plant bulbs while the ground is frozen, so if it is, place your bulbs in a thick plastic bag called a poly bag, which is available at your local home and garden store. Then store them in a cool, dark and dry place like your garage. However, plant them as soon as possible when you can successfully dig some holes.
Step 2
Plan to plant bulbs about three to six inches apart, depending on the type of bulbs. For instance, tulips and daffodils spread and grow quickly and should be planted about six inches apart, but crocuses and snowdrops should be planted only three inches apart
Step 3
Plan to cluster your bulbs together. You can even mix varieties. Place smaller growing plants in front and larger ones in the back.
Step 4
Dig holes that are about five inches deep for small bulbs and eight inches deep for large bulbs. The diameter of the hole should be twice as large as the bulb.
Step 5
Put the bulbs in the ground with the pointed end facing up. This is the end from which the sprout will emerge.
Step 6
Mix some compost or peat moss in with the soil you just dug up. Use that new soil mix to cover the bulbs. Pat the soil down with your hands to avoid any air pockets.
Step 7
Mulch over the area. A couple inches of mulch will help keep your bulbs in the ground warm until spring when you may see the green sprouts begin to emerge and then bloom soon thereafter. If not, they should bloom the next season.
HEALTHY SOIL, HEALTHY PLANTS
The key to successful gardening is “healthy soil.” This basic principle of organic gardening applies to all plants. Quite simply, when you feed the soil the proper nutrients, you let the soil feed the plants. So how do you “feed” the soil? First, you need to understand some elementary information about your soil and why it is so important, and then you can take steps to improve it.
To start, you should determine the soil texture by moistening the soil and rubbingit between your thumb and fingers to determine it’s “feel.” Sands are gritty and will barely hold together; clay can be squeezed into a firm shape; and silt will act in a way to allow particles to cling together. Sandy soils tend to dry out quickly because they contain high amounts of soil air. Oppositely, clay soils have a tendency to pack together, shutting out air and water. The best garden soil, “loam,” has moderate amounts of sand, silt and clay. Generally, soil in our area tends to be clayey. This condition can be improved by adding a soil conditioner, gypsum or slate particles. For sandy soils, humus should be added to help retain moisture and nutrients.
Next, you must evaluate the soil structure. Soil structure is affected by soil pH, the amount of humus and the combination of minerals in the soil. Ideal soils allow soil particles to clump together with air spaces between them for water drainage as well as oxygen consumption and carbon dioxide release from plant roots. The best way to improve soil structure is to add high amounts of organic matter like humus, dehydrated manure, composted manure, mushroom compost, alfalfa meal, peat moss, or worm castings.
You will also need to take a soil sample, to measure the pH and amounts of nitrogen, phosphorus and potassium in the soil as well as other nutrients. This will help determine exactly what the soil needs. Your local Master Nursery Garden Center will help you read the results and determine what to add to your soil and how much. Generally, a pH of 6.0 to 7.0 is acceptable. If your pH is lower than this, your soil is too acidic and requires lime to be added. If your soil is low in organic matter, it will often have a high pH level. All plants require a proper balance of nutrients – nitrogen (N), phosphorus (P) and potassium (K). Soils lacking any one of these elements will not produce healthy plants. Refer to the Organic Fertilizer Chart for suggested amendments.
When dealing with poor or improperly balanced soils, obtaining “healthy” soil may take two to five years to acquire. The best thing you can do to supplement your soil program is to use various organic fertilizers to meet your plants’ needs and regularly add organic matter; we suggest Bumper Crop Soil Amendments, and Fertilizers. Black Forest, Gardener’s Gold, Pay Dirt and Pay Dirt Plus are all excellent choices as soil amenders that will continue to help the soil structure as well as create biological activity that is also a vital part of developing productive soil.
Key Words
Soil Texture – The proportional amount of sand, silt and clay in the soil.
Soil Structure – The arrangement of soil particles in the soil.
Soil pH – The measurement of acidity or alkalinity of the soil.
Organic Matter – Various forms of living and dead plant and animal matter.
PROTECTING OUR POLLINATORS
Every garden requires pollinators, and bees are among the finest. Without them there would be limited flowers and far fewer fruits and vegetables. Did you know that about 30% of the food we eat depends on the pollination of bees?
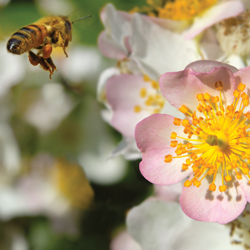
Although there are many bees that are great pollinators, like carpenter, mining, sweat and cellophane bees, some of the most well know and easily identified bees are the honey and bumble bee. Both of these bees live in social colonies and are cavity nesters. Because these bees are active all summer long, they require a constant supply of floral nectar close to their hive. Some of the biggest threats to the continued and healthy existence of these two bees are habitat loss, which causes inadequate nesting and scarce food supplies, and pesticide drift.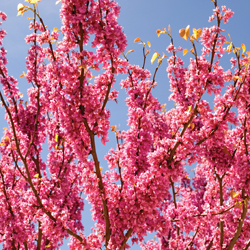
Bring more bees to your garden by planting a variety of native flowers that will bloom throughout the entire summer. Keep the bees in your garden by eliminating chemical use, especially while plants are in flower. Be kind to bees in your garden by providing a safe place for shelter and to lay their eggs. Make sure that there is an available water source for your bees. A birdbath works just fine.
NATIVE PLANTS THAT ATTRACT BEES
Apple Malus
Aster Aster
Blackberry & Raspberry Rubis
Black-eyed Susan Rudbeckia
Blueberries Vaccinium
Currant Ribes
Elder Sambucus
Goldenrod Solidago
Highbush Cranberry Viburnum
Joe-pye weed Eupatorium
Lupine Lupinus
Penstemon Penstemon
Purple coneflower Echinacea
Redbud Cercis
Rhododendron Rhododendron
Sage Salvia
Stonecrop Sedum
Sunflower Helianthus
Willow Salix
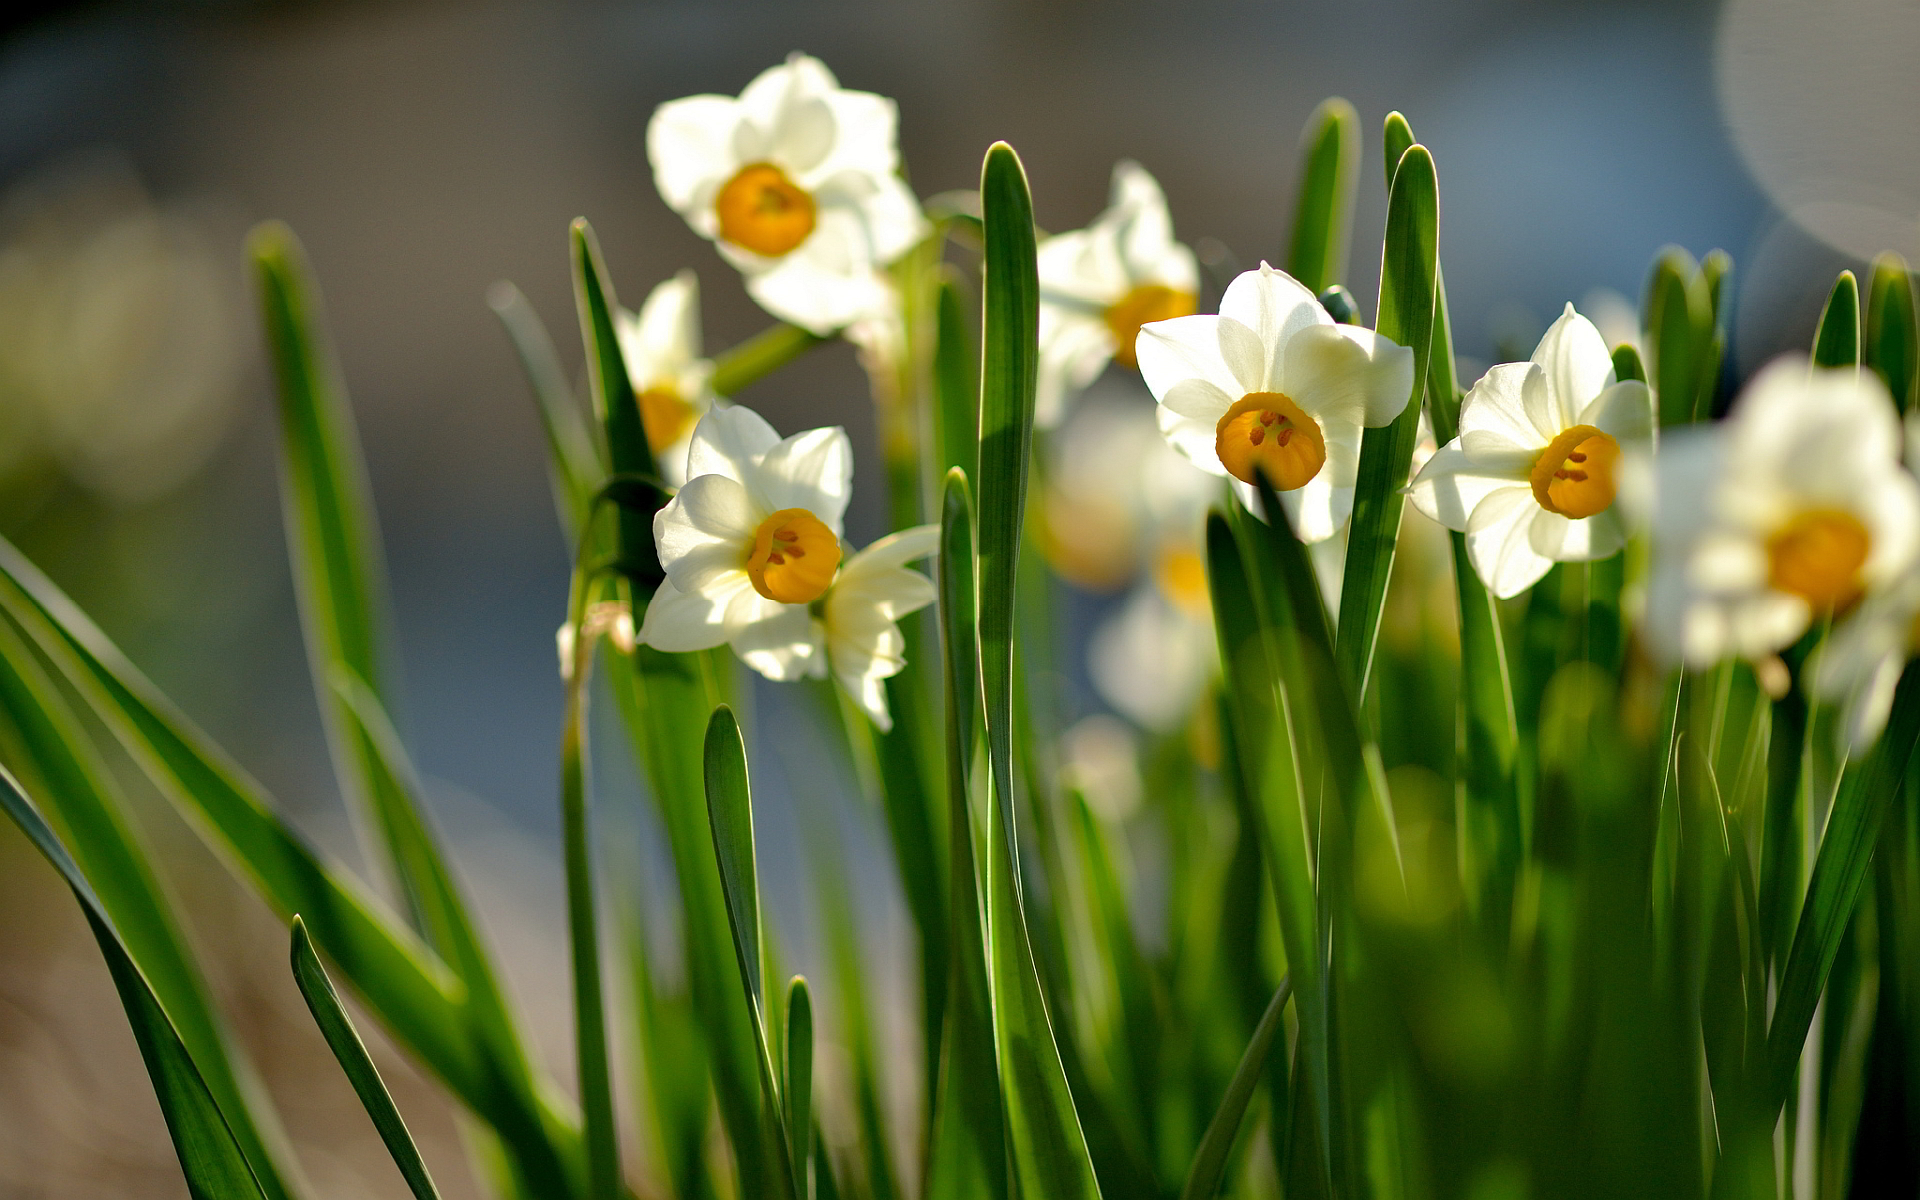
NURTURING SPRING BULBS

Spring bulbs faithfully reappear at the most advantageous time – after a long, cold winter. Most spring bulbs are perennial and multiply in number every year. Seemingly carefree, bulbs do require a bit of nurturing ensuring that they perform their very best for years to come.
- Good soil drainage is important to prevent bulbs from rotting so plan your site accordingly.

- When planting bulbs in the fall, add a high phosphorus fertilizer to the planting hole for the development strong roots.
- Bulb foliage will often break through the soil after a few warm winter days. This vegetation is hardy and its exposure to the cold will not damage your plants or prevent them from blooming.
- Fertilize bulbs as plants are emerging from the ground. Do not fertilize once flowers appear. Use a 5-10-5 granular fertilizer to assist in foliage and flower development.
- After blooming, cut back the flower stalk. This will force the plant to put its energy into the bulb for next year’s flowers and not into seed production.
- Allow the leaves to die back naturally. The leaves are vital for producing food that is stored in the bulb for next year’s growth. Cut leaves; never pull, once they have turned yellow. Do not tie leaves as this reduces the leaf surface required for adequate food production.
- When the foliage dies back the bulb is dormant, this is the proper time to dig and separate bulbs if necessary. Flowering will often be reduced when bulb beds become over-crowded. If division is needed, bulbs should be dug and stored in a well-ventilated place and replanted in the fall.
- Fertilize bulbs again in the fall with a high-phosphorus, granular fertilizer.