
Summer Rose Care Tips
 Summer Rose Care Tips
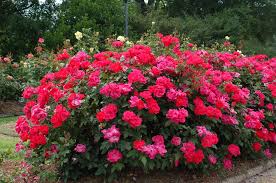
Aahh, mid summer. This is the time of the year when all the annuals you planted this spring are finally blooming. And the long, warm days seem to intensify the fragrance of summer blooming Lilies and roses. It’s the time to revel in the glory of the garden.
But, then you notice a few flaws. Uh, oh, that rose plant over there just doesn’t look like it’s doing very well. What’s the deal? Mid summer, in all it’s glory, can also create stressful conditions for plants. All that heat causes plants to move water through their systems (evapotranspiration) pretty quickly. If plants don’t have enough water, they get stressed out in the heat. They can’t just pick themselves up and move into the shade or go get a drink of water like we can.
As you look a bit closer you notice there are some funny looking bugs covering the new growth on your roses. Mid summer can bring out the aphids in full force. Especially, if you haven’t had any recent heavy rains to wash them off the plants.
Then you notice that a rose in the corner has some funny spots on its leaves, a few leaves are turning yellow, and some have fallen off the plant. Oh god, blackspot!
And, then you start thinking that perhaps your roses aren’t blooming as much as they should be. If your soil is a bit low on the fertility scale, the blooms may be in short supply. What to do, what to do!! First, don’t worry. These minor problems are just that — minor. And, they’re easily fixed.
Water
The most important thing your roses need this time of year is water. They demand the equivalent of at least one inch of rain each week. That’s about equal to one gallon of water per plant. So, if it hasn’t rained, give your roses some water.
The best way to water your roses is with a soaker hose that causes the water to slowly saturate the soil. These are usually made out of recycled tires and can be laid right on top of the soil and covered with mulch. This works great — no evaporation and the water slowly soaks into the soil. I actually run mine overnight. The mulch on top of the hose prevents any water from squirting onto the roses, so watering at night is great. Just remember to turn off the hose in the morning. Or, better yet, set it on a timer.
Water is the ultimate “fertilizer.” It moves nutrients from the soil into the plant. And a consistent supply prevents the rose from getting stressed by heat. A nonstressed, healthy rose can better defend itself from insects and disease.
Bugs
 Mid summer bug problems on roses are usually caused by aphids. They are almost always found on the new growth of rose plants. They seem to come out in full force in mid summer when there hasn’t been much rain. Aphids suck the juices out of your roses and can cause leaves to curl and be disfigured.
The best defense against aphids is healthy plants that have received adequate amounts of water. The second best defense is a good supply of ladybugs in your garden. I release these aphid eaters every two weeks during early summer and mid summer. They really clean up the aphid problems. Sometimes I have to wait a few days after the release to see the effects, but they do a great job in reducing aphid problems.
If the rain hasn’t come and the ladybugs haven’t done their job, then you need to stop the aphids before they take over. Insectidal soaps work great — they don’t hurt bees, fish, kids or you. But they’ll kill most soft bodied insects. It works by suffocating them.
The trick to success with insectidal soap is to apply it twice. First, spray it on the aphids (it has to have contact with the bug to work) late in the day — usually right before sunset. Spraying late in the day prevents leaf damage caused by the sun hitting the spray or heat reacting with the spray. Then, two days later go out and spray any aphids that escaped your first spray. You’ll be amazed at how quickly they reproduce! If you miss one, you’ll quickly have hundreds in a matter of days. I think they’re born pregnant.
Another quick way to get rid of aphids is to squish them between your fingers. Or, if you can’t handle that, then wash them off the plant with water — a hose set on high pressure works well (be careful not to blast the leaves off your plants).
Disease
 Rose diseases are what keeps lots of people from growing roses. The idea of dragging out an arsenal of chemicals and spraying them over the entire garden once a week is enough to cause even the most undaunted gardener to wonder what the heck they’re doing.
What to do? First, decide what you’re willing to accept. Remember the words to a Joni Mitchell song, “please farmer farmer put away that DDT, leave the spots on the apples and give me the birds and the bees.” If chemical control is not for you, you can still grow roses. First, you have to select roses that are less susceptible to disease and then you have to keep them healthy by planting them in the right spot and giving them enough water and the right kind of food.
Right plant in the right place. Every garden is filled with “microclimates” that can be good for some plants and certain death for others. You know that corner spot in your garden that always has mosquitoes and slugs hanging out in the damp shade? Don’t plant a rose there. It will get disease, unless its made out of plastic. Plant your rose in sun with good air circulation and it will have what it needs to stay healthy without spraying. If it gets disease, consider replacing it with a variety that has more disease resistance.
Organic sprays. If you have a disease problem, there are organic products you can apply to your plants to prevent and control the diseases. Before World War II, there were very few agricultural chemicals used to control plant disease. And guess what, people were growing roses way before World War II.
To avoid disease problem, remember to: select roses that have good resistance to disease, plant them in the right spot, and feed and water them well.
Food
Roses are known as “heavy feeders” (or how about gluttons) when it comes to using up soil nutrients. But, they convert all those nutrients into a ton of blossoms, which is why we grow them, right?! So, if we expect them to bloom, we have to feed them.
We’ve got lots of pages devoted to fertilizing, which I’ve listed below. But, before you leave this page, there are a few pointers to keep in mind when fertilizing.
- Don’t apply liquid fertilizers to dry soils. The roses will suck up the fertilizer quickly and it may cause the leaves to burn.
- Avoid using liquid chemical fertilizers — especially on Rugosas! These types of fertilizers cause the most leaf burn and leaf drop. You don’t want to hurt your plants with fertilizers.
- Feed the soil, which in turn feeds the plants.
Join us in the fight against breast cancer!

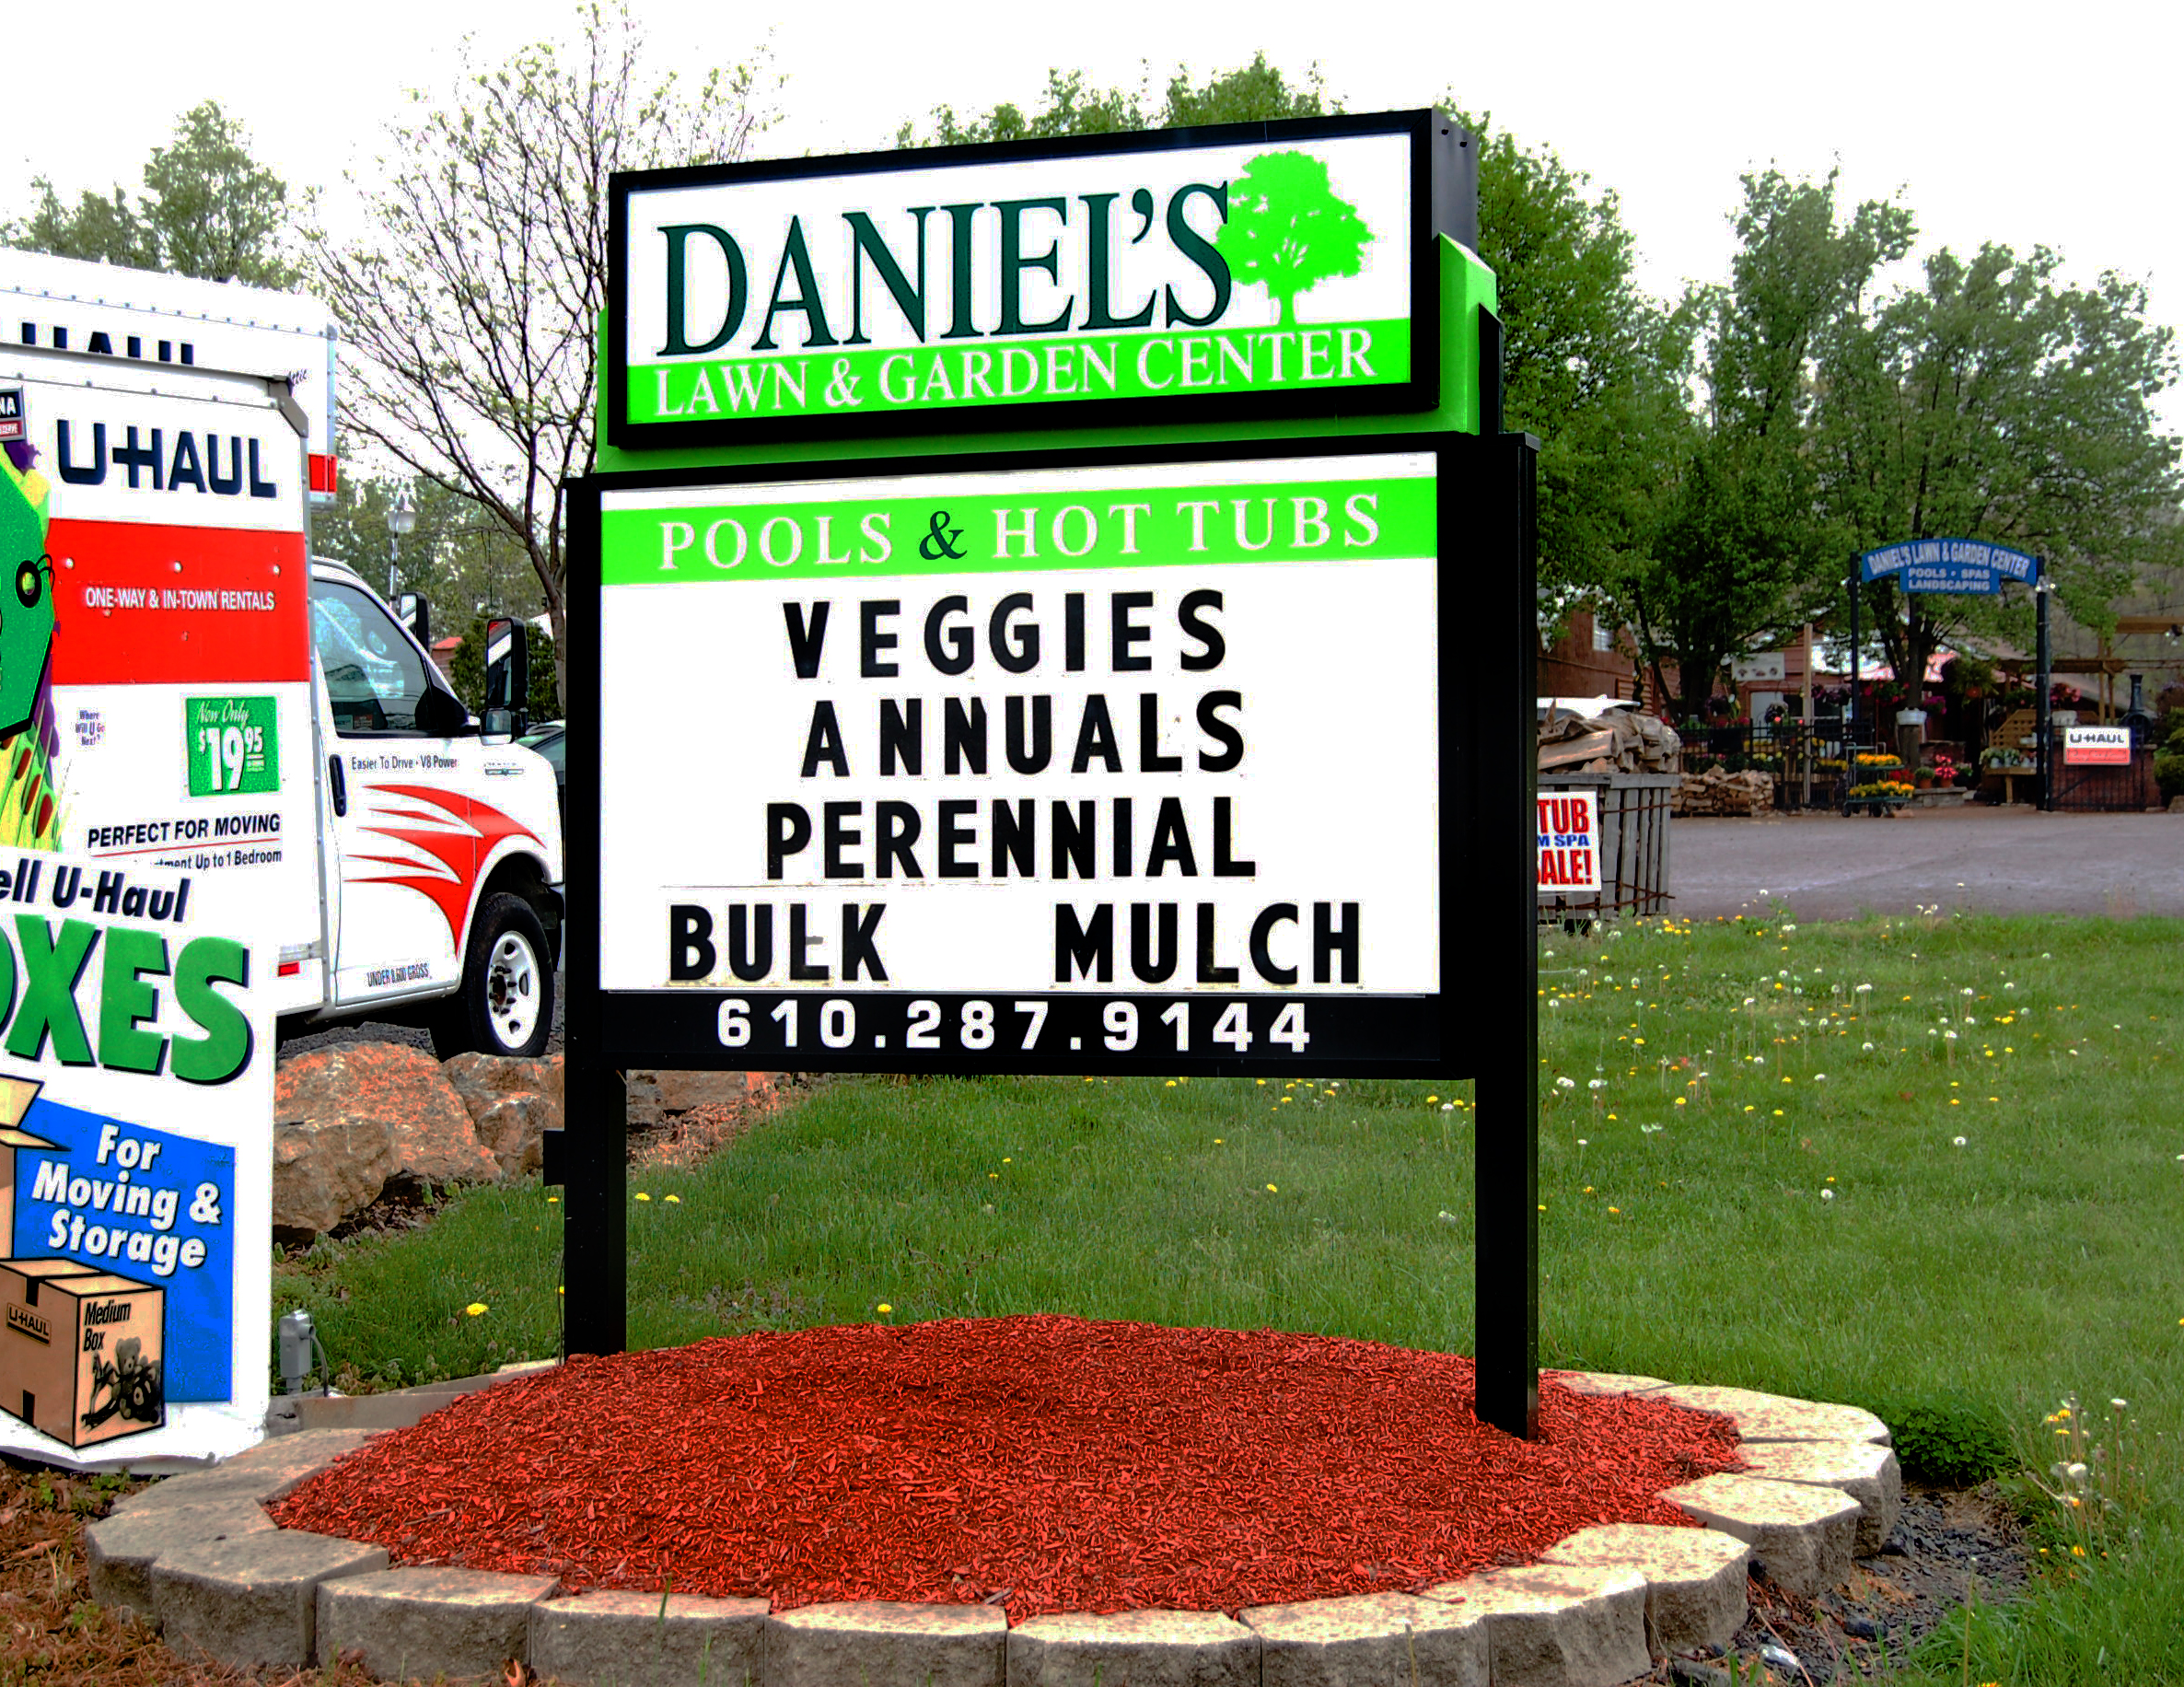
Daniel’s Lawn and Garden Center, 1457 Sumneytown Pike, Harleysville, proudly presents their 5th Annual Pink Day, Saturday, June 11, 2016. A family fun day to benefit Susan G. Komen Race for the Cure in the fight against breast cancer.
Last year we rose over $1200 for breast cancer research and are looking to do even better this year. Festivities begin at 11:00 am with face painting and a moon bounce. Pony rides with Chica, the sweetest pony are from 12:00 to 2:00.
There will also be FREE 10 minute chair massages on site by Knots In Knead of Red Hill, PA.www.knotsinknead.net from 11:30am-2pm. Also, you can enter for a chance to win a gift certificate for a FREE 30 minute massage!
New this year is a Pollinator Program at noon by a local bee expert. He’ll show you how to bring pollinators to your garden, which benefits everyone.
Additionally there will be Pink Day Only specials throughout the store including 20lb propane tank refill for $11.99 and 50% off trees and shrubs.
Wear your pink and join us on June 11 and support Daniel’s Lawn and Garden Center’s efforts to help find a cure for breast cancer, a cancer that affects way too many Moms, sisters, wives and friends. Any questions about this event please call us at 610-287-9144 or visit www.danielslawnandgarden.com. See you there. Think Pink!!!
HOW TO OPEN A POOL

Spring is in full bloom! For many pool owners across the country, this means it’s time to start getting the pool ready for the summer swim season. If you properly closed your pool for winter, opening your pool should be an easy process. Follow these instructions for how to open a pool for summer and ensure a great season of swimming fun.
1. Check your chemicals.
Before you open your pool, it is recommended that you take inventory of the pool chemicals you currently have on hand to see what supplies you’ll need to purchase. (This will also eliminate the hassle of taking multiple trips to the pool supply store.) Any pool chemicals that have expired or were not completely sealed should be properly disposed of and replaced. Also check the amount of product available in the remaining containers to see if you’ll need additional supplies.
2. Clean the pool cover and deck.
Before removing the pool cover, clean the deck area to prevent debris from being swept into the swimming pool; this also gives you an area for preparing the pool cover for storage without the worry of scattered twigs and stones causing punctures, advises Thomas Cal Brown, executive vice president of Aquatech, a society of pool-building professionals. If you have a solid vinyl pool cover, remove any leaves and debris from the cover with a pool rake or leaf net. This prevents any extra debris from entering the pool, which you’ll eventually have to vacuum out. Once most of the debris is gone, use a submersible cover pump to remove as much standing water as possible. When using the cover pump, don’t place the pump near or over any seams of the cover–this will cause water to drain from the inside the pool.
3. Remove and store the pool cover.
Remove the pool cover and lay it out in an open area such as a deck, patio, or driveway. Sweep or brush off any remaining debris and then use a mild detergent to clean the cover. Let the cover air-dry completely before rolling up or folding for storage to prevent mildew and deterioration. Be sure to keep the cover stored in a dry place away from insects and moisture.
4. Inspect the pool.
If you have a vinyl-lined pool, check for tears or washouts; these can occur when groundwater erodes the sand under the pool’s vinyl floor and causes the liner to rest on sharp rocks and stones. Any small tears can be repaired using a patch kit (available at your local pool supply store). Consult the pool’s manufacturer or a local swimming pool maintenance company for any damage that you’re unsure how to repair. For concrete and fiberglass pools, look for cracks in the waterline tile, chips in the plaster, or depressions in the pool decking or coping. Some minor repairs can be made yourself following the advice of a pool professional; more serious defects should be left to the experts.
5. Remove the plugs.
Remove expansion or freeze plugs from all of the water inlets. If your pool equipment was winterized with antifreeze, you’ll need to lower the water level in the pool until it’s below the inlets. Then remove the plugs and drain the antifreeze into a bucket.
6. Reinstall skimmer baskets and fittings.
Remove the winter plate (if used) from the skimmer box and reinstall the skimmer. Hook up any hoses from the skimmer and return jets that lead to the pump and filter. Make sure all fittings are clean and tight.
7. Reconnect the equipment and plumbing.
Reconnect the filter, pump (if you removed it), and heater (if you have one) and inspect them for signs of wear or rust. If anything needs to be repaired or replaced, do so at this time. Remove the top of the filter and check that your filter media (sand, diatomaceous earth, or cartridge) are in good condition and clean. Make sure all valves are open and fill the pump with water so it primes properly. Also check O-rings and gaskets for damage and make sure all have been lubricated
8. Fill the pool.
Grab your garden hose and add water until the water level reaches midpoint on the waterline tile or the middle of the skimmer opening to allow for proper circulation. While you’re waiting for the pool to fill, skim out any leaves, twigs, and debris, and remove any debris from the leaf basket. Re-attach any equipment such as ladders, rails, diving boards, etc. This is also a good time to remove any scale from the pool tile.
9. Start the filtration system and vacuum the pool.
Turn on the power to the pool system (you may need to turn on the circuit breaker if your pool was winterized). Following manufacturers’ instructions, start the pump and filter system. Look for leaks, split hoses, and cracks. If some pieces of equipment are damaged or not operating properly, turn off the power and contact a service technician for any repairs. Once everything is in working order, hook up your vacuum (pool cleaner) and vacuum/ sweep the entire pool and clean the walls with a wall brush.
10. Test the water.
Allow the pool water to circulate 24 – 48 hours to mix up the old and new water. Then test the water chemistry following the instructions on your pool water test kit. To ensure proper analysis, it is recommended that you bring a water sample to a local pool professional, who will provide you with instructions for balancing your pool water. For pools with a mesh cover, it is recommended that you add two or three gallons of liquid shock to the water about two weeks before you plan to open the pool to ensure good water clarity since these covers allow debris and sunlight to get through to the water which can lead to an algae bloom. It is also best to open your pool early (late April, early May) to avoid strong sunlight and temperatures above 80 degrees which can quickly turn the water into a green “swampy” mess.
11. Run the filtration system until the water is clean.
Continue to run the filter until the water begins to clear (it may take several days). During the first few days, it may be necessary to backwash sand and D.E. filters a few times or clean your cartridge filter, depending on how dirty the water was when you started. After the filter has run for a few days, test the water again to ensure it is properly balanced. Chemical levels should be as follows: pH: 7.2 – 7.6 Alkalinity: 80 – 120 ppm ( for unstabilized chlorine); 100 – 120 ppm (for stabilized chlorine, chlorine gas, or bromine) Calcium Hardness: 200 – 400 ppm Chlorine: 1 – 3 ppm Bromine: 1 – 3 ppm Cyanuric Acid: 25 – 50 ppm Once the water is properly balanced, you’re ready for the final step…
12. Jump in!
HEALTHY SOIL, HEALTHY PLANTS
The key to successful gardening is “healthy soil.” This basic principle of organic gardening applies to all plants. Quite simply, when you feed the soil the proper nutrients, you let the soil feed the plants. So how do you “feed” the soil? First, you need to understand some elementary information about your soil and why it is so important, and then you can take steps to improve it.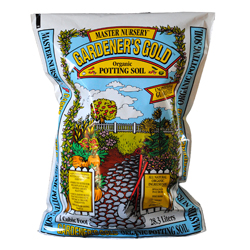
To start, you should determine the soil texture by moistening the soil and rubbingit between your thumb and fingers to determine it’s “feel.” Sands are gritty and will barely hold together; clay can be squeezed into a firm shape; and silt will act in a way to allow particles to cling together. Sandy soils tend to dry out quickly because they contain high amounts of soil air. Oppositely, clay soils have a tendency to pack together, shutting out air and water. The best garden soil, “loam,” has moderate amounts of sand, silt and clay. Generally, soil in our area tends to be clayey. This condition can be improved by adding a soil conditioner, gypsum or slate particles. For sandy soils, humus should be added to help retain moisture and nutrients.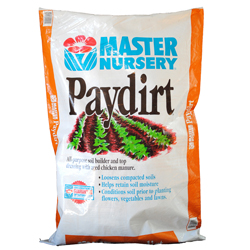
Next, you must evaluate the soil structure. Soil structure is affected by soil pH, the amount of humus and the combination of minerals in the soil. Ideal soils allow soil particles to clump together with air spaces between them for water drainage as well as oxygen consumption and carbon dioxide release from plant roots. The best way to improve soil structure is to add high amounts of organic matter like humus, dehydrated manure, composted manure, mushroom compost, alfalfa meal, peat moss, or worm castings.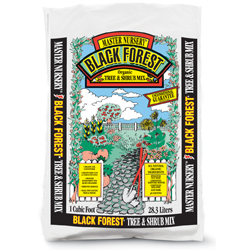
You will also need to take a soil sample, to measure the pH and amounts of nitrogen, phosphorus and potassium in the soil as well as other nutrients. This will help determine exactly what the soil needs. Your local Master Nursery Garden Center will help you read the results and determine what to add to your soil and how much. Generally, a pH of 6.0 to 7.0 is acceptable. If your pH is lower than this, your soil is too acidic and requires lime to be added. If your soil is low in organic matter, it will often have a high pH level. All plants require a proper balance of nutrients – nitrogen (N), phosphorus (P) and potassium (K). Soils lacking any one of these elements will not produce healthy plants. Refer to the Organic Fertilizer Chart for suggested amendments.
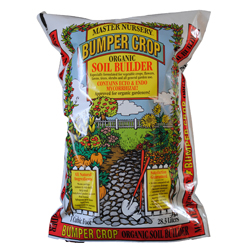
When dealing with poor or improperly balanced soils, obtaining “healthy” soil may take two to five years to acquire. The best thing you can do to supplement your soil program is to use various organic fertilizers to meet your plants’ needs and regularly add organic matter; we suggest Bumper Crop Soil Amendments, and Fertilizers. Black Forest, Gardener’s Gold, Pay Dirt and Pay Dirt Plus are all excellent choices as soil amenders that will continue to help the soil structure as well as create biological activity that is also a vital part of developing productive soil.
Key Words
Soil Texture – The proportional amount of sand, silt and clay in the soil.
Soil Structure – The arrangement of soil particles in the soil.
Soil pH – The measurement of acidity or alkalinity of the soil.
Organic Matter – Various forms of living and dead plant and animal matter.
DETERRING DEER

DETERRING DEER
Strictly vegetarian, an average adult deer can eat between 4 and 6 pounds of food per day. Not only are they big eaters, they aren’t the slightest bit picky. Deer eat over 500 different varieties of plants, but, if they’re really hungry, they’ll eat just about anything in the garden or landscape.
Short of a fence, the next best thing is to take advantage of two weaknesses of deer – they’re creatures of habit and they are easily scared. Anything you can do to mix up their habits or make them think there is danger nearby might be enough to make them go elsewhere in search of food. But, deer aren’t foolish. If they realize the danger isn’t real, they will return, therefore, you must rotate any repellents or scare tactics you try.
| DEER CONTROLS | PRODUCT | HOW IT WORKS |
| Milorganite | Fertilizer | Odor |
| Fencing/Netting | Physical barrier | Tactile |
| Scarecrow | Motion Activated Sprinkler | Tactile |
| Liquid Fence | Spray | Odor/Taste |
Plants Deer Won’t Like
Deer in large herds with insufficient food will eat almost any garden vegetation, particularly in harsh winters. You can minimize deer damage by choosing plants that are the least favored and avoiding those that are the most liked so plan your garden accordingly. Among their favorites are azaleas, rhododendrons, yews, roses, Japanese maples, winged euonymous, hemlocks and arborvitae. The following is a list of plants rarely damaged by deer.
TREES
Chinese Paper Birch
Colorado Blue Spruce
Dragon Lady Holly
Douglas Fir
Japanese Cedar
San Jose Holly
Serviceberry
Scotch Pine
SHRUBS & CLIMBERS
Barberry
Bearberry
Blueberry Elder
Boxwood
Caryopteris
Common Buckhorn
Creeping Wintergreen
European Privet
Japanese Andromeda
Japanese Plum Yew
Leucothoe
Rose of Sharon
Russian Olive
ANNUALS & PERENNIALS
Ageratum
Anemone, Japanese
Basket of Gold
Bergenia
Bleeding Heart
Columbine
Dame’s Rocket
Deadnettle
Dill
Euphorbia
Ferns
Foam Flower
Foxglove
Jack-in-the-pulpit
Lamb’s Ears
Larkspur
Lavender
Marigold
Monkshood
Nasturtium
Oriental Poppy
Ornamental Grasses
Pachysandra
Plumbago
Purple Coneflower
Rhubarb
Rock Cress
Rose Campion
Geranium, Scented
Russian Sage
Sage
Snapdragon
Sweet Alyssum
Tansy, Common
Threadleaf Tickseed
Thyme
Toadflax
Tobacco Plant
Yarrow
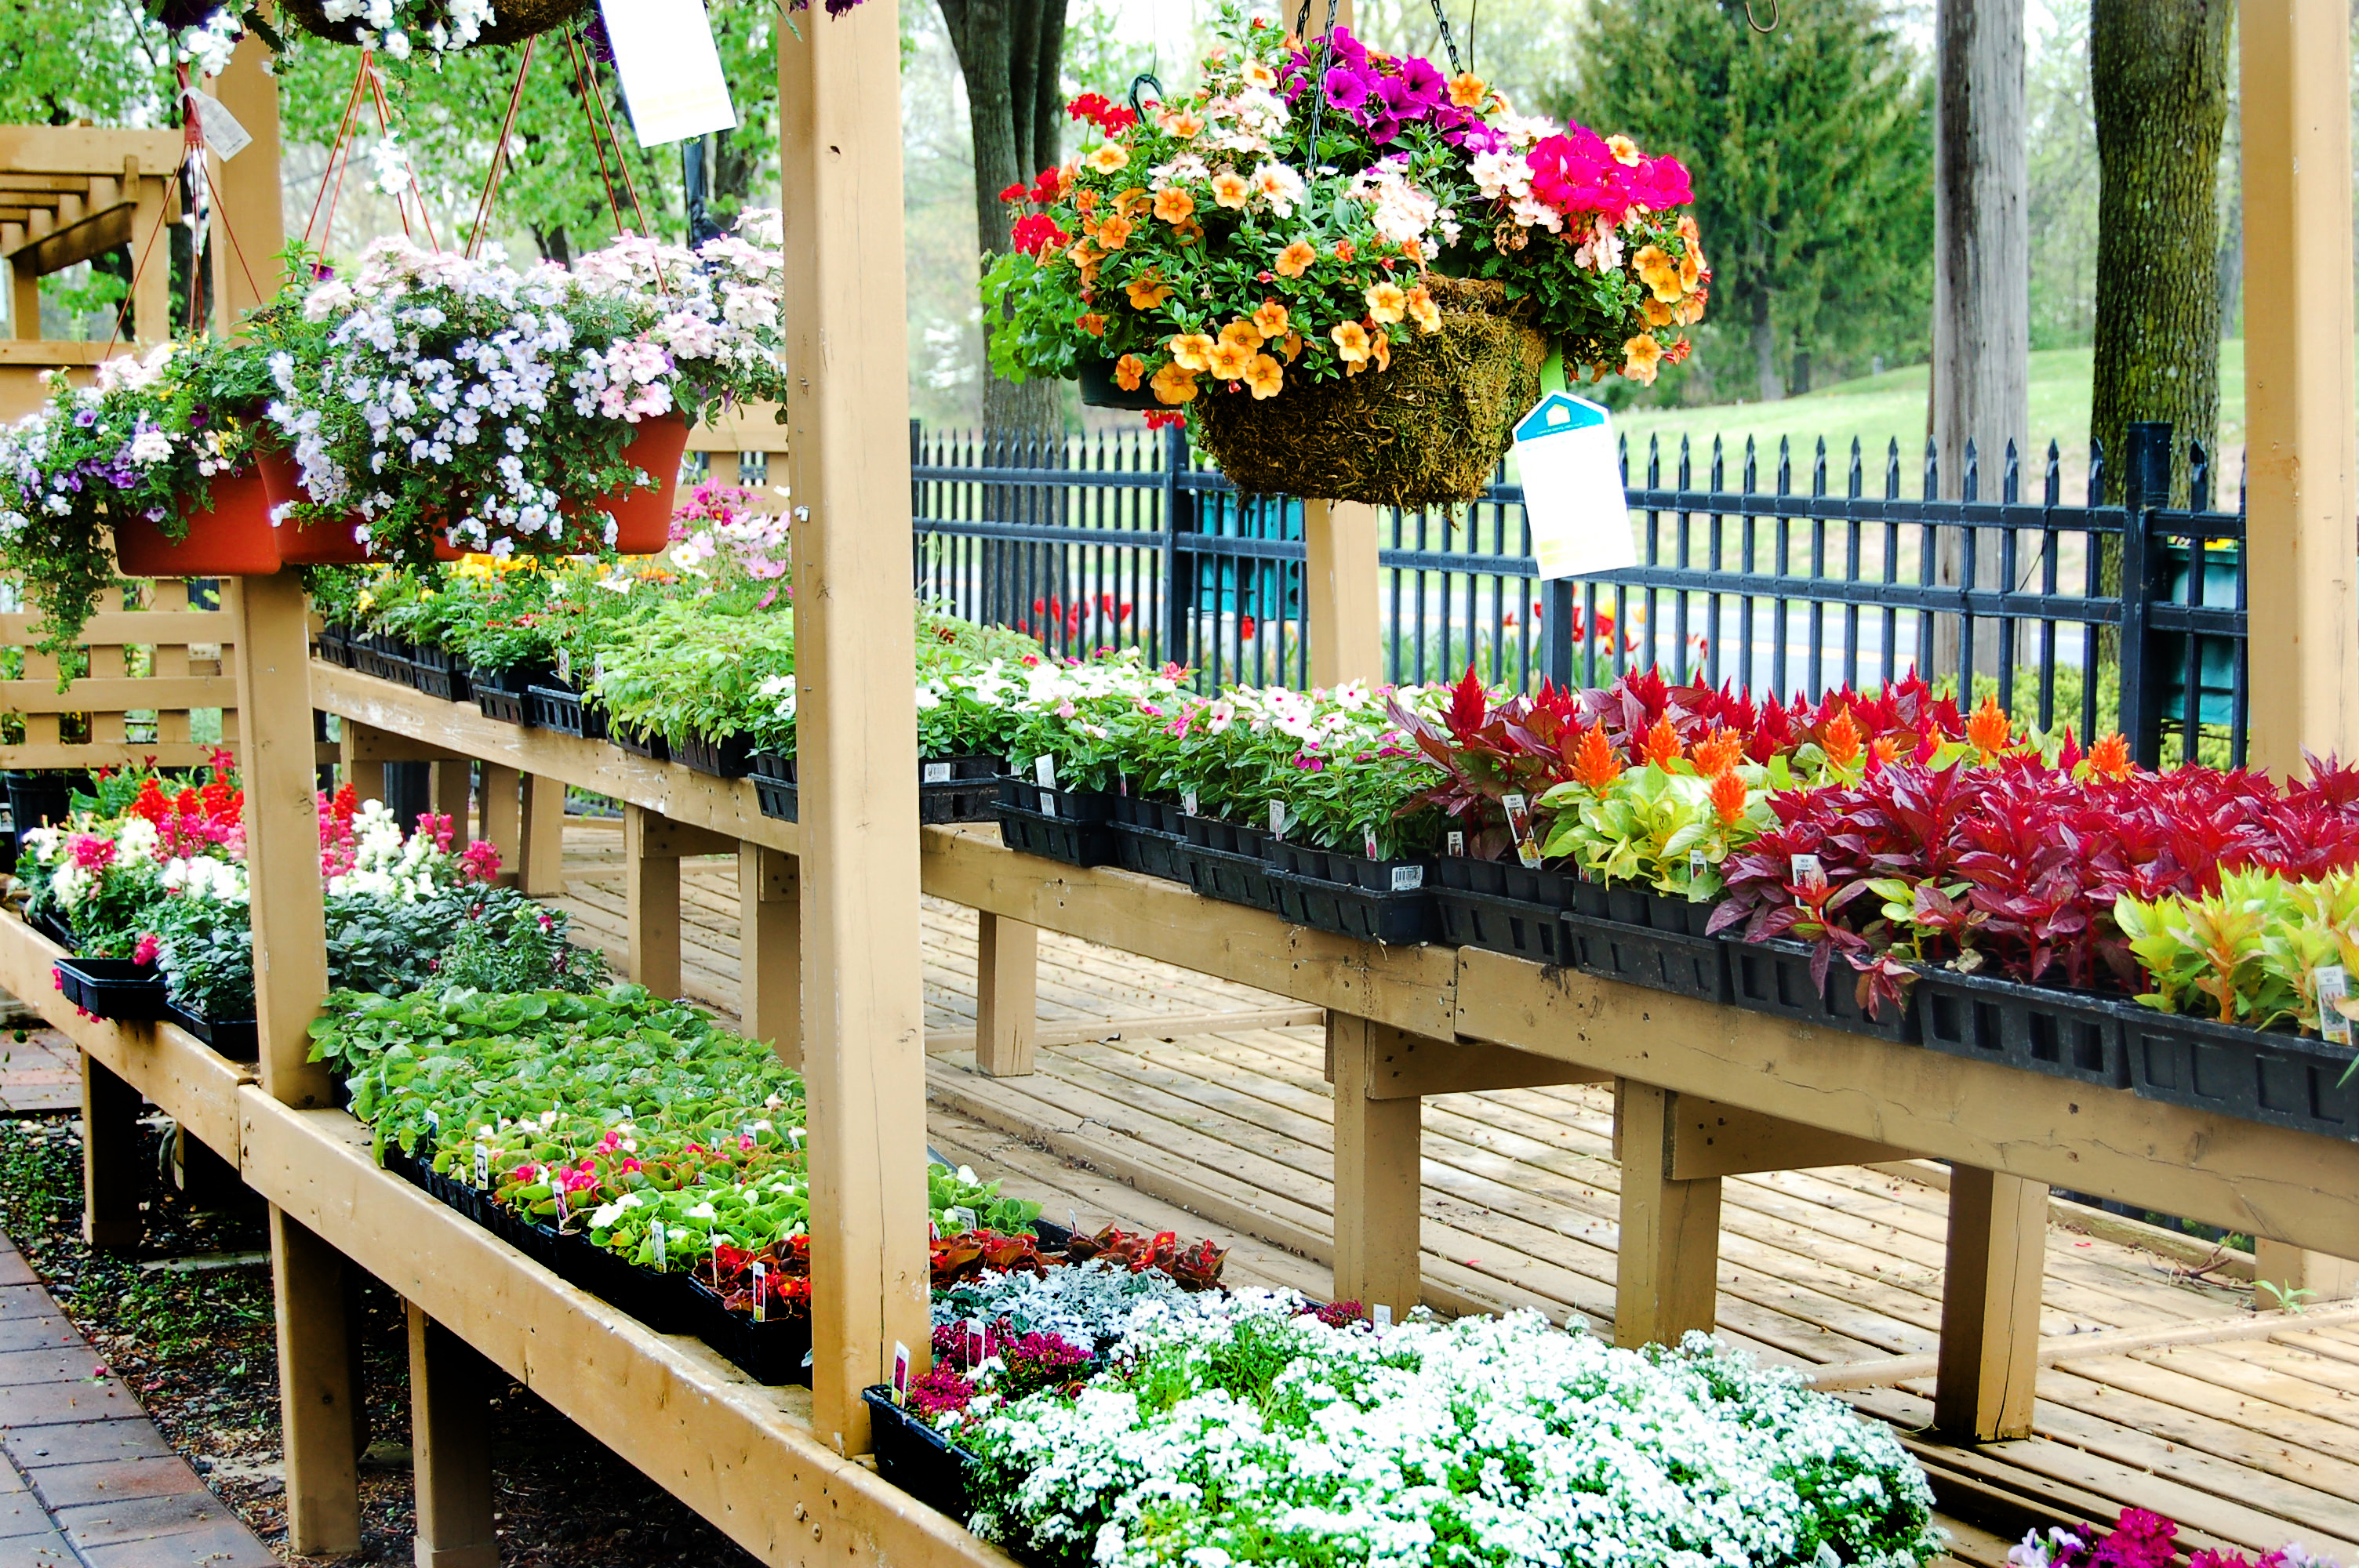
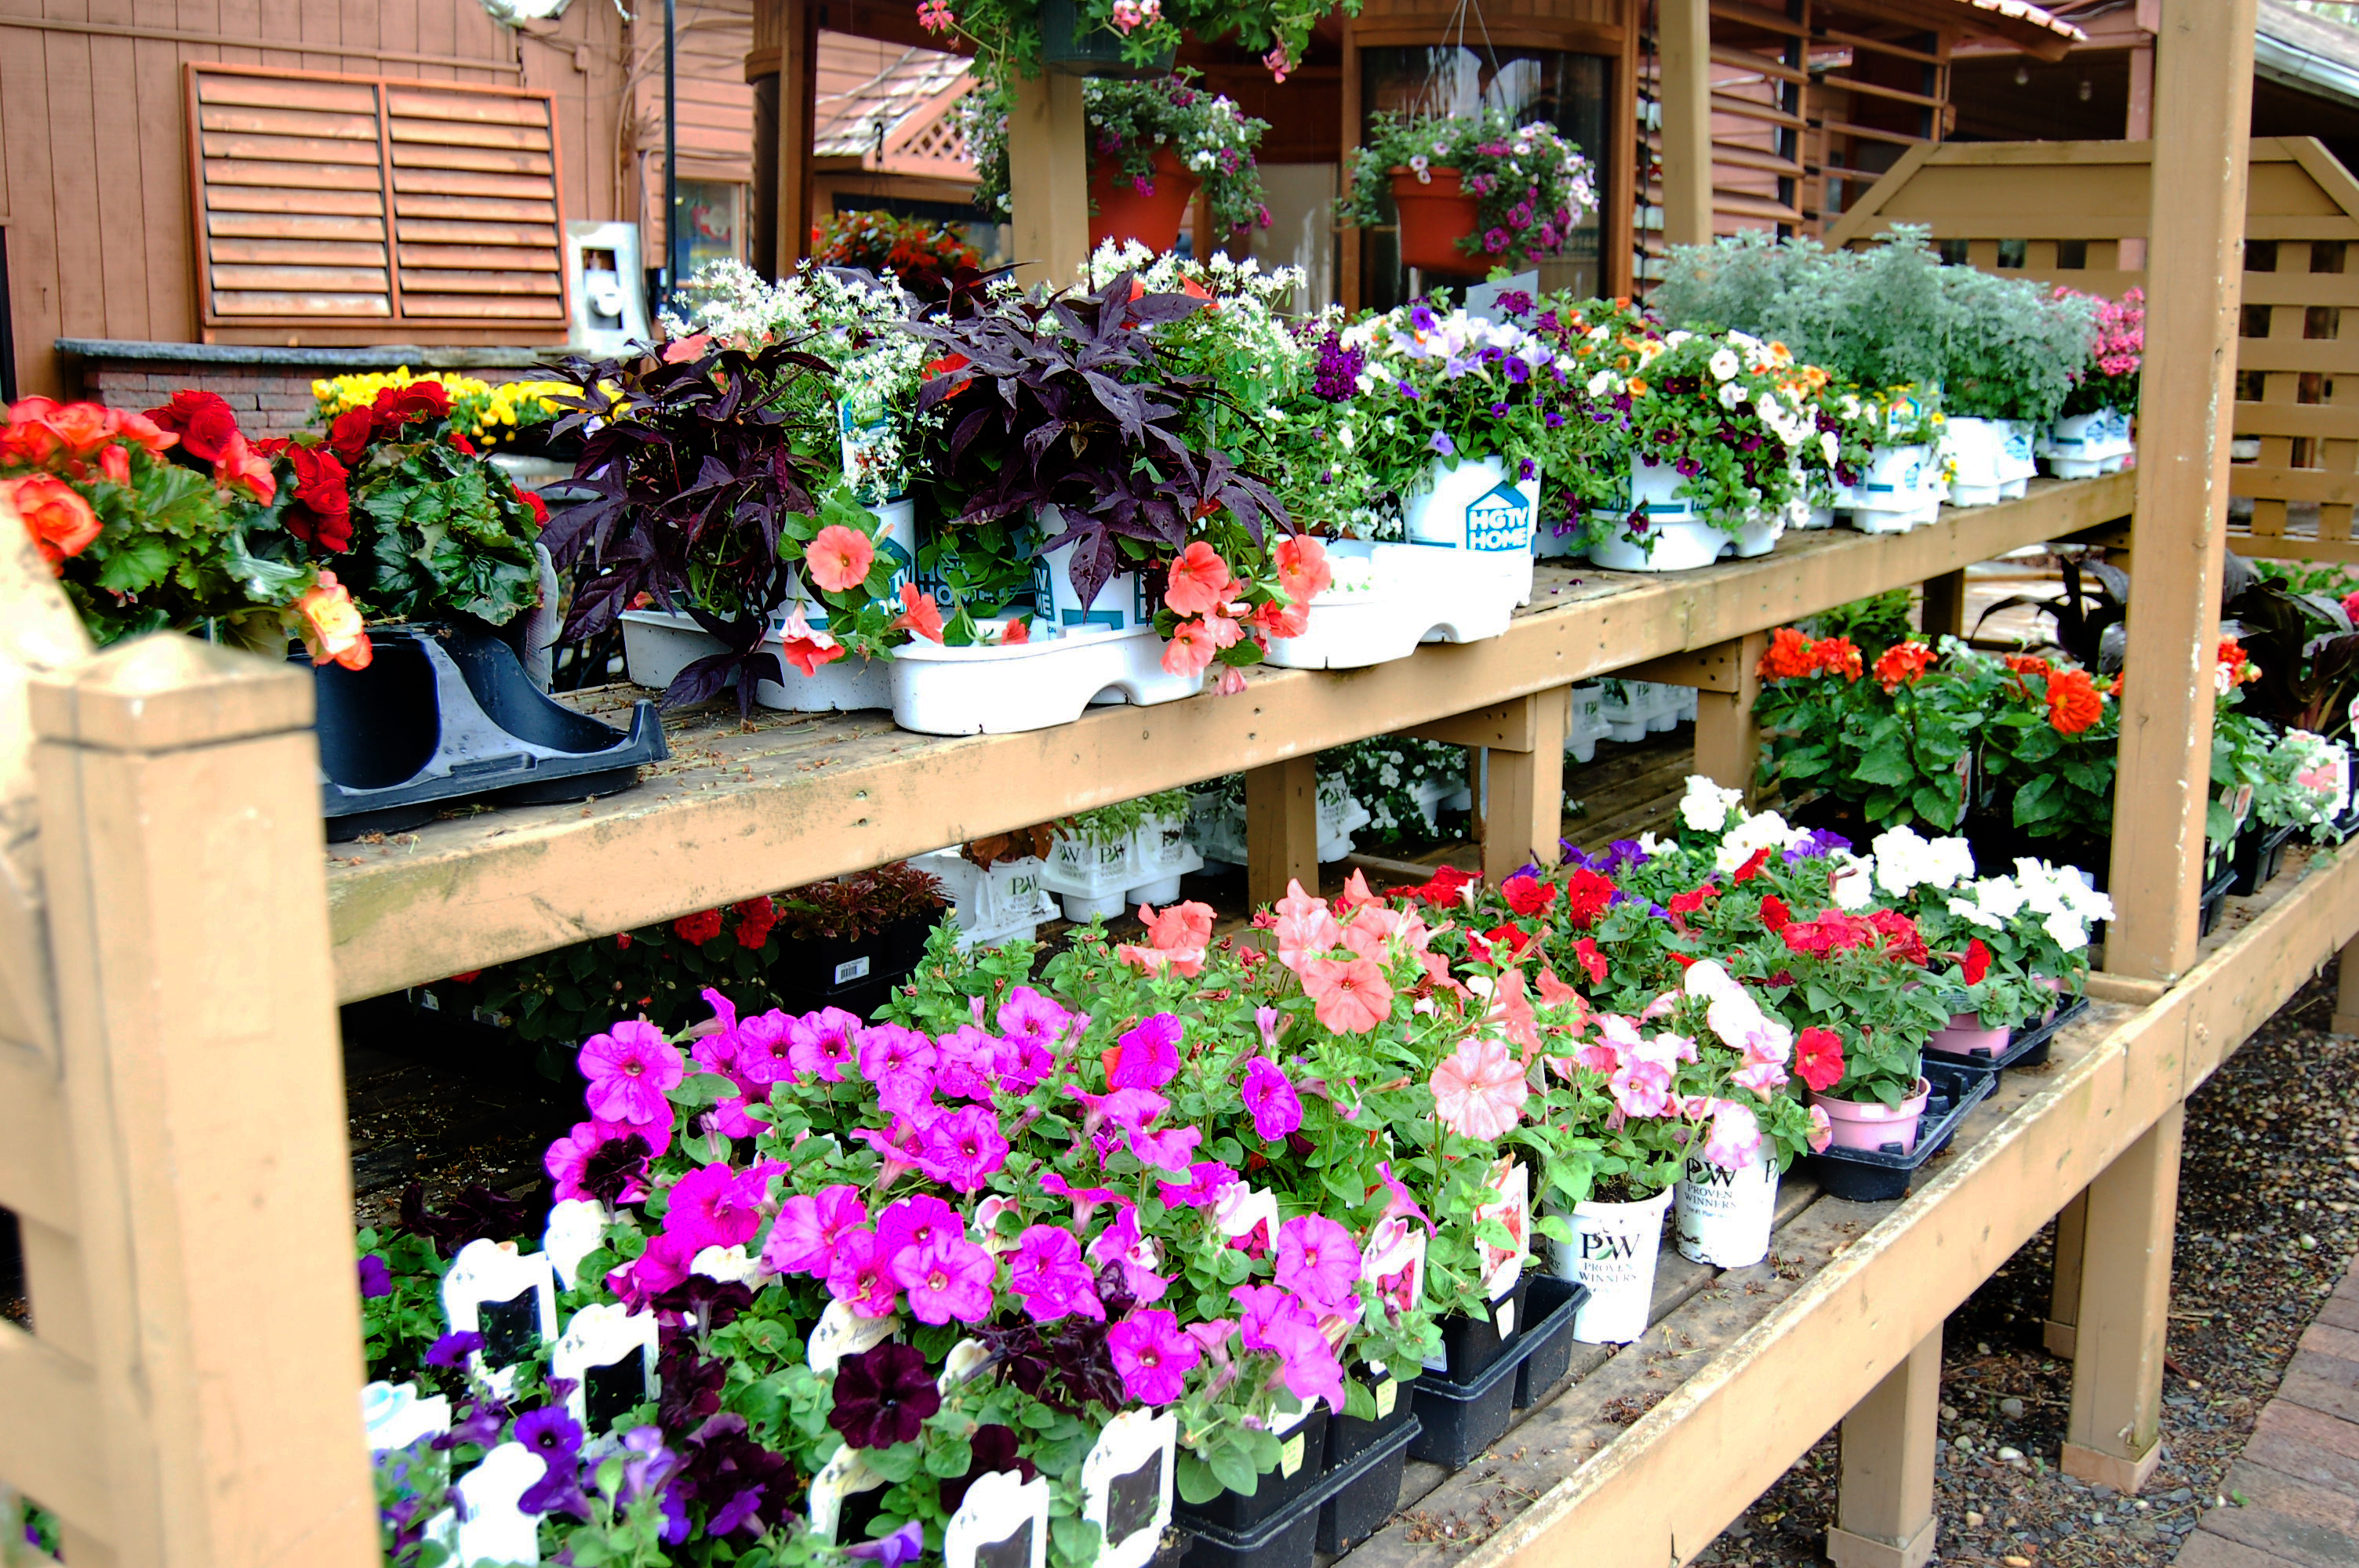
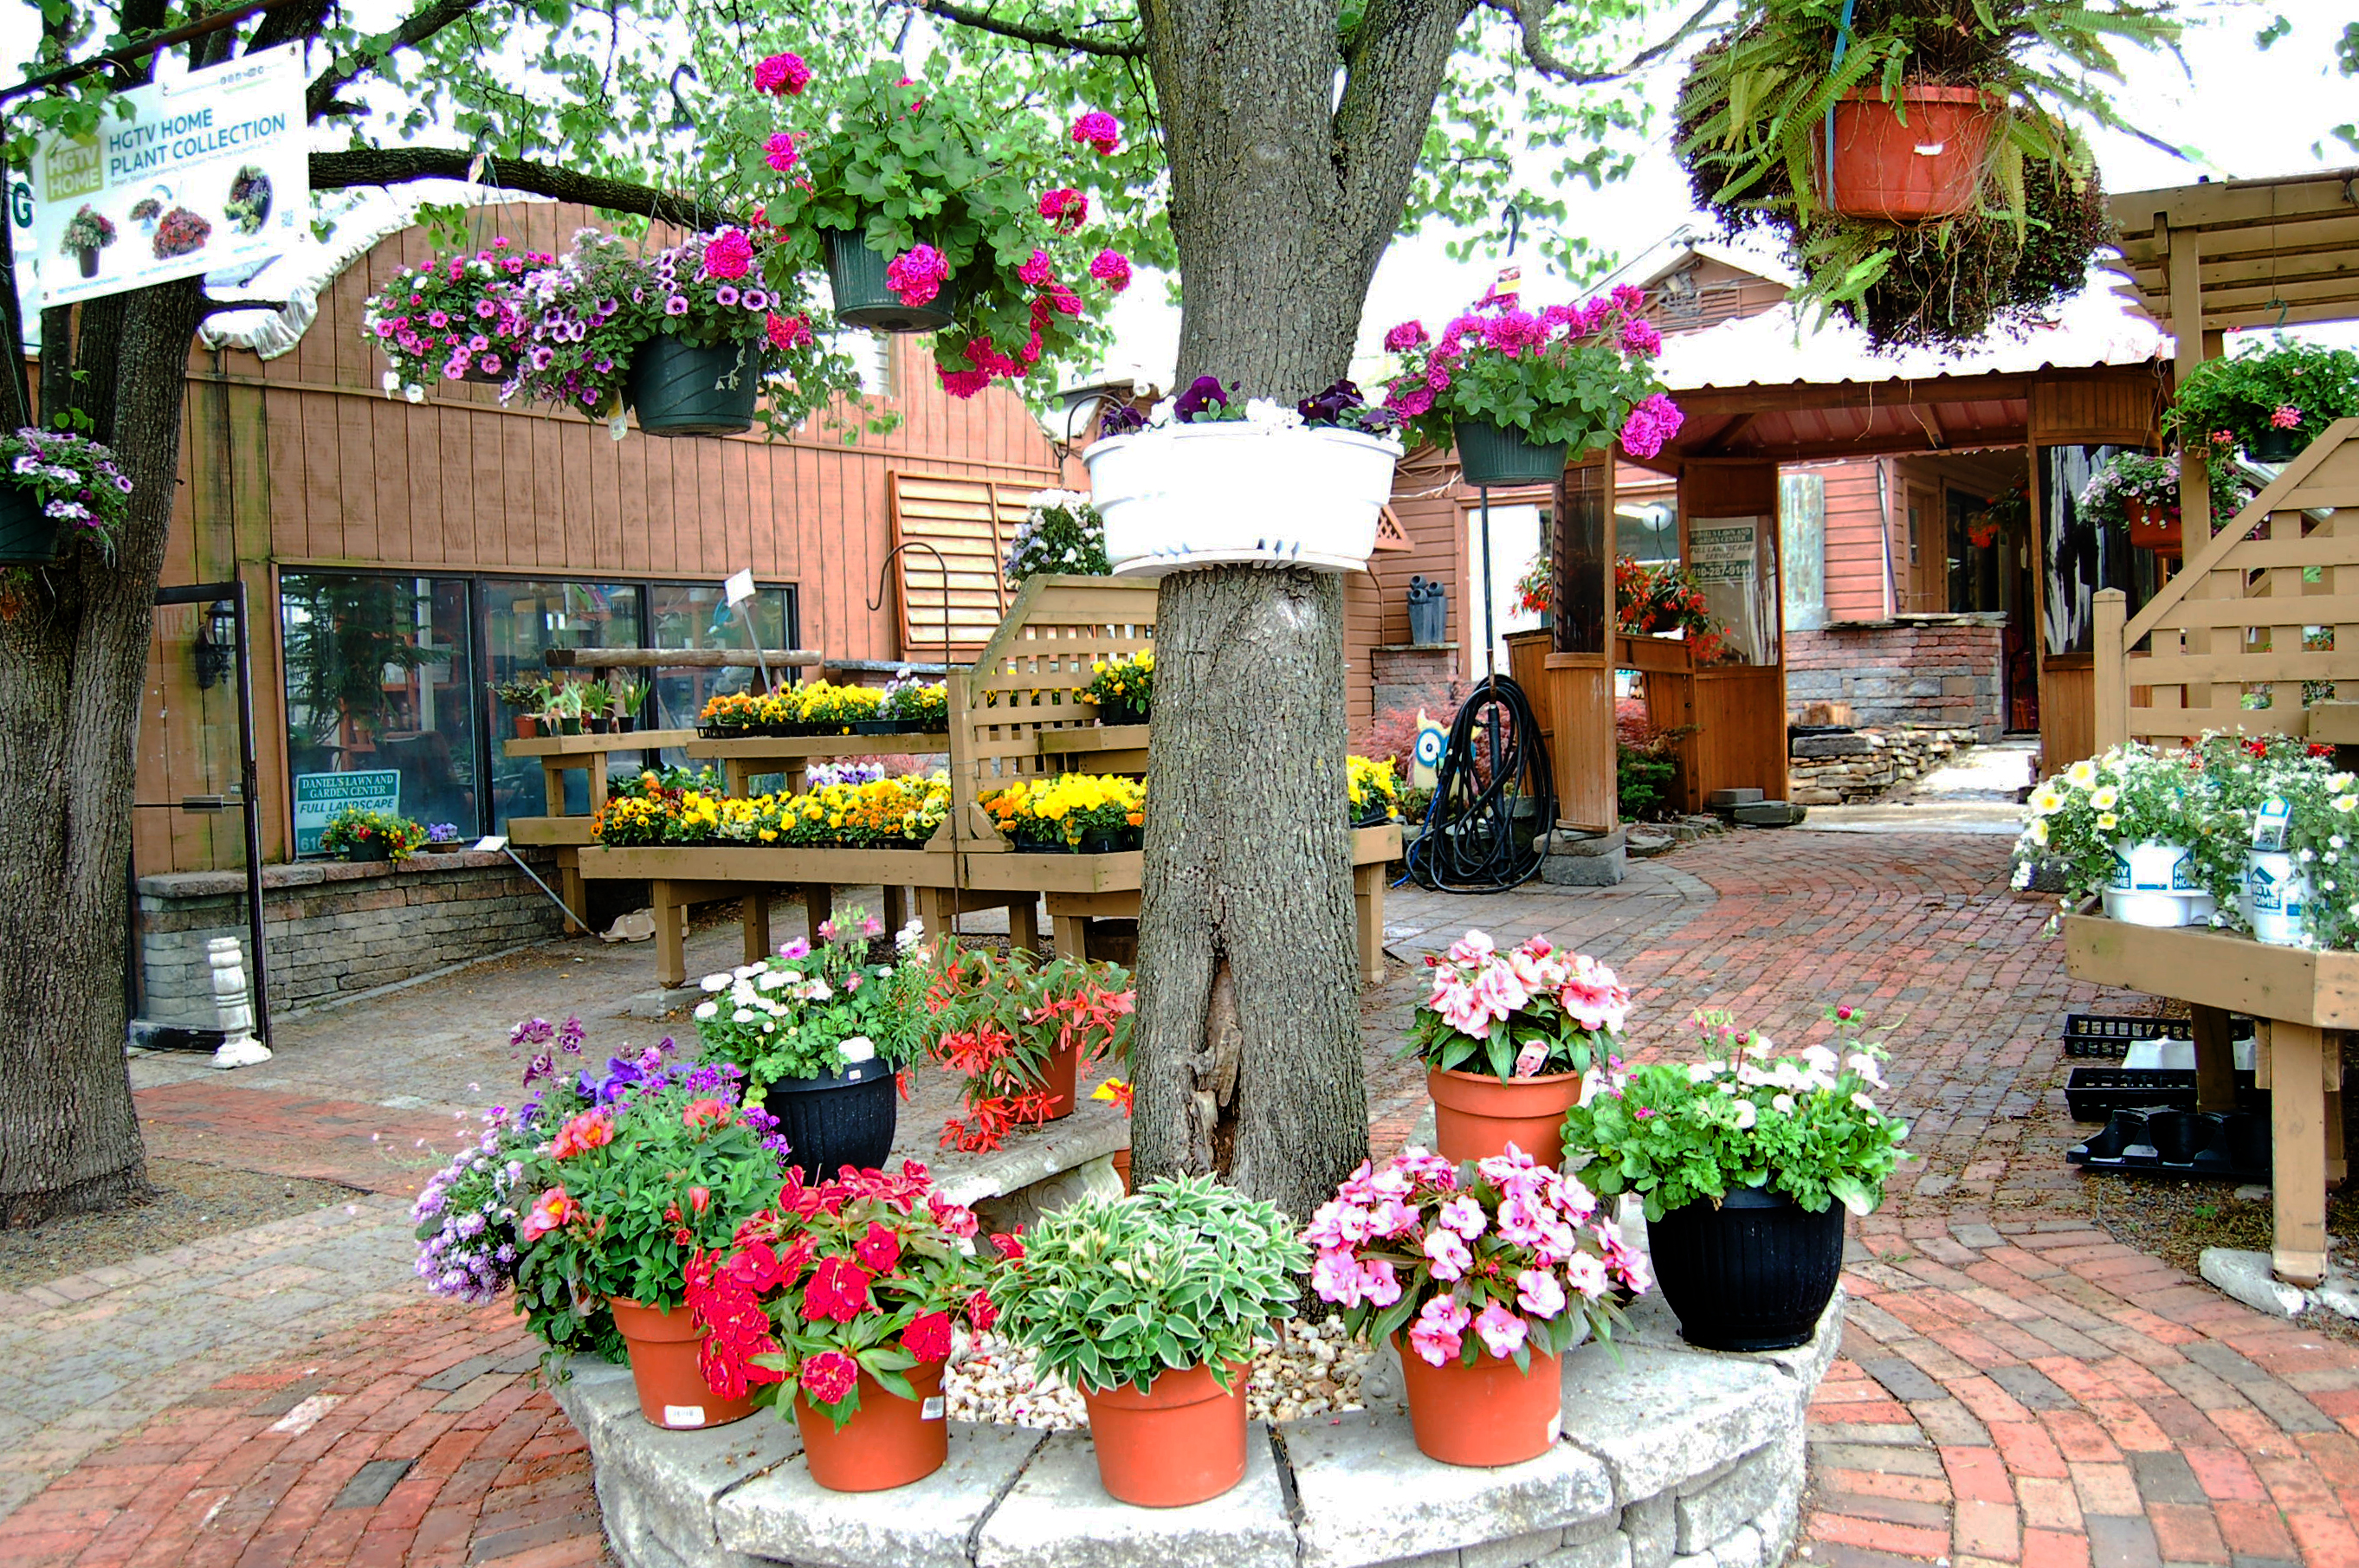
Mother’s Day Savings!
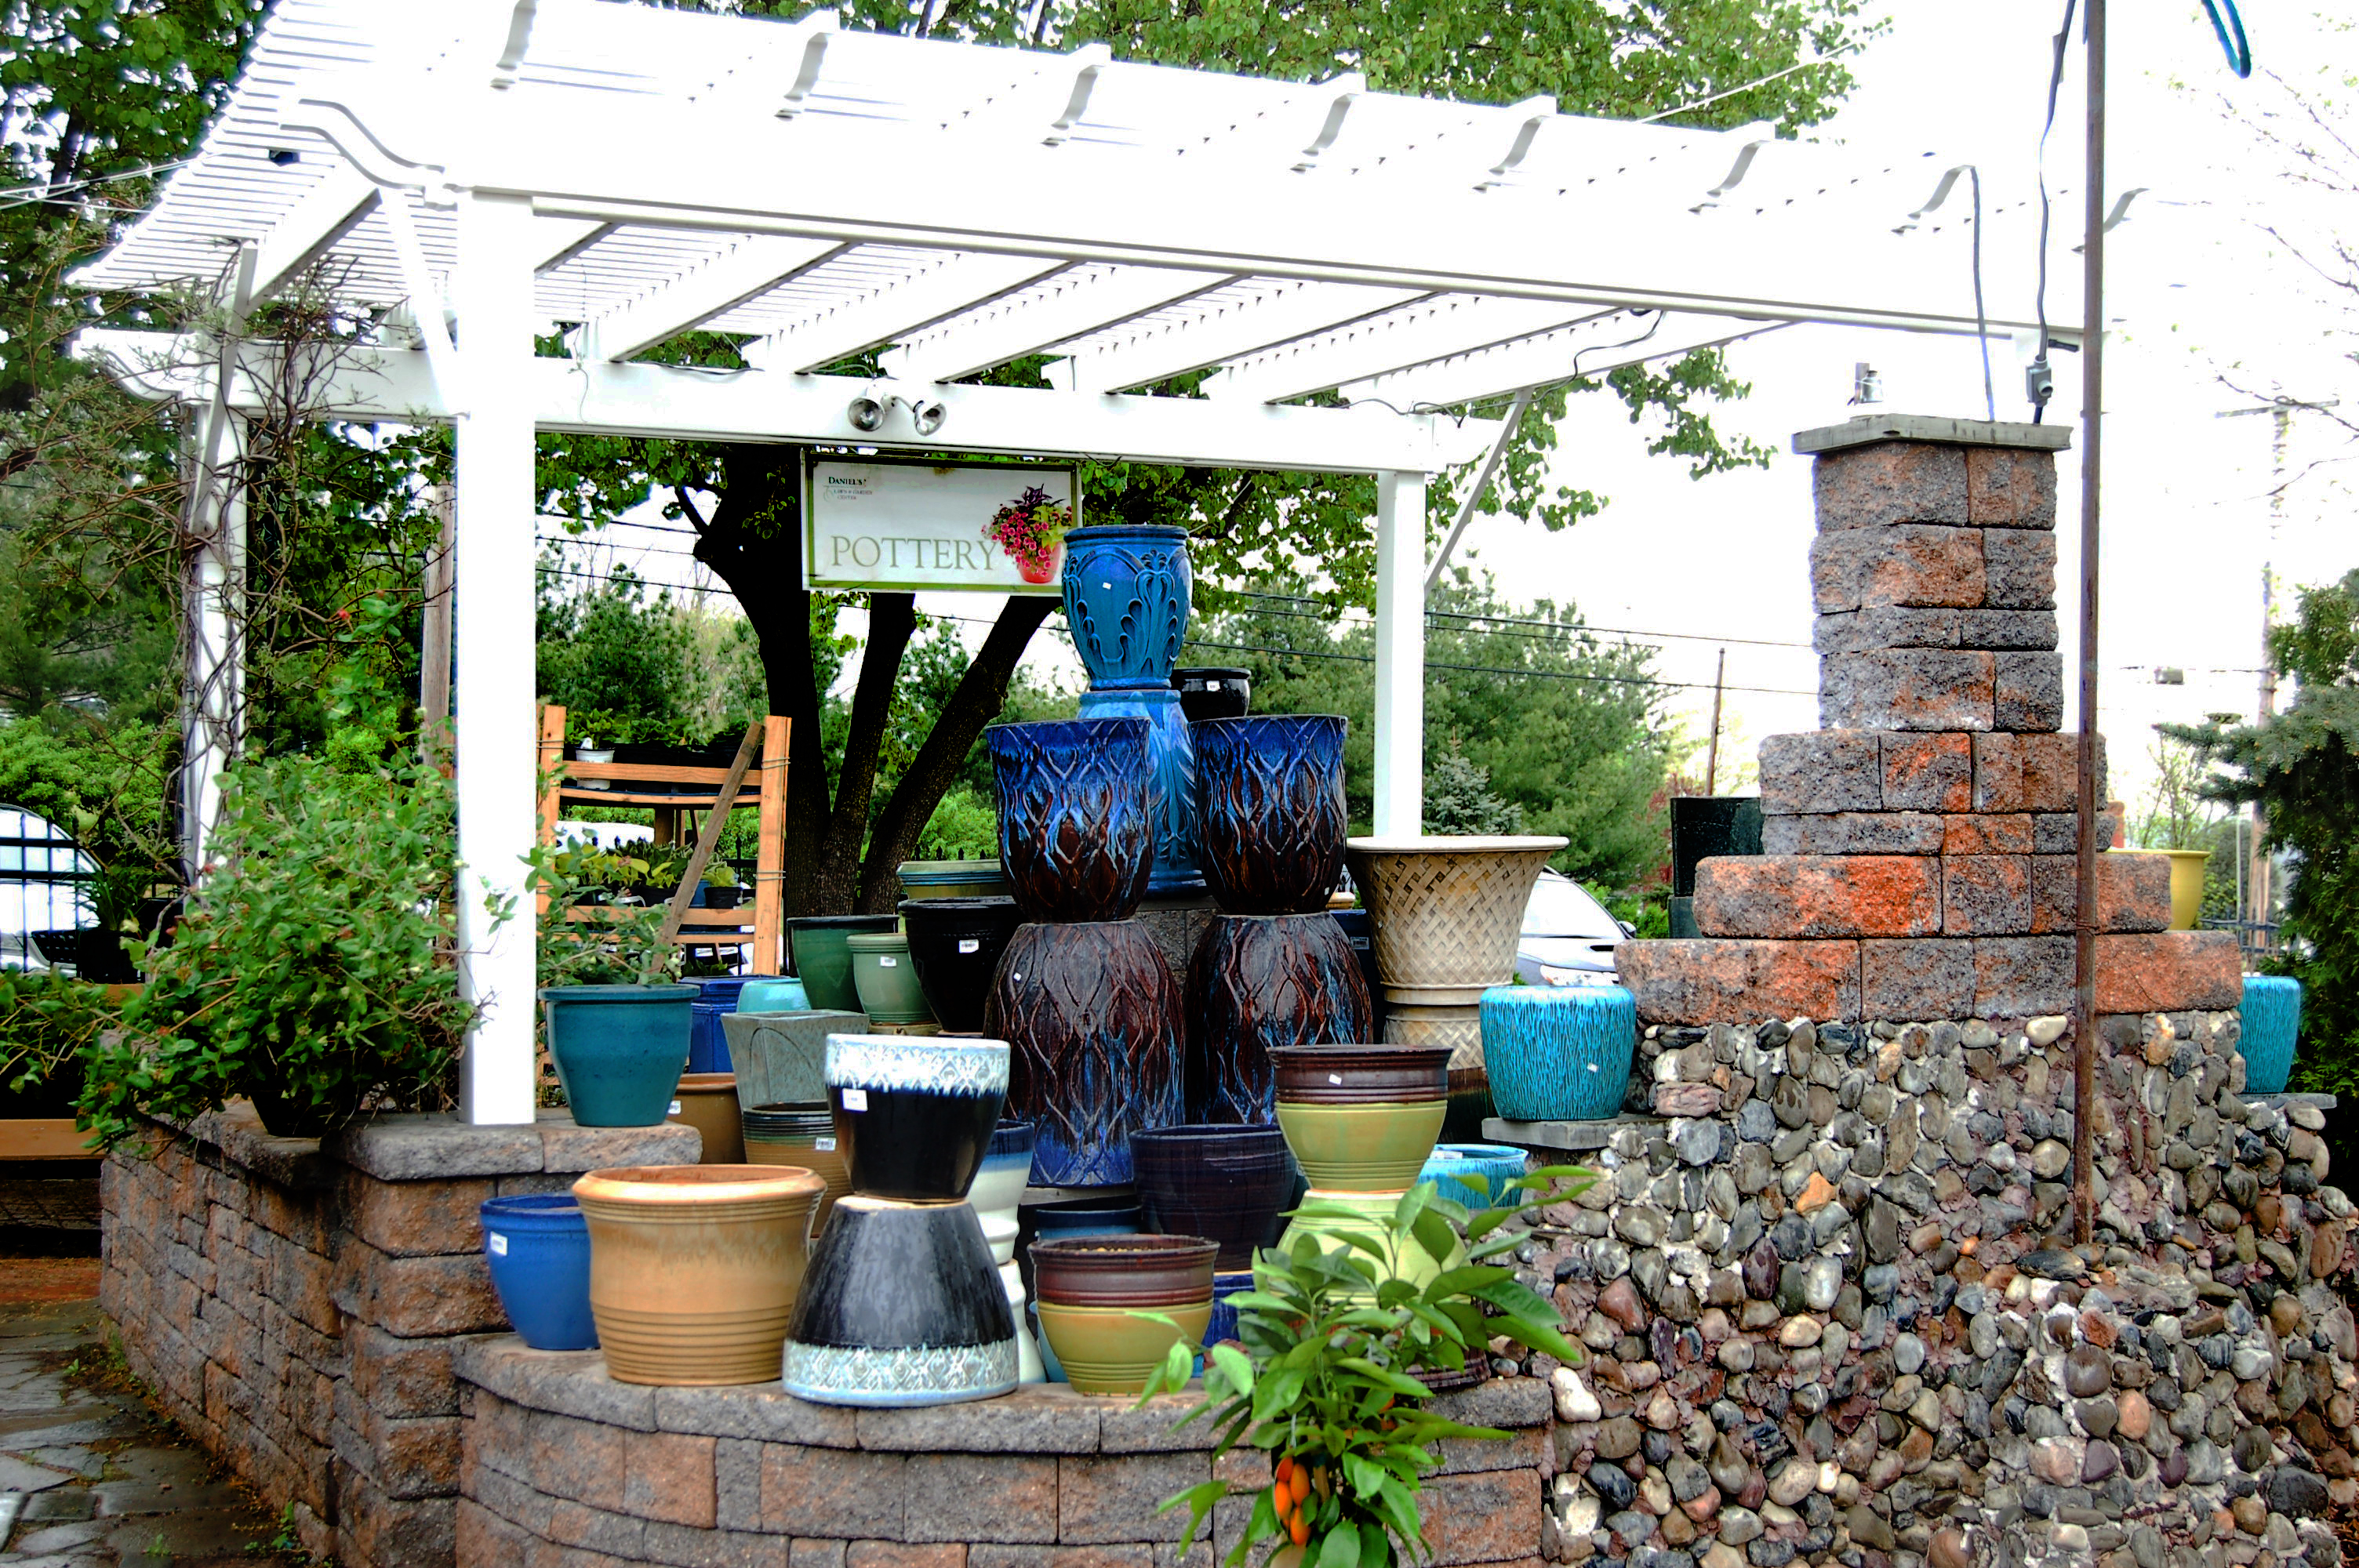
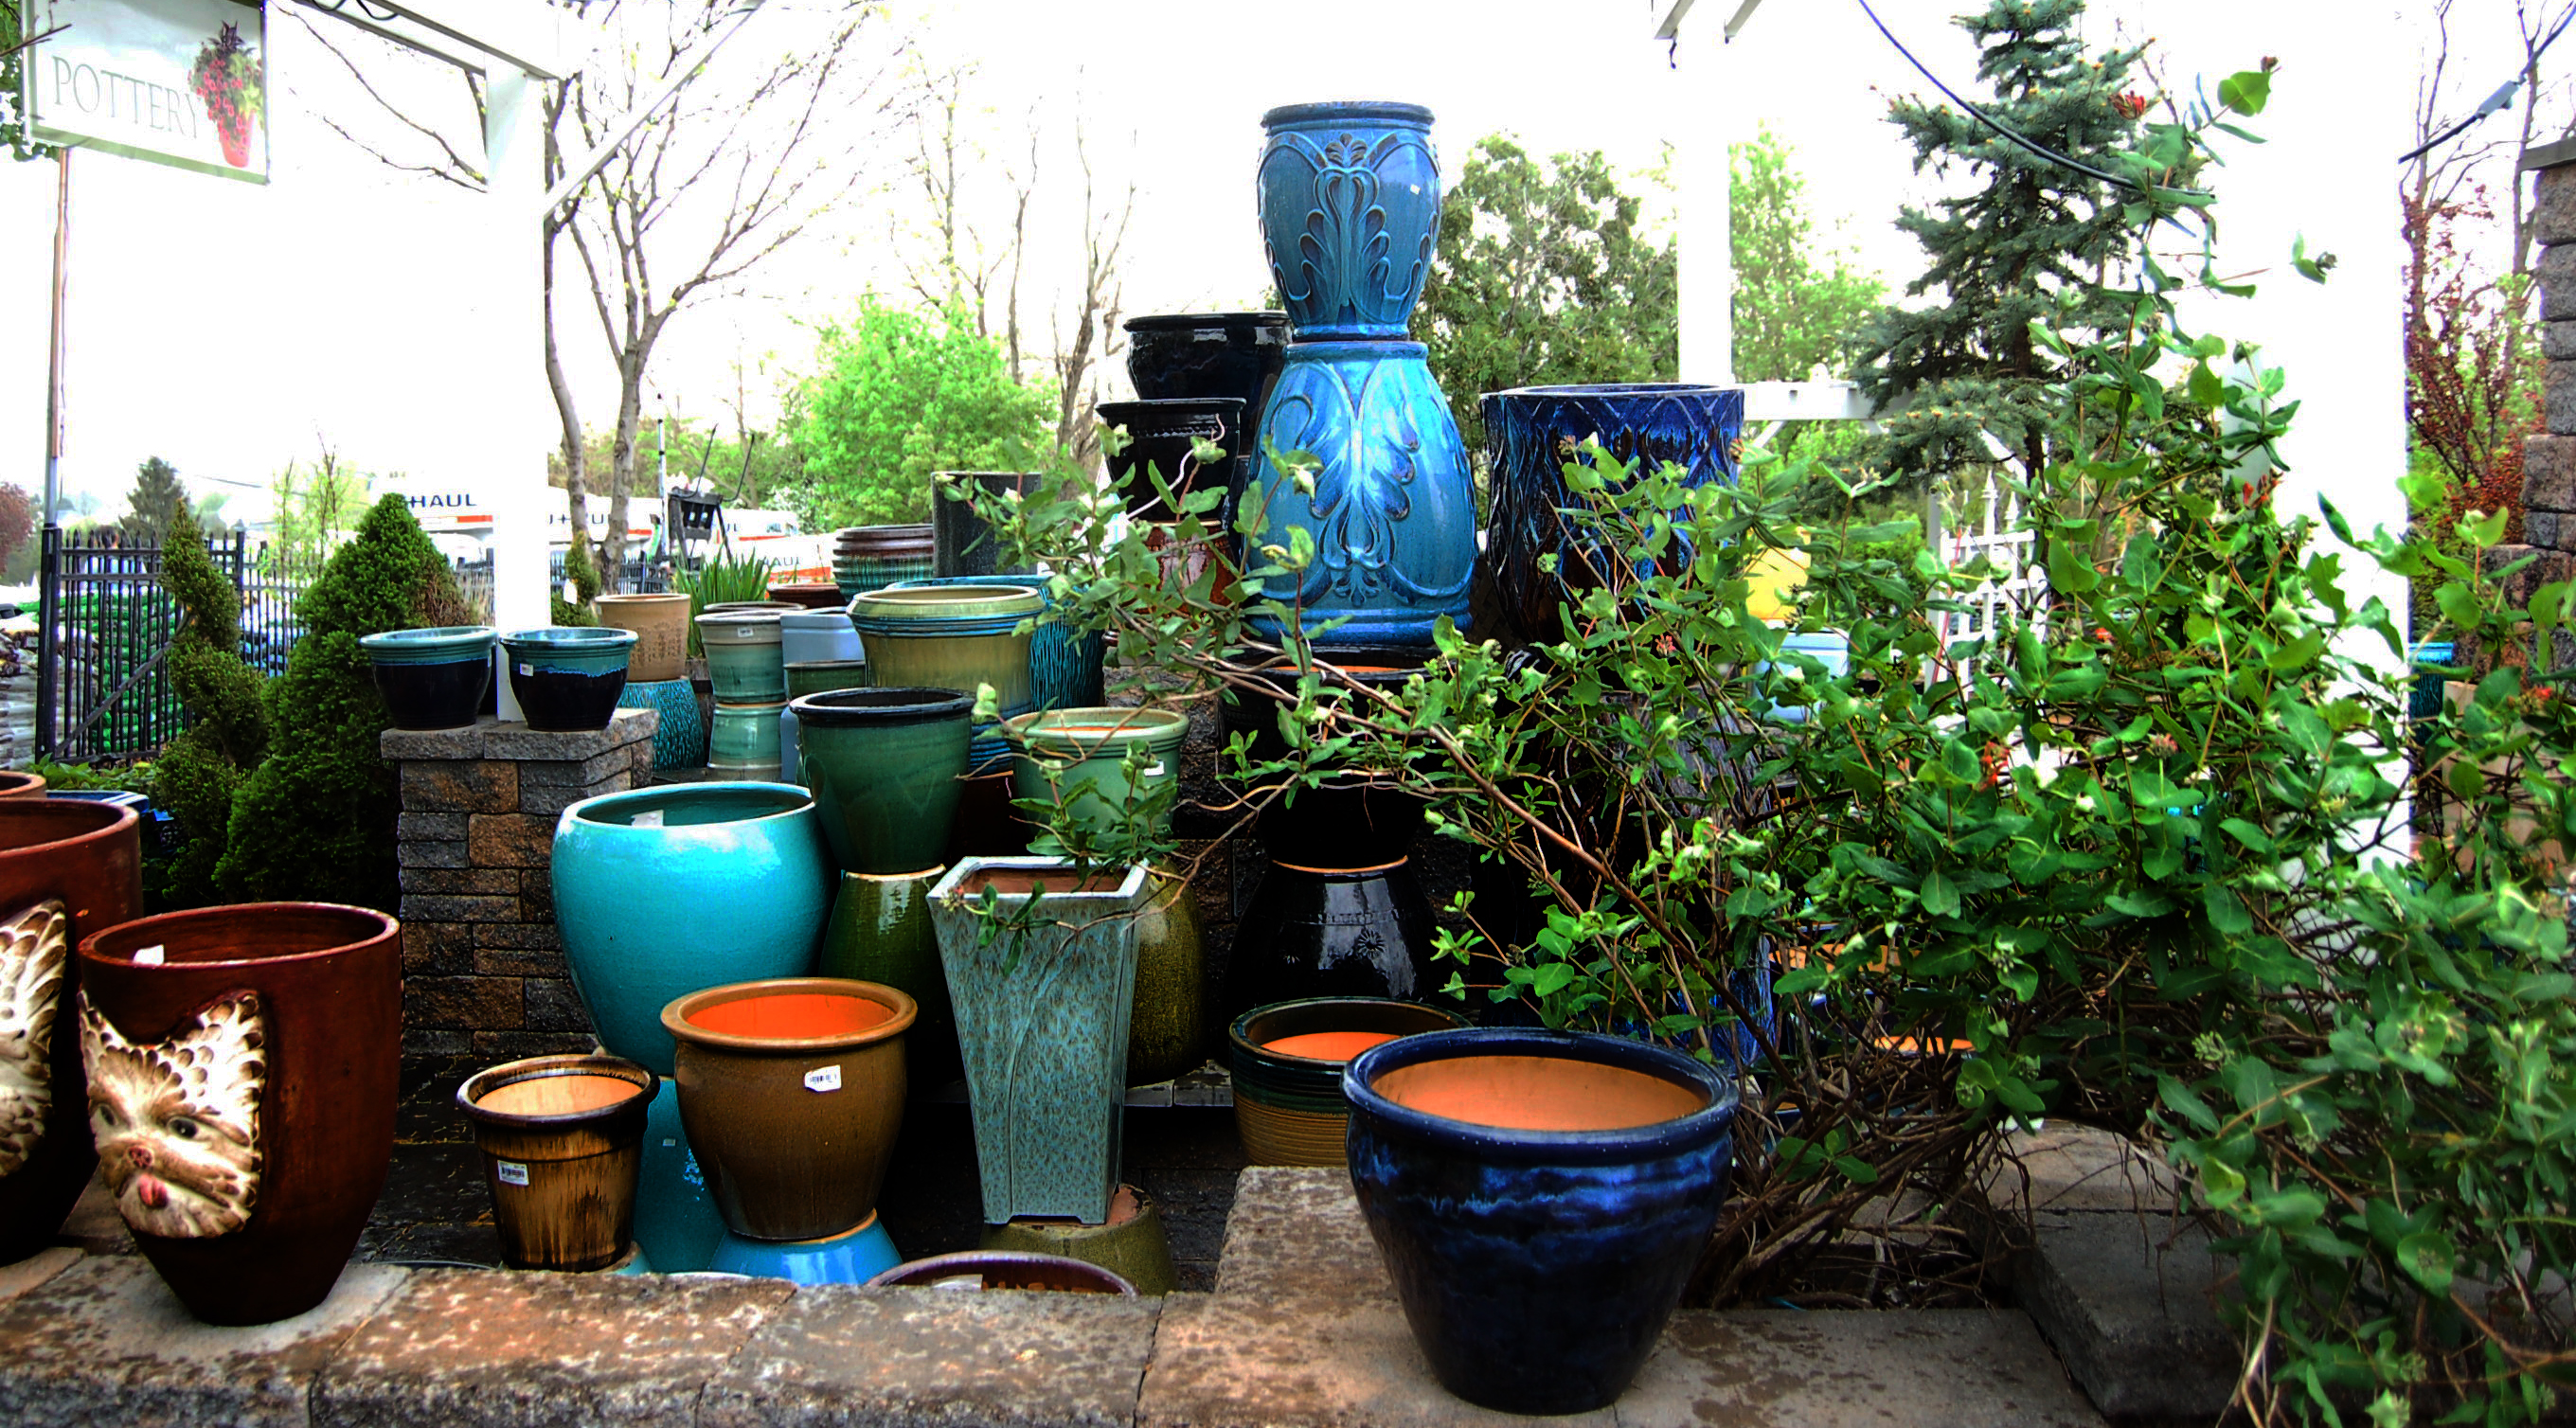
MAKE MOM FEEL SPECIAL THIS WEEKEND! SHOP OUR EXTENSIVE SELECTION OF HANGING BASKETS, ANNUALS, PERENNIALS, INDOOR PLANTS AND POTTERY!

Mother’s Day is just around the corner this Sunday, May 8, and nothing says, “You’re the best,” quite like a living, breathing reminder of all the life and love mothers pour into our hearts. Plant gifts serve as a symbol of growing love, appreciation and gratitude for the number one lady in all of our lives.
From tropical foliage to traditional blooms, capture all you want to say with a lovely indoor plant for mom to centrally display as a reminder of how much you care. Show her how amazing she is with a Mother’s Day plant to brighten her day. After all, she’s always been there to put some extra sunshine in your step – go ahead and return the favor.
SAVE $5 OFF ANY $30 PURCHASE
Stop on by!
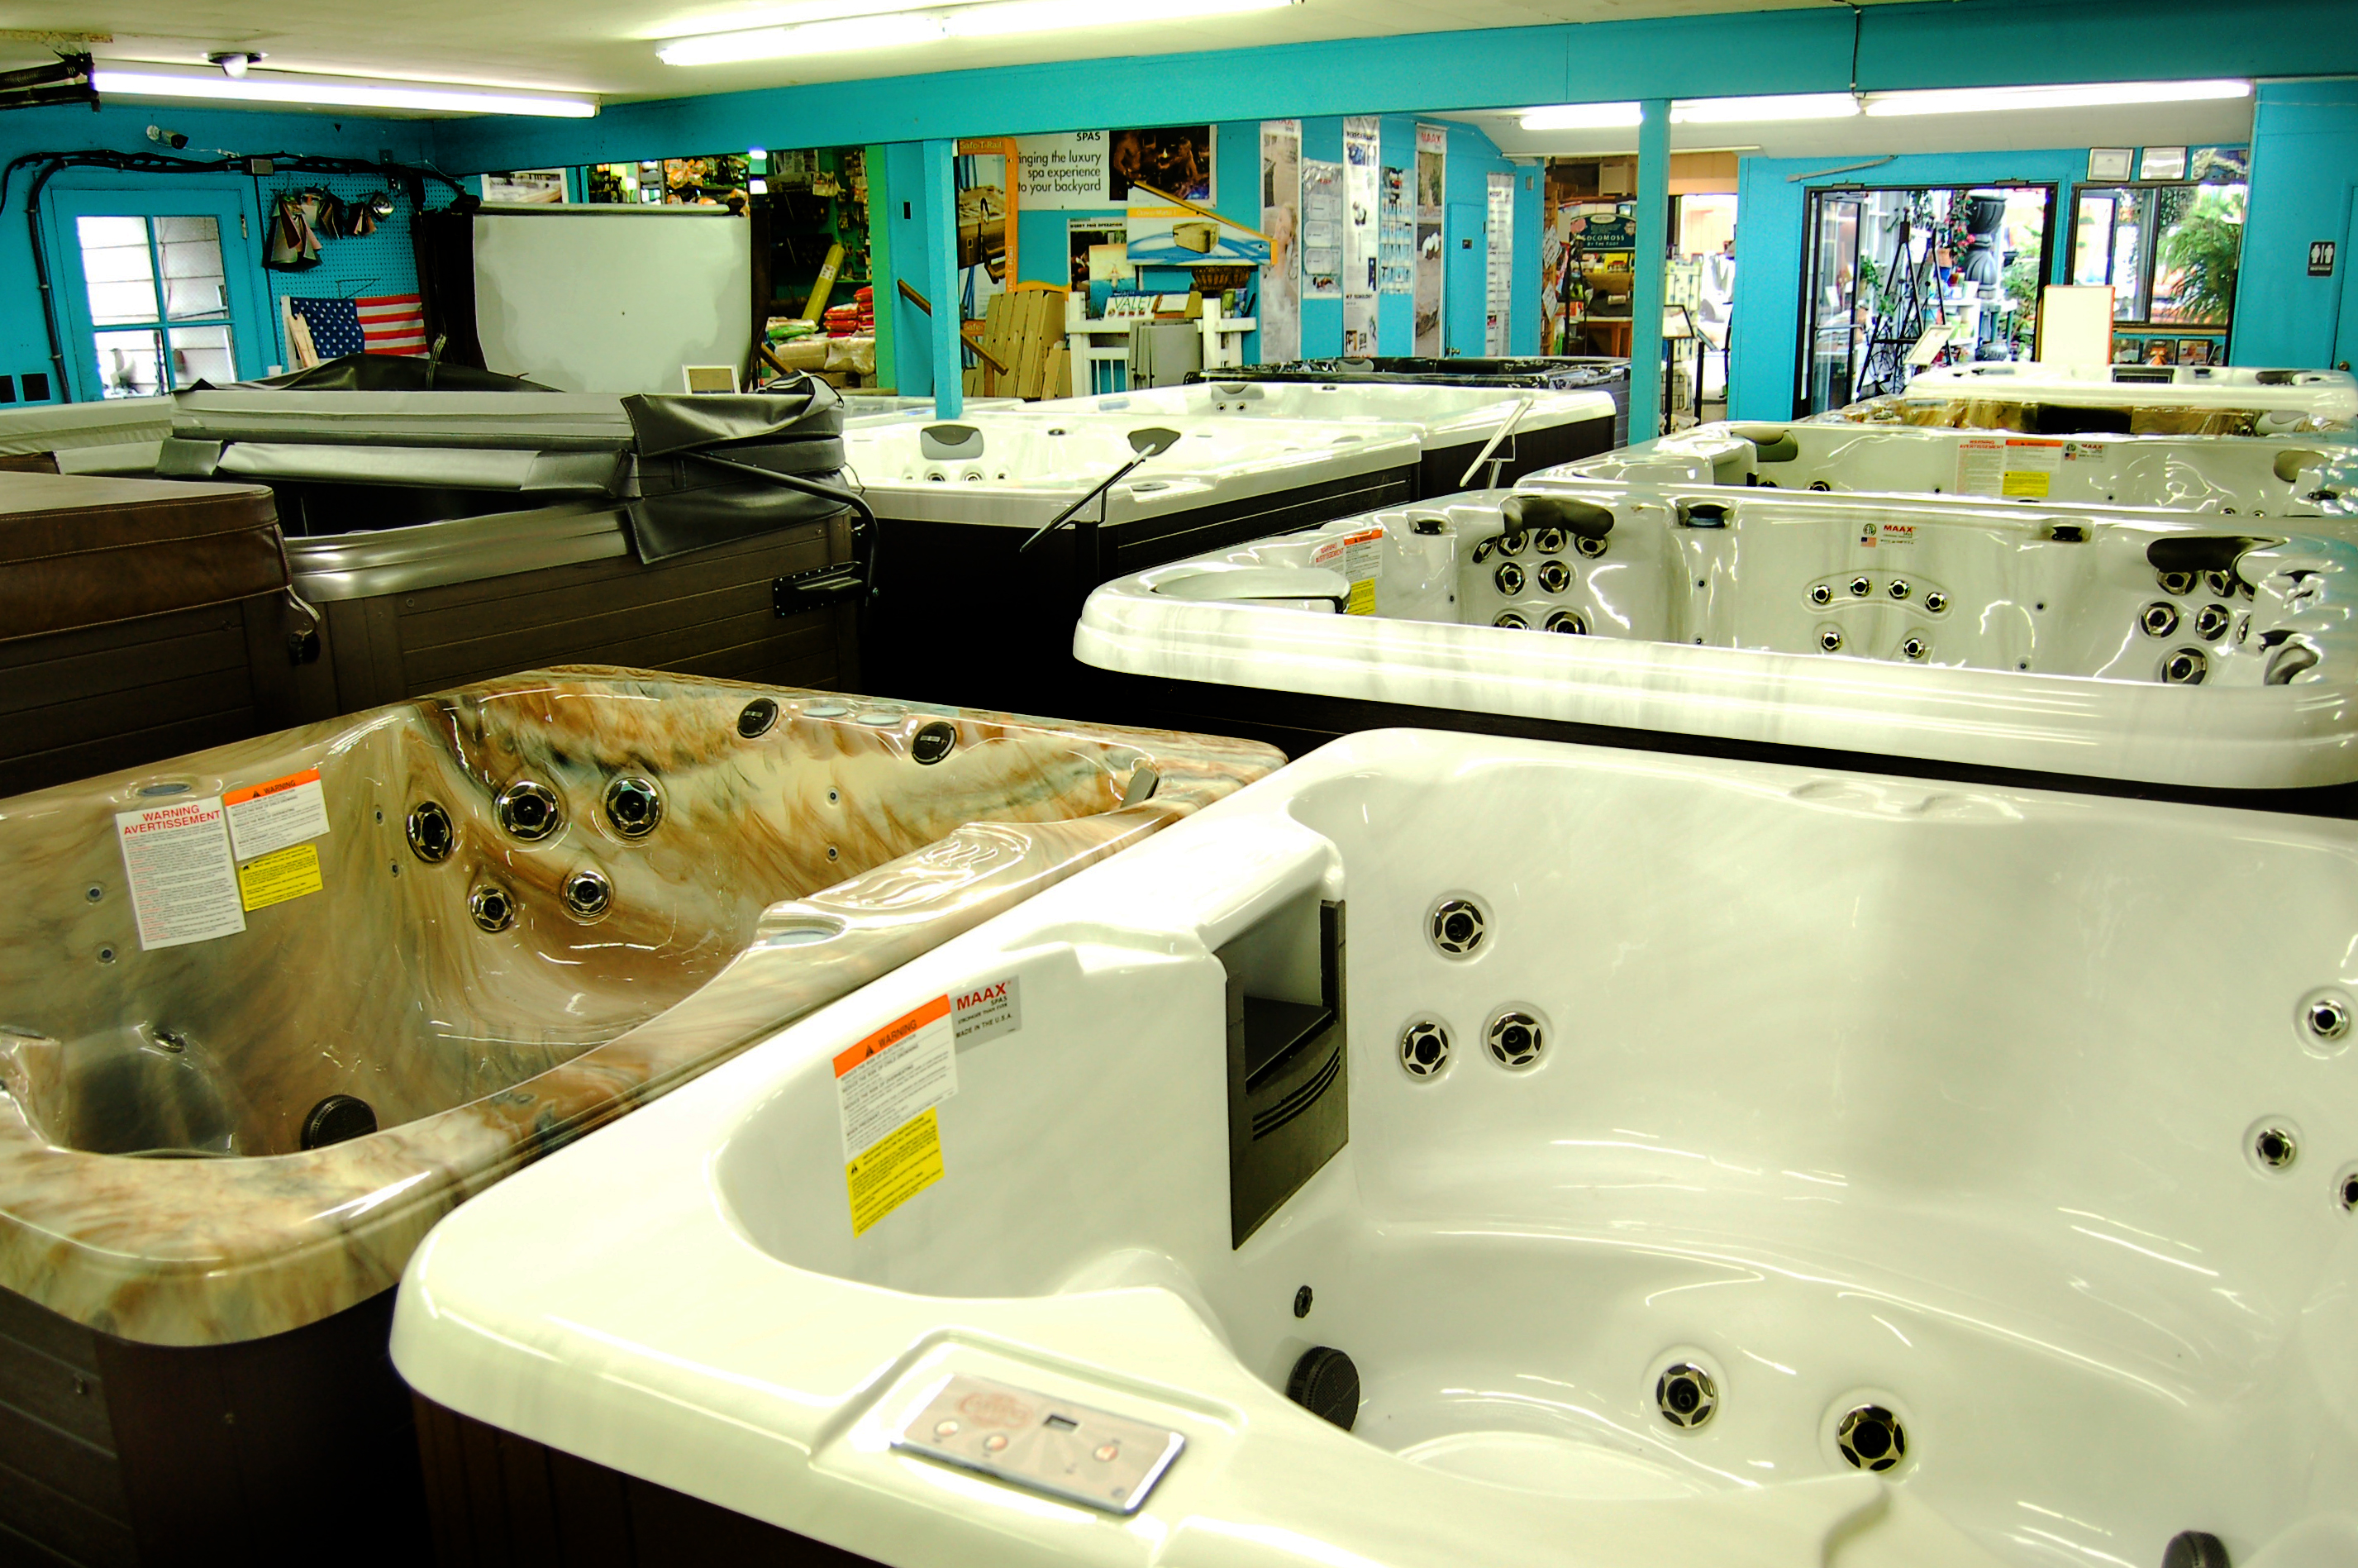
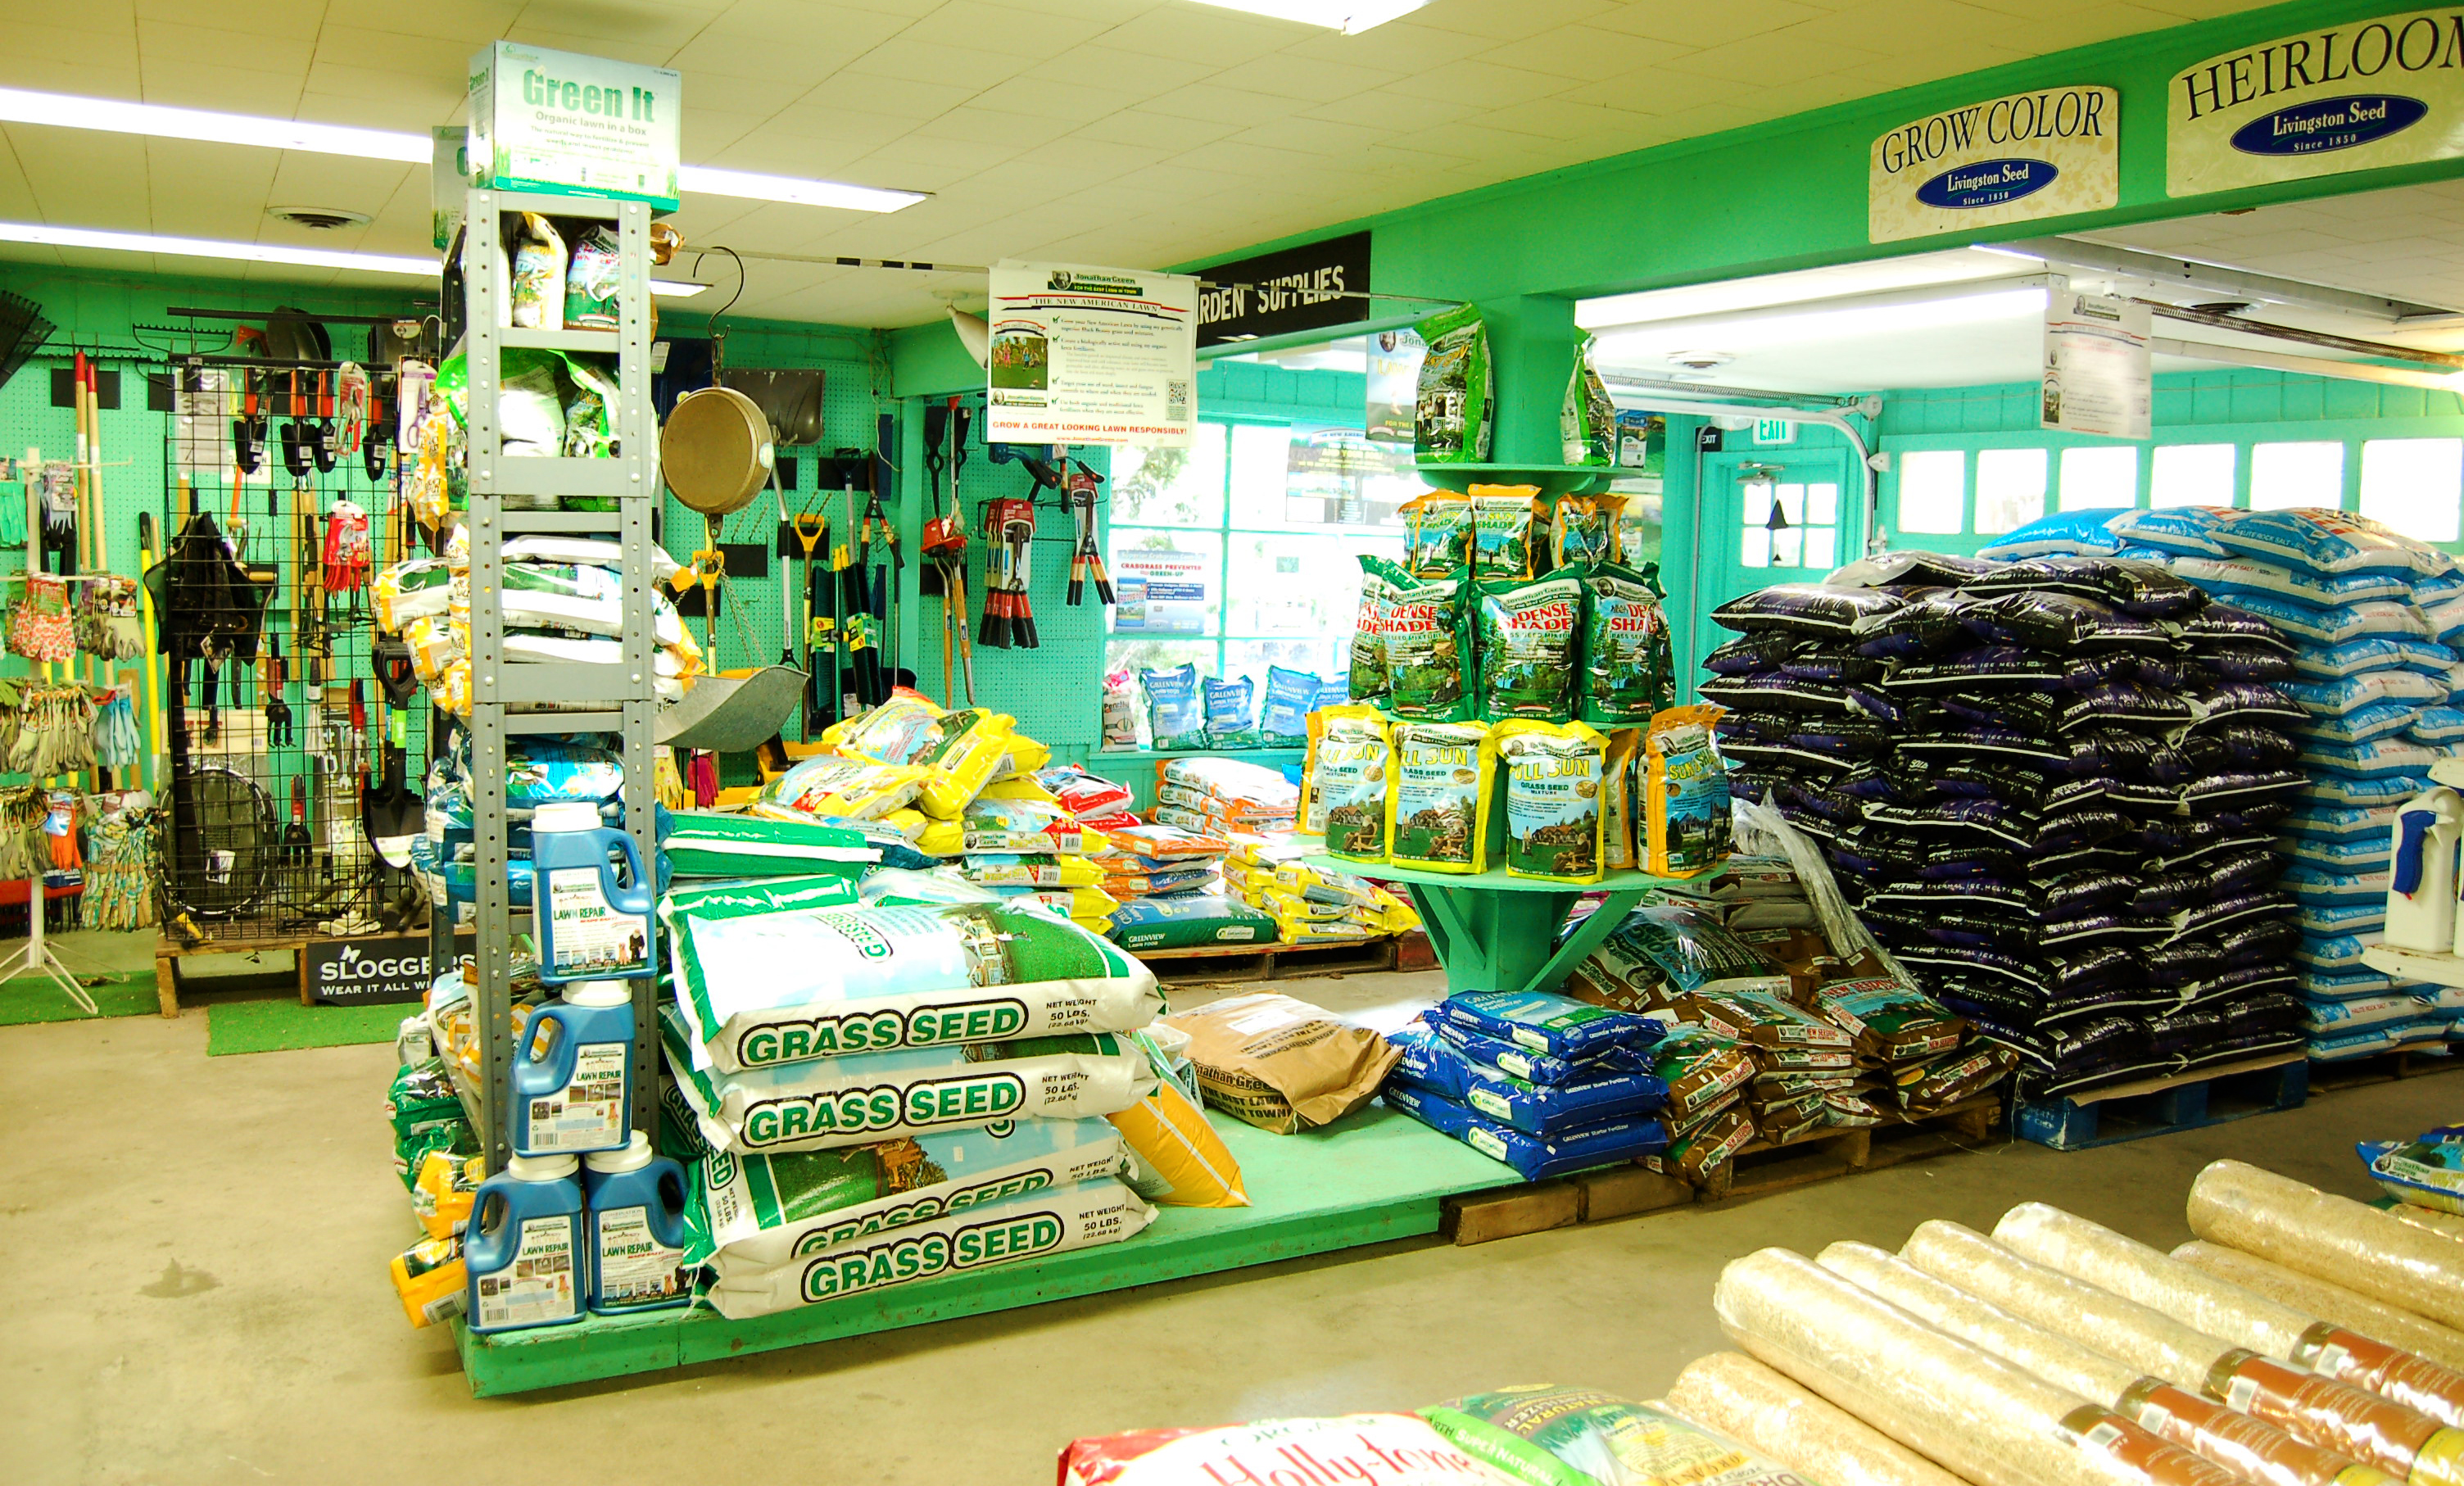
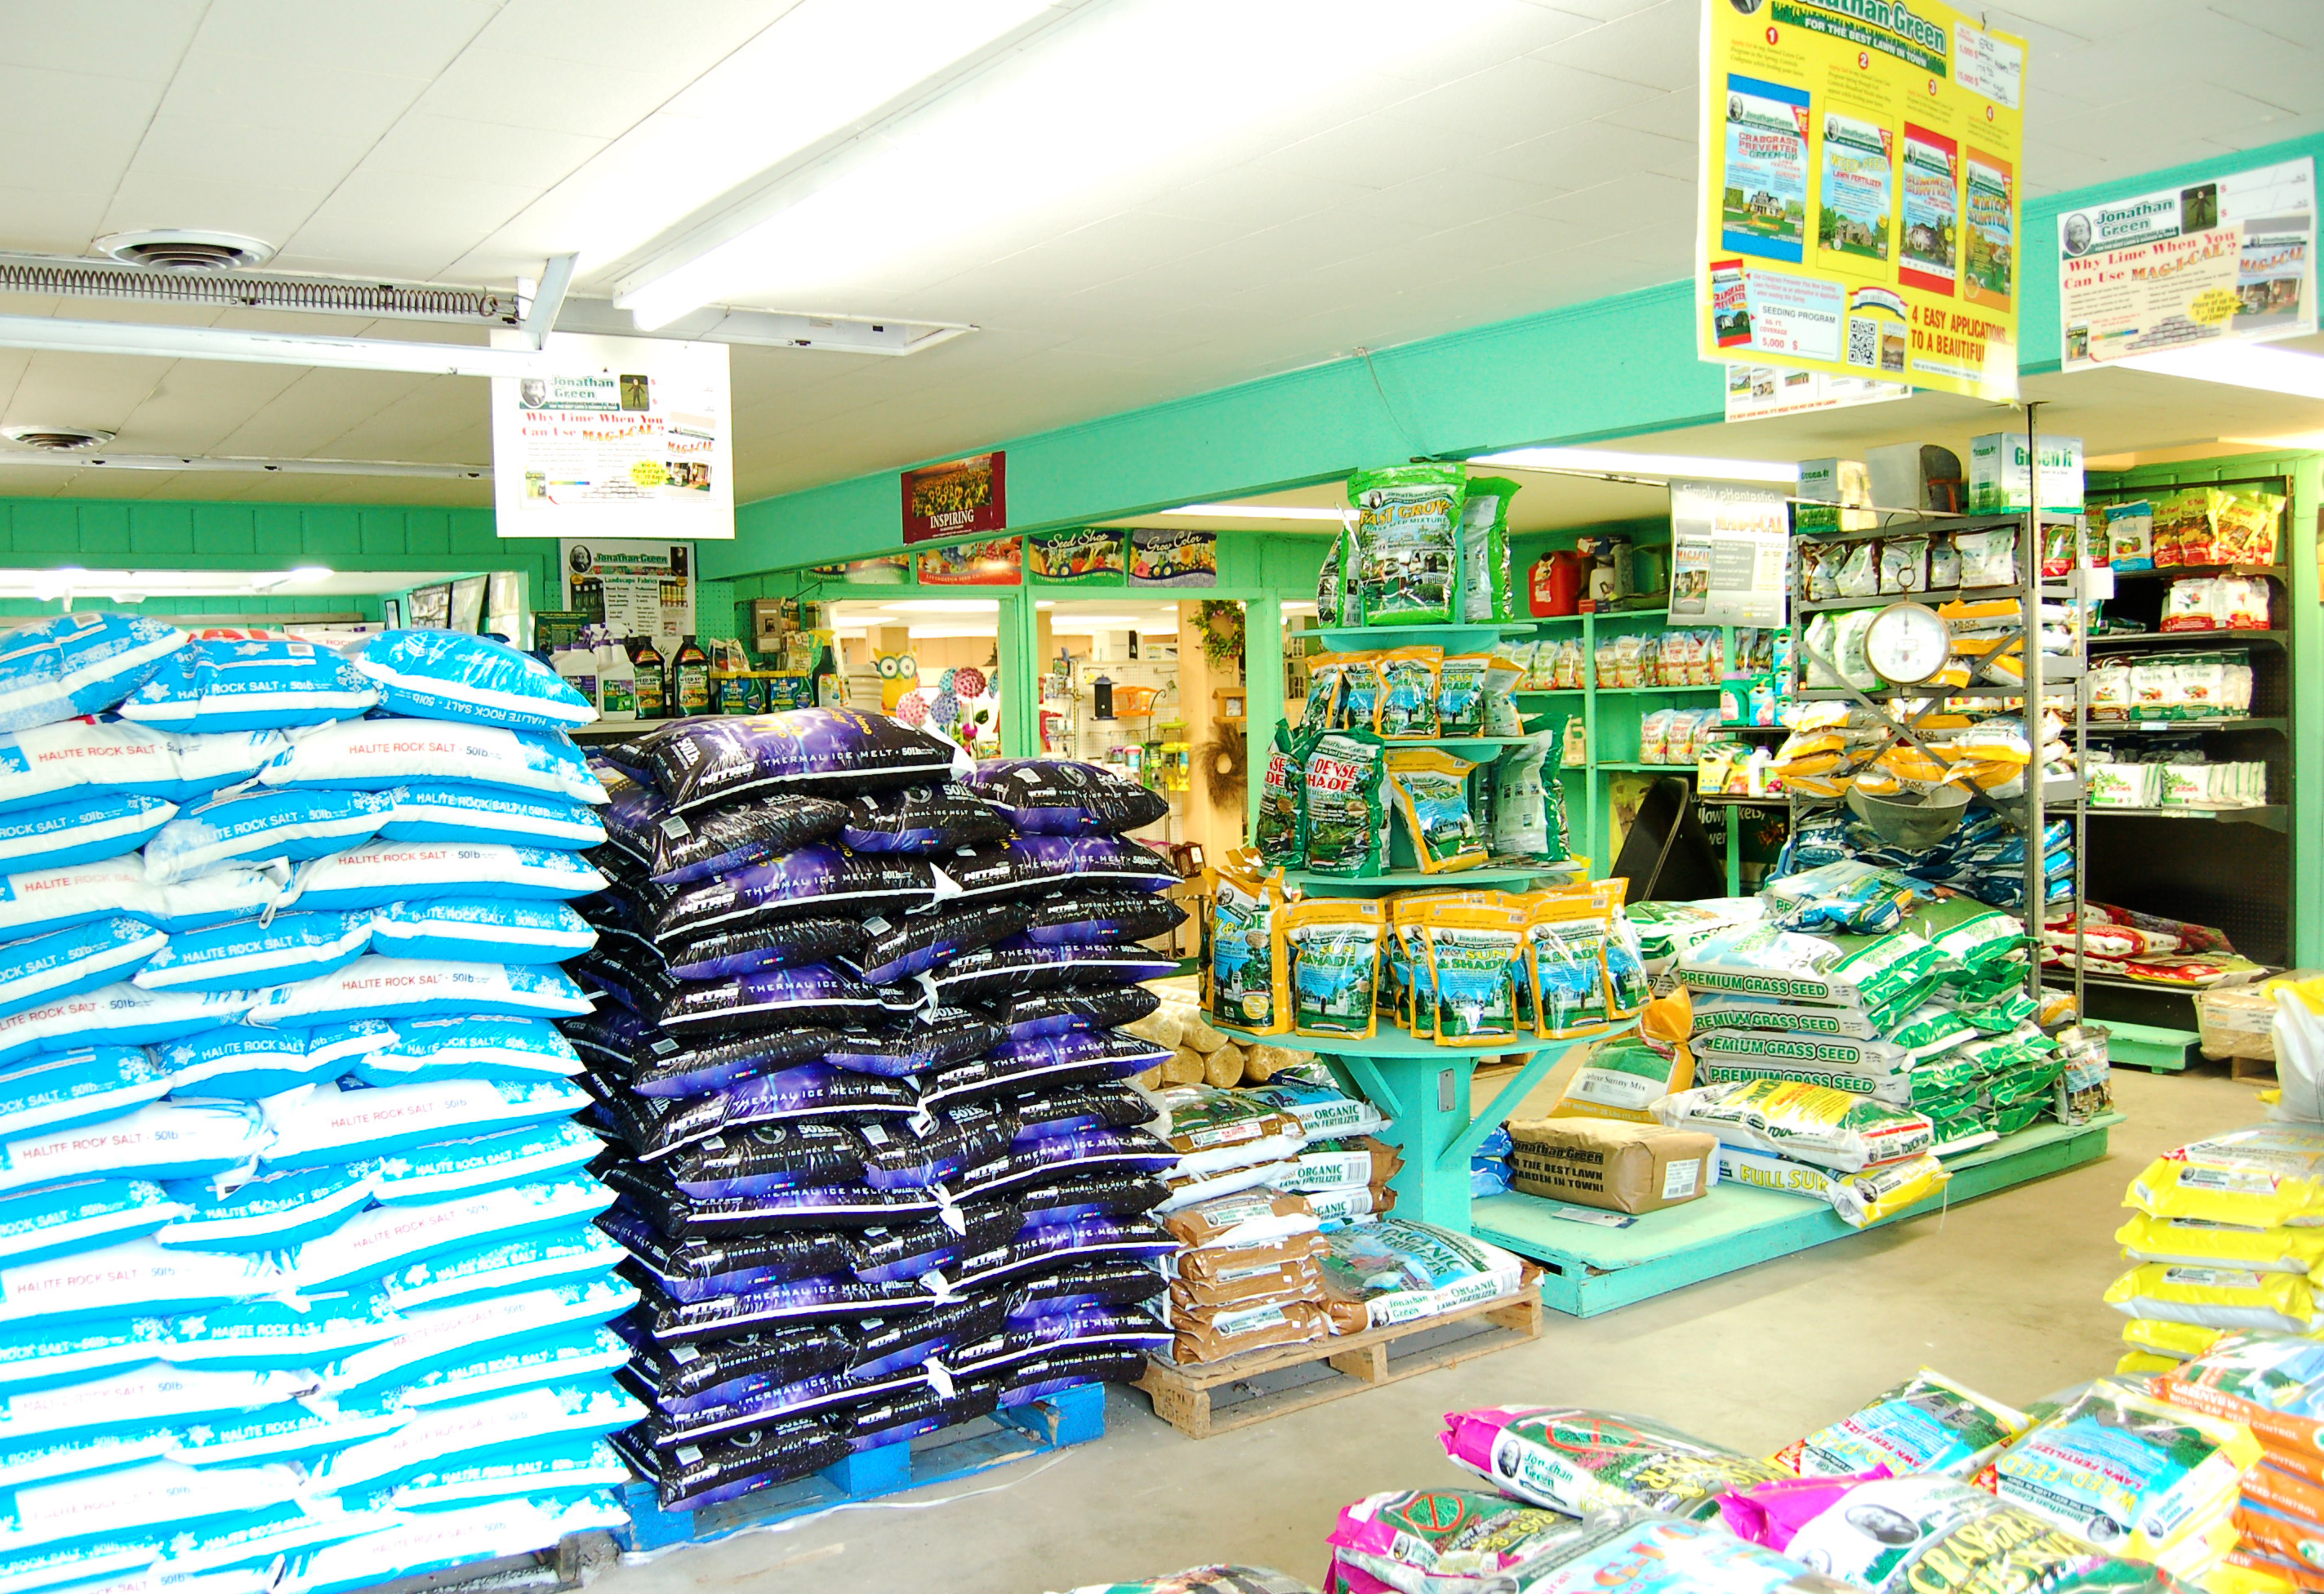
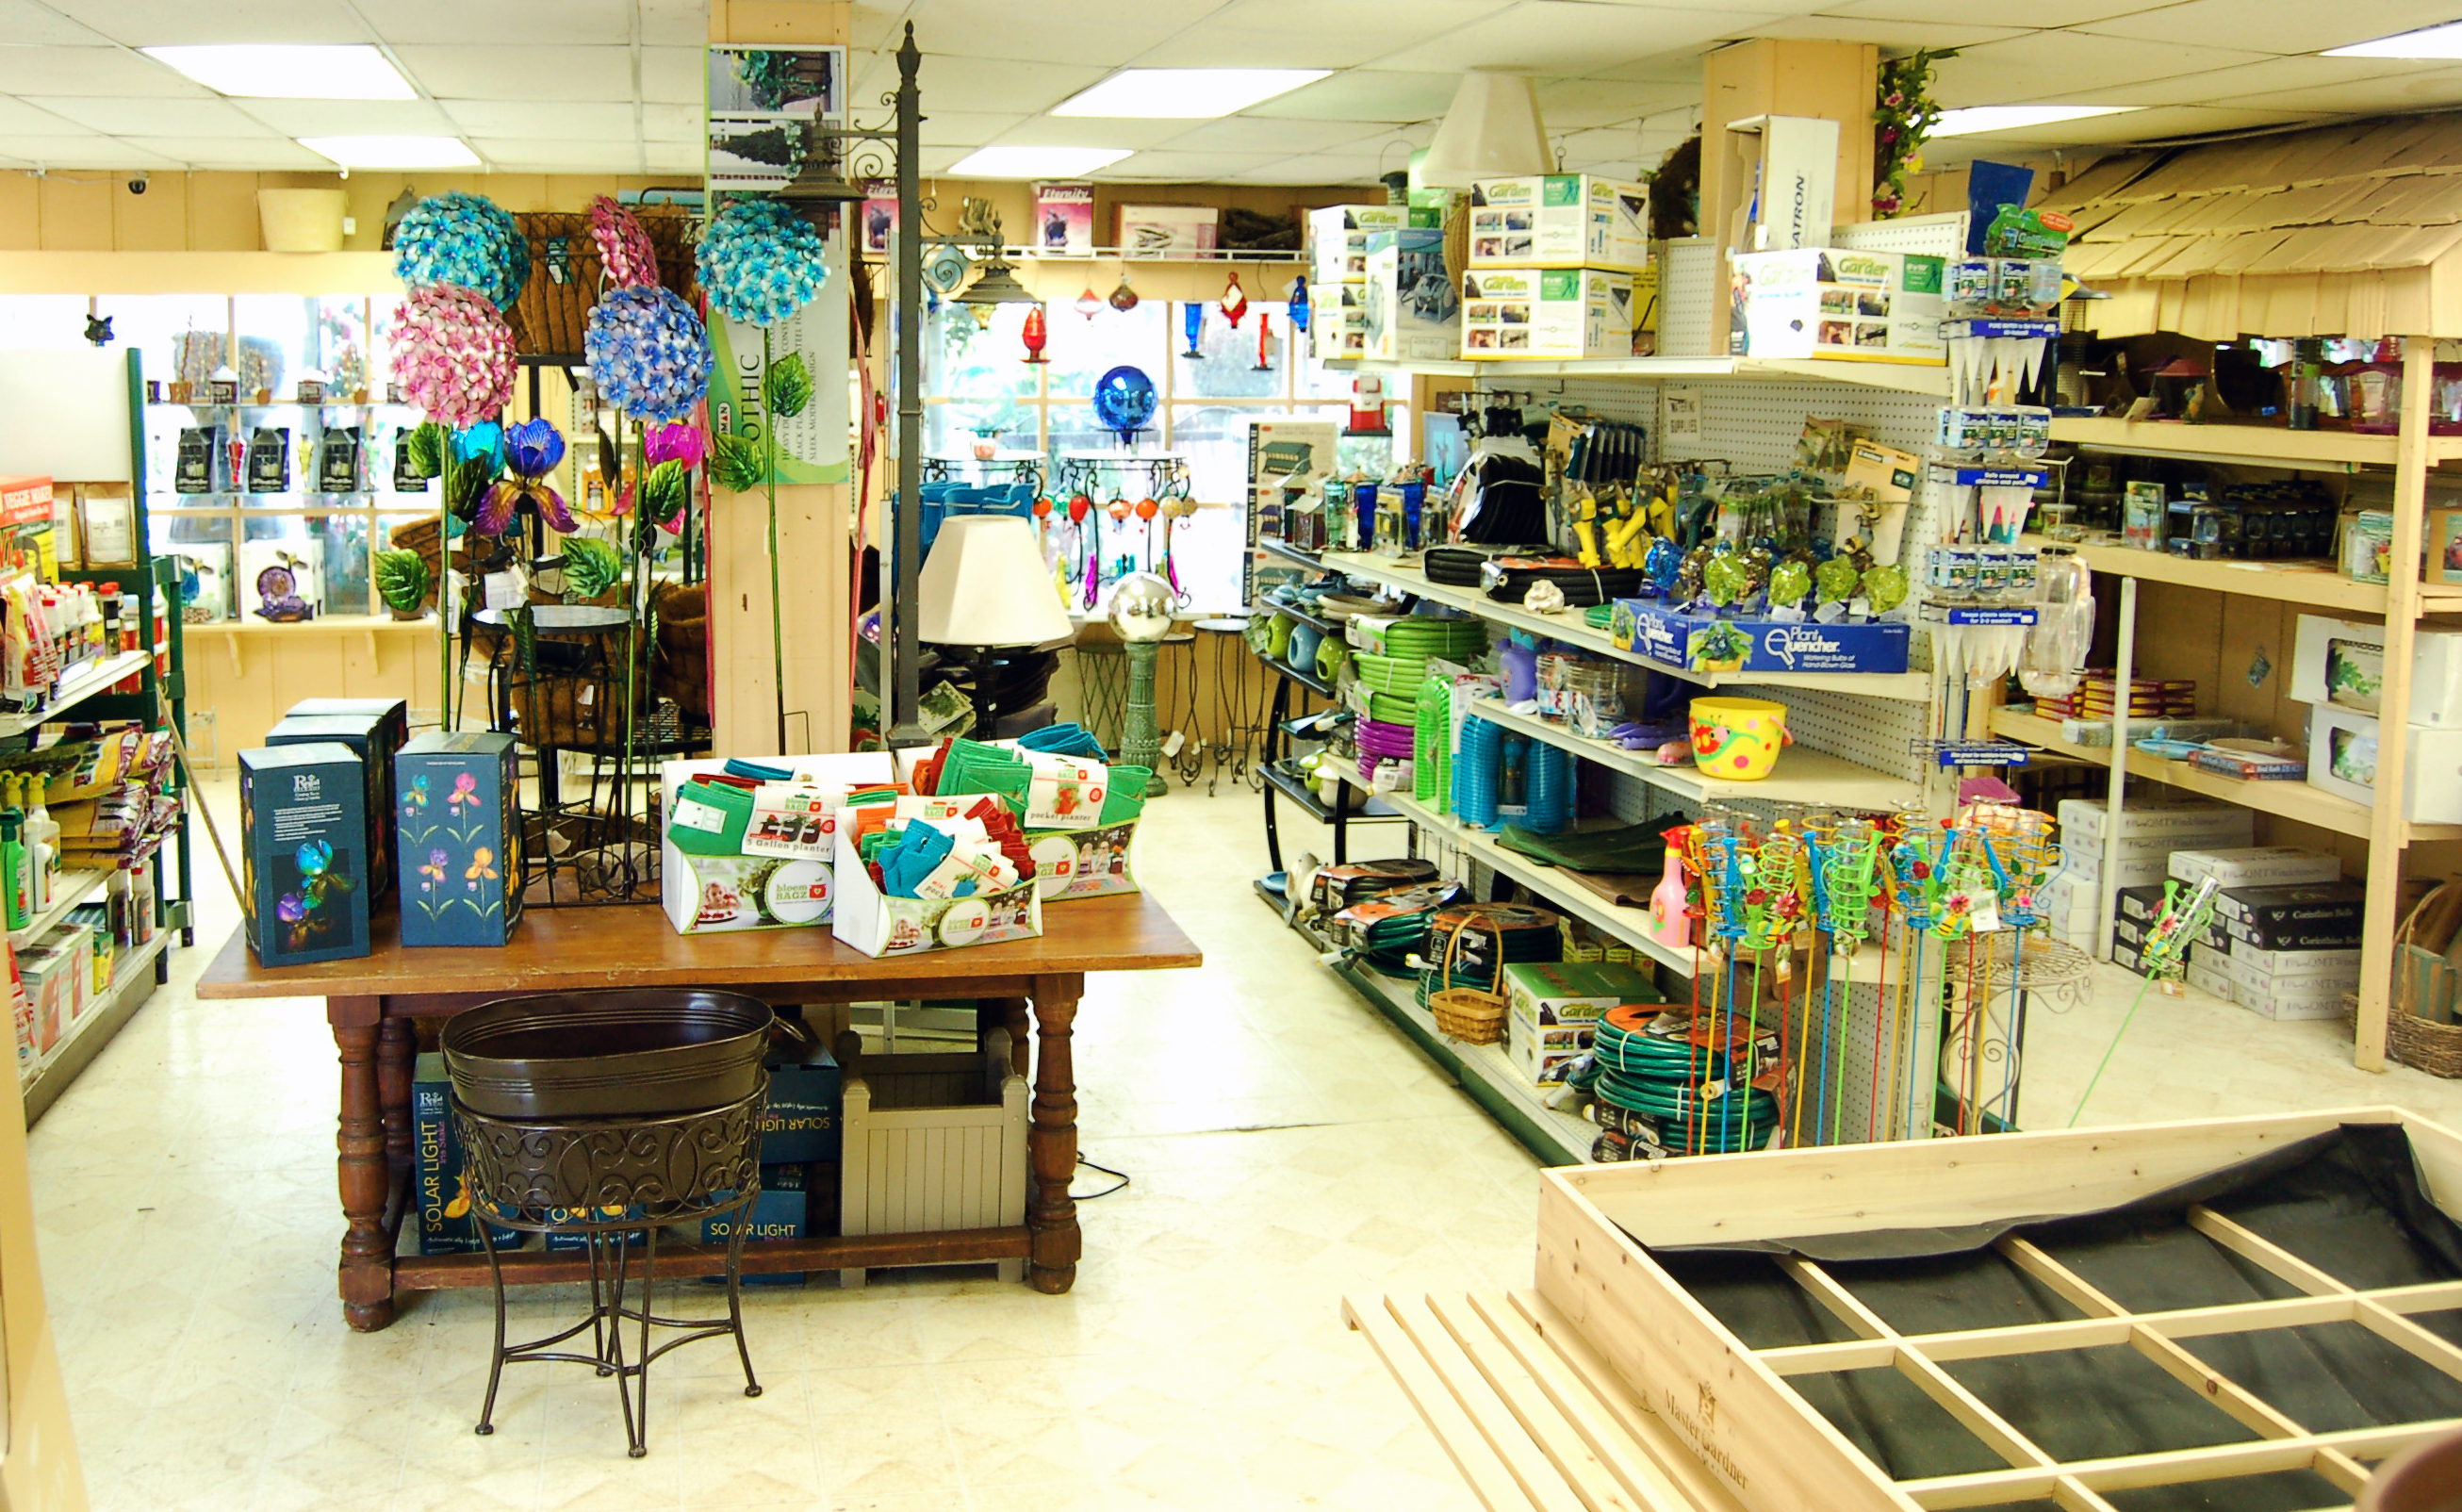
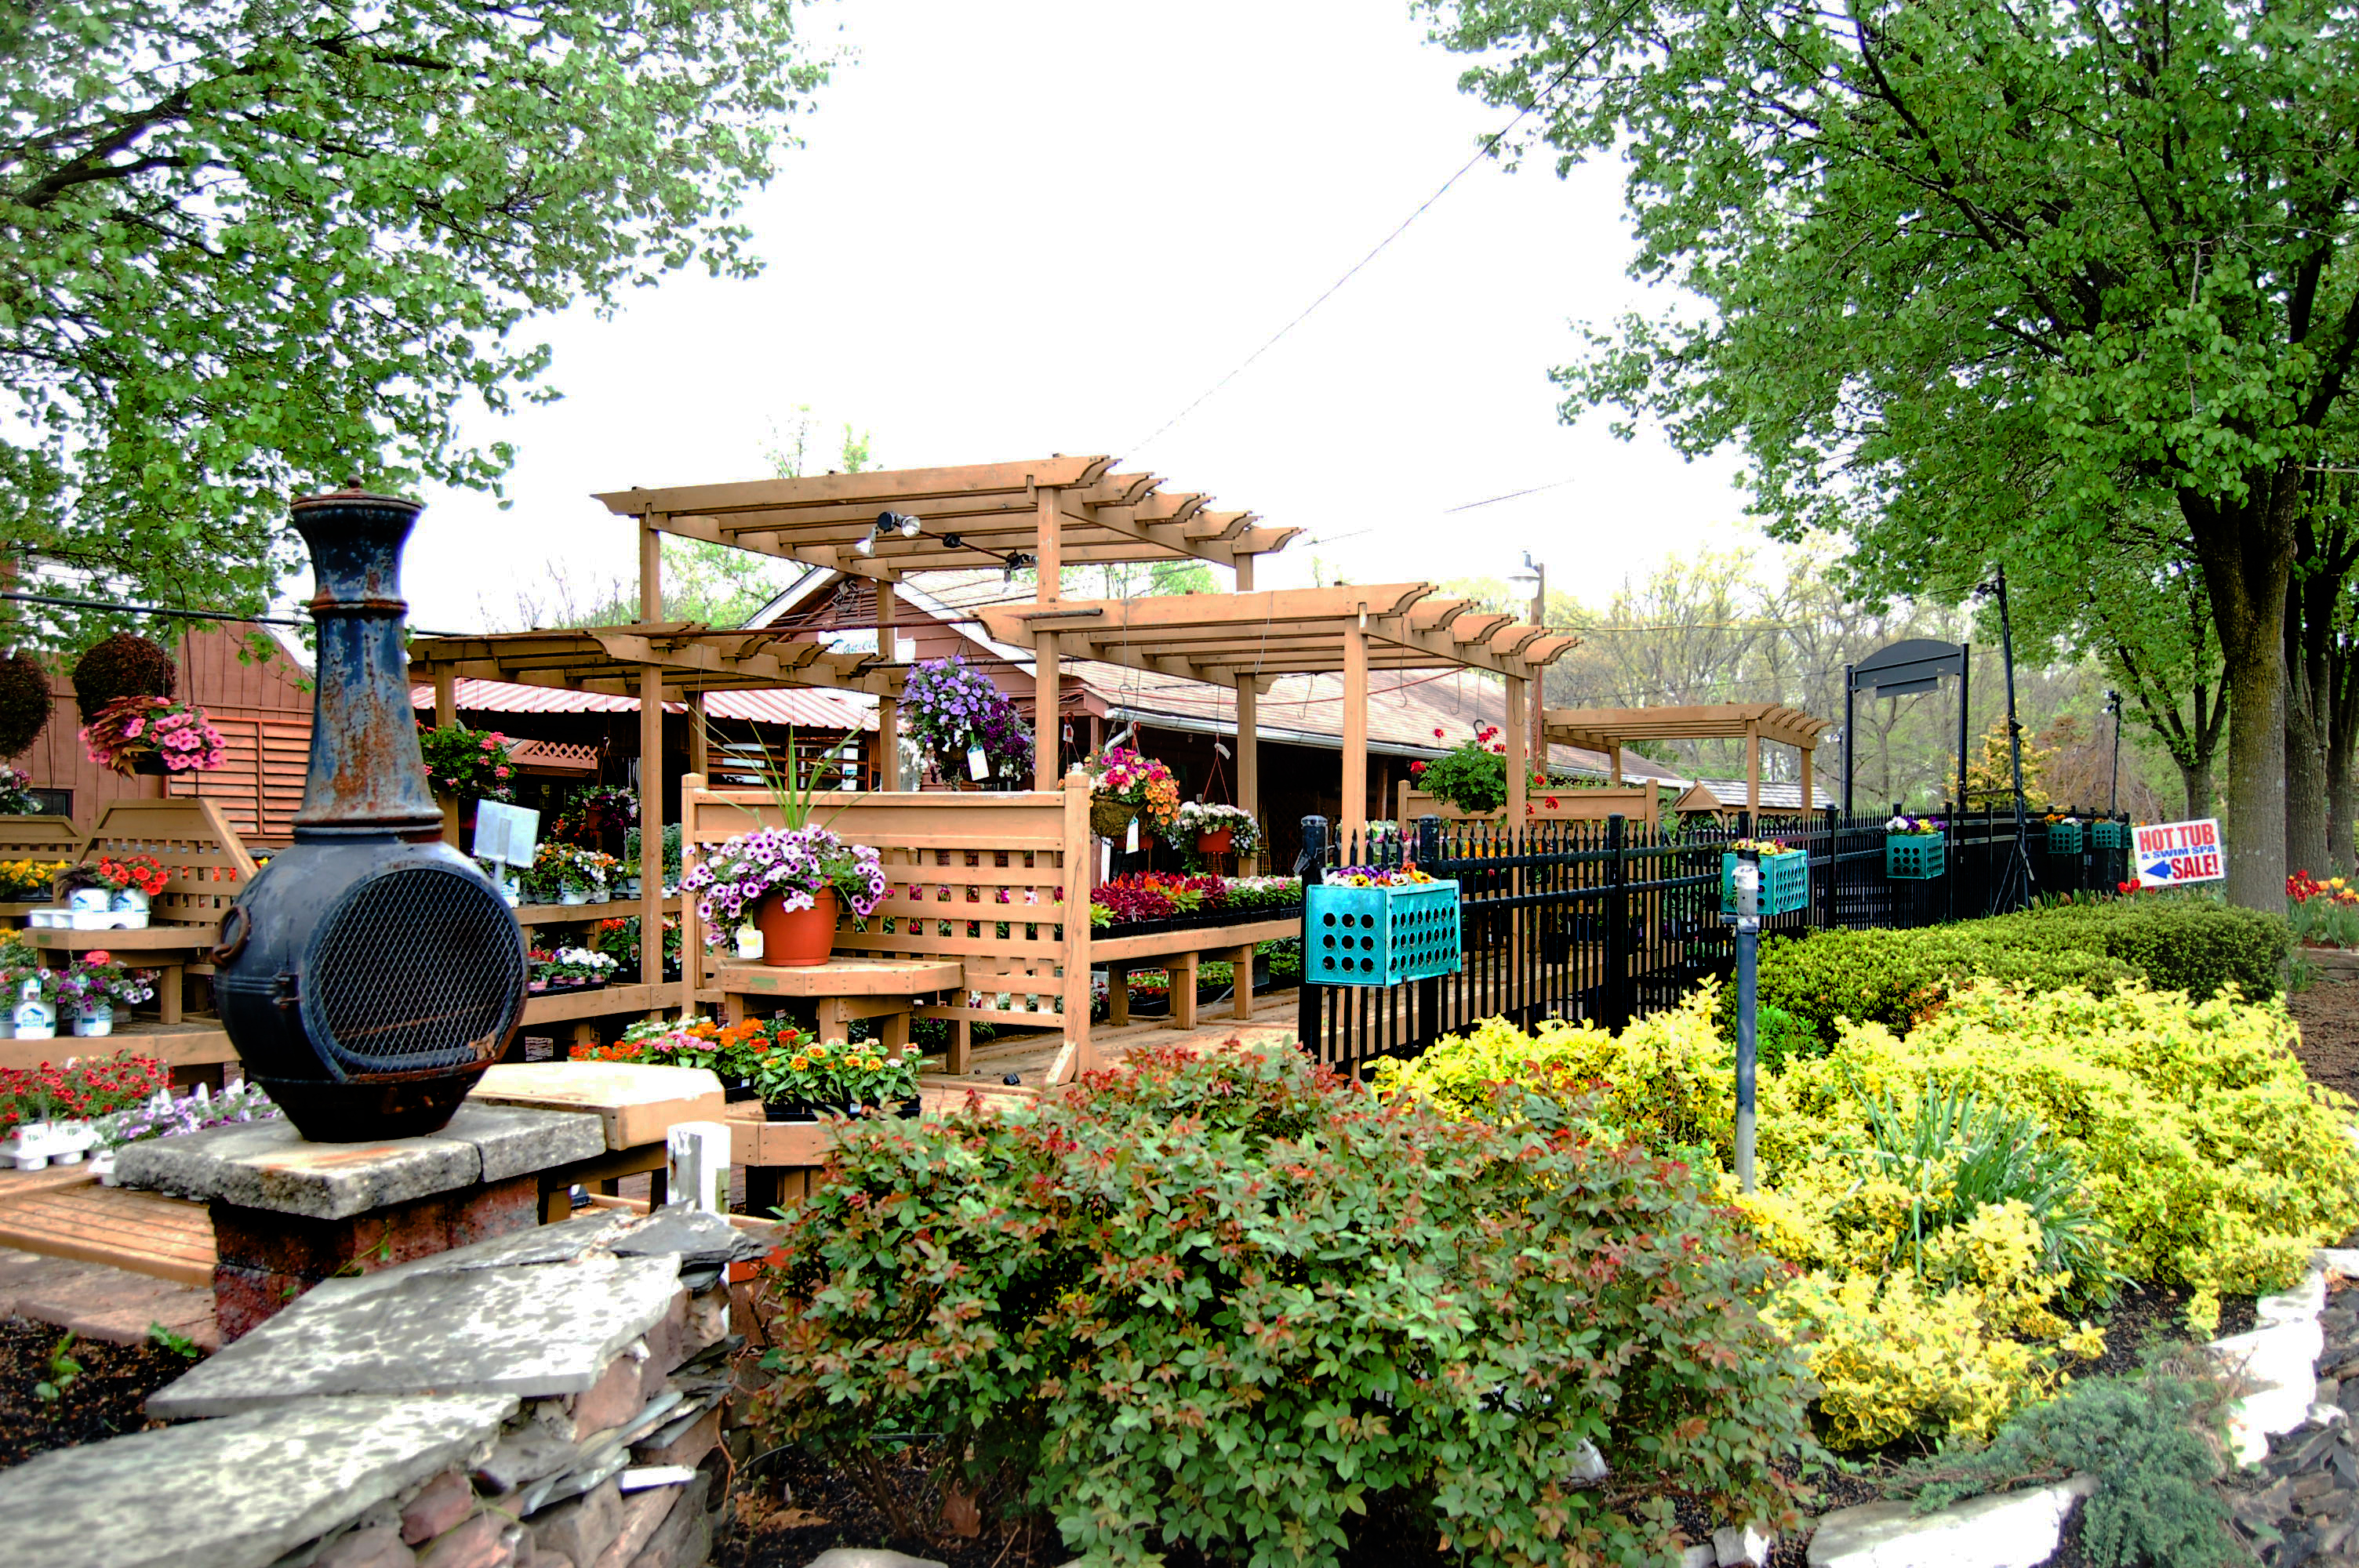
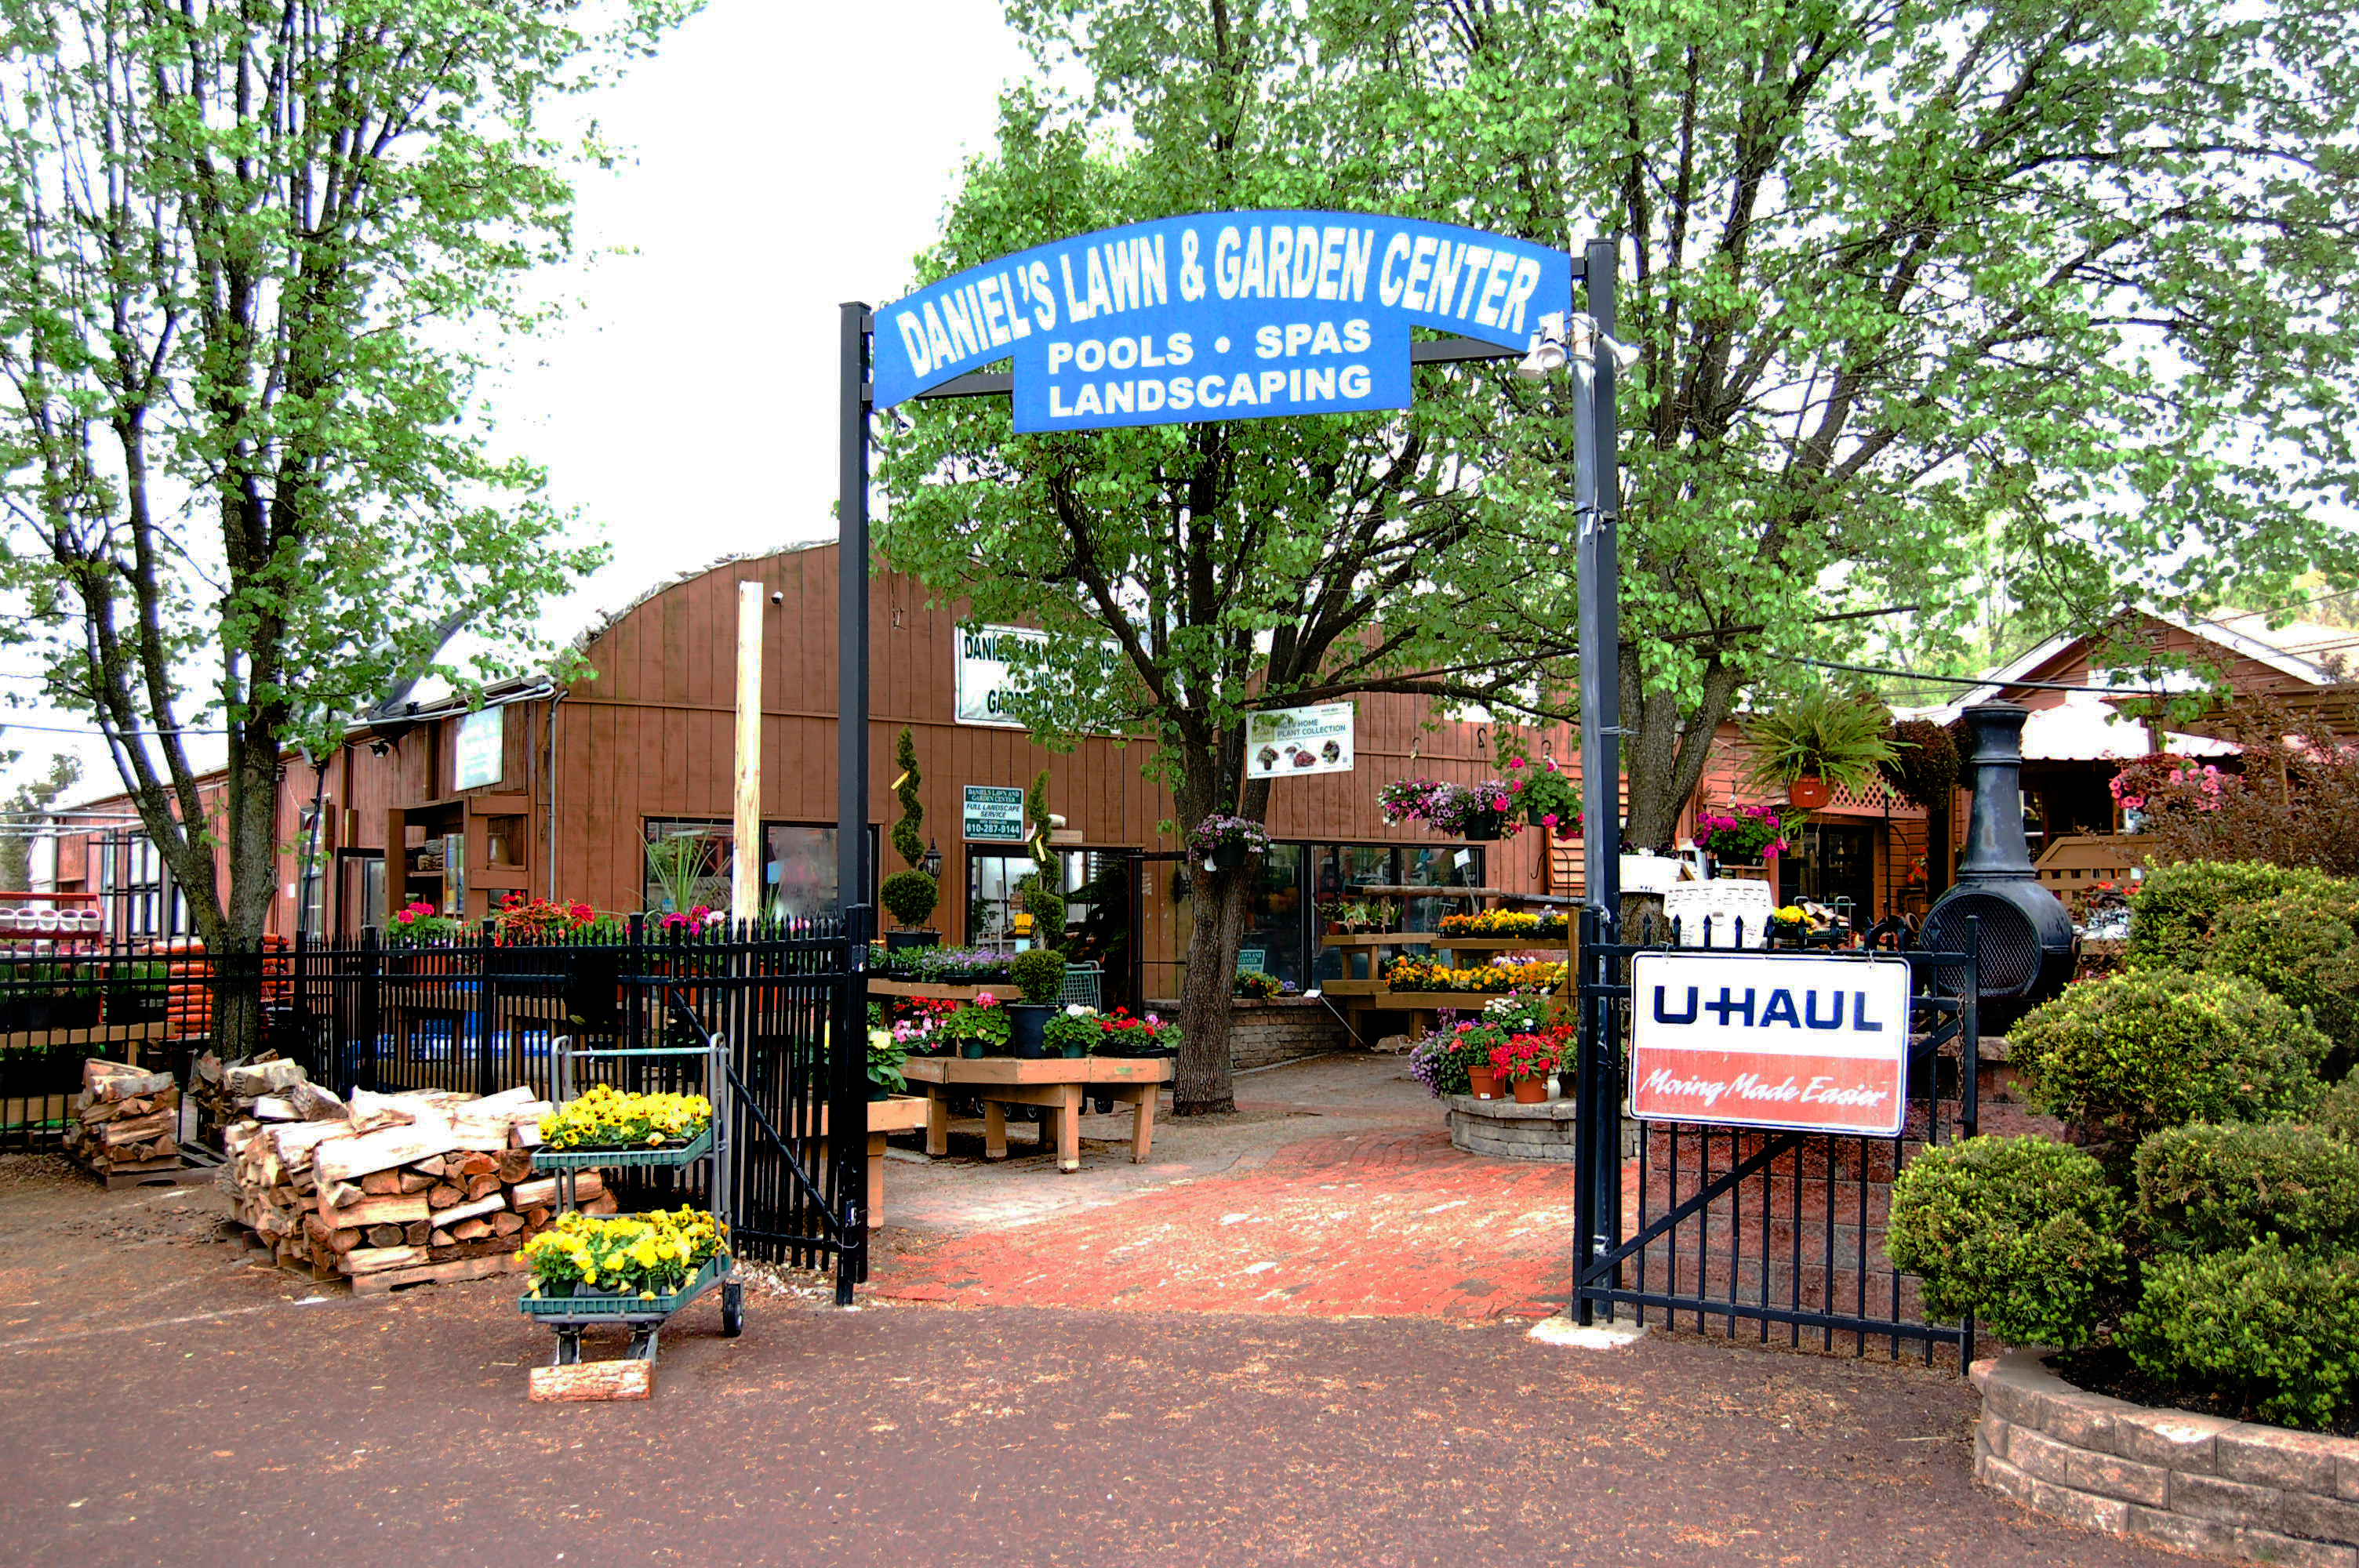
Daniel’s Lawn & Garden Center is one of the area’s leading Garden, Landscape, Hot Tub and Pool supply companies. Owner Stu Strauss has been operating the Harleysville, PA location since 1987. When Stu purchased the garden center, his vision was to offer an array of services and products that help beautify outdoor spaces. Today, Daniel’s offers premium plants, shrubs and trees, soil, mulch and stone as well as hot tubs, pool supplies and other outdoor living equipment. We also provide FREE estimates and have delivery and installation options for most products.
Daniel’s Lawn & Garden Center is your one stop shop for everything outdoors! Some of the major brands of outdoor living products we offer are MAAX SPAS, BULL BBQ OUTDOOR KITCHENS and much more!


What to do during a drought
WHAT TO DO DURING A DROUGHT
- Spray Trees & Shrubs With An Anti-Transpirant
If pruning, only remove dead material from trees and shrubs, anything more will encourage new growth. This takes energy that a drought stressed plant cannot afford. Instead, spray leaves with an anti-transpirant or anti-dessicant to help leaves retain what moisture they have.
- Water Early
Morning temperatures are cooler and the sun is not as intense as later in the day so there is less moisture loss due to evaporation.
Also, water sitting on foliage will have a chance to dry during the day minimizing the chance of fungal infection, especially during humid weather.
- Water Slowly & Deeply
Watering slowly will allow the moisture to penetrate more deeply into the root zone rather than running off the soil surface. Create depressions or water traps around larger plants to hold the water where you want it until it can saturate the soil. Remember to water trees at the drip line, not at the trunk base, as this is where the roots are most active. Drip irrigation bags are excellent for watering newly planted trees.
- Water the Soil, Not the Leaves
Plants take up water through their roots. Water landing on the foliage will be lost due to evaporation. The more water you direct to the soil, the less you will waste. The key is infrequent, but heavy watering rather than light, frequent waterings. This encourages deep root growth, which increases drought tolerance.
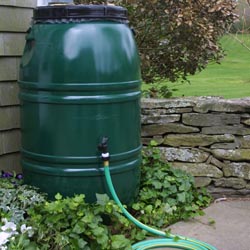
- Conserve Precious Water
Place a rain barrel under downspouts to collect rainwater. Wash the car on the lawn rather than on the driveway. Reuse ‘gray water’, such as bathtub or dishwater and rinse cycle water from your laundry, to water your garden. Replace leaky hoses and sprinklers and use washers to correct leaks at fittings.
PROTECTING OUR POLLINATORS
Every garden requires pollinators, and bees are among the finest. Without them there would be limited flowers and far fewer fruits and vegetables. Did you know that about 30% of the food we eat depends on the pollination of bees?
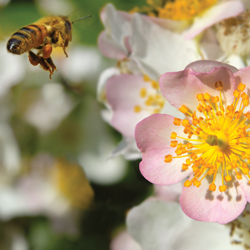
Although there are many bees that are great pollinators, like carpenter, mining, sweat and cellophane bees, some of the most well know and easily identified bees are the honey and bumble bee. Both of these bees live in social colonies and are cavity nesters. Because these bees are active all summer long, they require a constant supply of floral nectar close to their hive. Some of the biggest threats to the continued and healthy existence of these two bees are habitat loss, which causes inadequate nesting and scarce food supplies, and pesticide drift.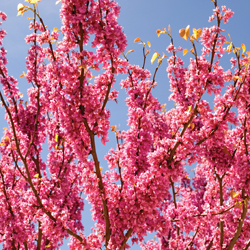
Bring more bees to your garden by planting a variety of native flowers that will bloom throughout the entire summer. Keep the bees in your garden by eliminating chemical use, especially while plants are in flower. Be kind to bees in your garden by providing a safe place for shelter and to lay their eggs. Make sure that there is an available water source for your bees. A birdbath works just fine.
NATIVE PLANTS THAT ATTRACT BEES
Apple Malus
Aster Aster
Blackberry & Raspberry Rubis
Black-eyed Susan Rudbeckia
Blueberries Vaccinium
Currant Ribes
Elder Sambucus
Goldenrod Solidago
Highbush Cranberry Viburnum
Joe-pye weed Eupatorium
Lupine Lupinus
Penstemon Penstemon
Purple coneflower Echinacea
Redbud Cercis
Rhododendron Rhododendron
Sage Salvia
Stonecrop Sedum
Sunflower Helianthus
Willow Salix
Easter Flowers That Are Perfect For Your Sunday Table Centerpiece
Easter flowers bring beauty and meaning to the Easter holiday. Many colorful varieties are used worldwide for gift giving, decorations and church services in celebrating the resurrection of Jesus Christ in Christianity and in celebration of spring and rebirth.
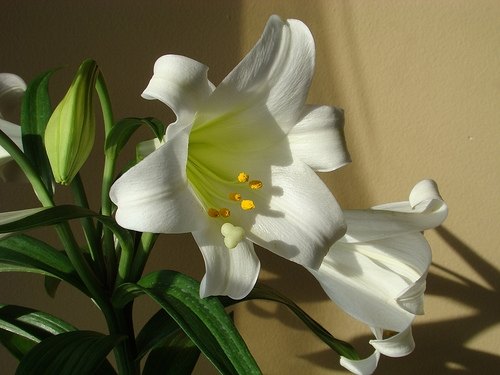
Lily
The white lily is considered the primary traditional Easter flower. It is originally from Japan. Americans started growing the Easter lily during World War II. The flower represents the purity and renewal of Easter. The shape of the flower petals are said to be the trumpet of God calling Jesus to return.
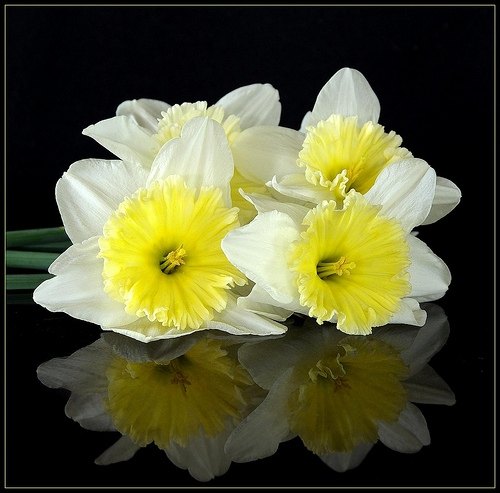
Daffodils
Daffodils are bright yellow trumpet-shaped flowers that symbolize friendship, rebirth and eternal life. According to legend, the daffodil first appeared in the Garden of Gethsemane and it bloomed during the time of Christ’s resurrection. Daffodils are called Osterglocken (Easter bells) in Germany and are the favored flower for Easter decorations in England, where they are nicknamed Lent lilies.

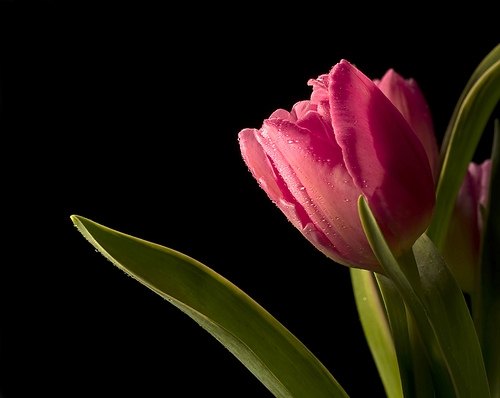
Tulips
Tulips are the third most popular spring flower worldwide. While it does not actually have a specific meaning for Easter except for wild tulips in the Middle East, it does represent the rebirth of spring and perfect love. An interesting odd fact about the tulip states that the bulbs can be used instead of onions in cooking.
Narcissus
The narcissus was the first flower associated with Easter in parts of Europe. People in the Alps have valued the flower to symbolize Easter for centuries. It is the most popular flower in Germany.
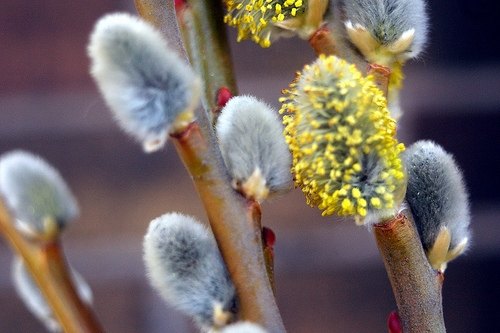
Pussy Willows
Pussy willows are not a common Easter flower because the blooms of a pussy willow are not always present at Easter. They do, however, play a part in the Easter traditions of Russia, England and Finland. Since palms for Palm Sunday, the week before Easter, are hard to obtain in some areas, pussy willows may be substituted for palms in Easter celebrations.