


Planting Trees and Shrubs
Before You Plant
Always plant in a well drained soil. To test for soil drainage, dig a hole for your new plant and fill it with water. If the water doesn’t drain in 12 hours, the soil in that area will need to be amended dramatically.
What Plant Form are You Transplanting?
Your tree or shrub will come in two forms: Balled and burlapped (B&B); or containerized. Containerized or B&B plants can be planted any time the ground is not frozen. If possible plant your tree or shrub as soon as you get it home. Otherwise, it may dry out and become injured. If you can’t plant it immediately, place it in a shady and/or sheltered location. Keep the soil moist until planted.
The Planting Hole
To plant your tree or shrub dig a hole twice as wide as the diameter and 6”-8” deeper than the root ball, replacing the 6”-8” of soil with enriched backfill. Compact this 6”-8” of soil. Once the plant is placed in the hole, the top of the root ball should be slightly above or level with the surface of the ground. Placing Your Plant in the Hole Remove all tags, wires or ropes from the stems or trunk, and do the following: Balled & Burlapped Plants: DO NOT remove the wire basket. Once the enriched soil has been placed ¾ of the way up the
Placing Your Plant in the Hole

Remove all tags, wires or ropes from the stems or trunk, and do the following:
Balled & Burlapped Plants
DO NOT remove the wire basket. Once the enriched soil has been placed 3/4 of the way up the root ball, cut & fold down the top 1/4 of the basket & burlap, remove any strings around the tree trunk. Fill the remaining hole with enriched soil to its original level.
Container Plants
Ease the pot off without disturbing the root ball. If the roots are extremely compacted, you may need to make a few shallow cuts through the roots on the side and bottom of the root ball.
Enriching Your Soil & Backfilling
Mix the soil taken out of the hole with Bumper Crop then backfill around the root ball. Tamp the soil lightly every 2”-3”, and fill the hole with the enriched soil to its original level. Use excess soil to build a ring 6” –10” from the outside of the hole. This will help the water to move slowly down to the root zone of the plant as well as minimize the runoff.
Watering
Water your newly planted tree or shrub by using a slow, deep watering method. B&B and container plant roots dry out faster than the soil around them, so it is important to monitor their soil moisture. Water slowly to attain deep water penetration which encourages widespread root development. You will need to water once every 7-10 days (or more during hot dry periods). Apply Root Master B1 after every watering
 General Watering guidelines:
1 gal. Pot – trickle water for approx. 15-20 minutes
2 gal. Pot – trickle water for approx 30-40 minutes
3 gal. Pot – trickle water for approx 40-50 minutes
4 gal. To 7 gal. – trickle water for approx 60 minutes
B&B – trickle water for 60-70 minutes
Remember, if it rains for 1 hr, it probably was not enough water for a newly planted shrub or tree.
 Water your plants thoroughly, then remove them from their pots by inverting them and supporting the root ball. If the roots are compacted, you may need to make a few shallow cuts through the roots on the side and bottom of the root ball. Place your plant into the hole. Add the enriched soil to ground level. Water the plant thoroughly to ensure the soil fills in completely around the roots, eliminating air pockets. Apply Rootmaster B1 at this time. Reapply Rootmaster B1 at every watering for the first year. Monitor your plants daily. Water slowly to attain deep water penetration which encourages widespread root development. Feed perennials bi-weekly with Bud & Bloom fertilizer. Add a 2”- 3” mulch layer around the plant. This will prevent water loss and keep mowers & trimmers from getting too close to the plant. Avoid overly deep mulch against the stem or trunk of the plant, as this can promote disease or pest injury.
Staking
Unless necessary, trees should not be staked. If your tree or shrub is top heavy or in an exposed area, you may stake the plant to anchor the root ball so roots can develop rapidly into the new soil around the tree. Connect the stakes to the trunk with flexible lines and straps designed for this use. Allow for some movement in the plant for strong growth. Remove the stakes and lines after one growing season so you do not inhibit trunk development.
Mulching
 Add a 2”-3” layer of shredded mulch or chips around the plant. This will prevent water loss and keep mowers and trimmers from getting too close to the plant. Avoid overly deep mulch against the trunk or stem of the plant as this can promote disease or pest injury.
Planting Perennial & Annual Plants

Plant your plants around your planting area while still in their pots. Make sure you have taken into consideration the mature height of the plants as well as the sun or shade requirements. Determine an appropriate location for planting, then dig a hole2 times the width & 6”-8” deeper, replacing with enriched soil (compact this 6”-8” of soil) Add a generous amount of Bumper Crop to enrich the soil. Blend into the soil.
For Successful Planting
 Bumper Crop
An all-organic soil builder with high organic nutrient content and endo- and ecto-mycorrhizal fungi.
Master Start
A fertilizer for all new plantings of sod or seeded lawns, shrubs, ground covers, flowers, or bare root plantings. Provides the right nutrient mix to develop a sturdy root system and strong top growth.
Root Master B1
Formulated to reduce plant shock and improve resistance to stress. Improves water and nutrient uptake.
Planting Bulbs In The Winter
Plant bulbs are generally planted in the fall or spring, but in reality, they can be planted anytime so long as you can physically dig a hole. There are many types of bulb plants, including lilies, hyacinths, daffodils and tulips, just to name a few. While each plant is different, you can generally plant them in the same manner, but you should always adhere to the planting instructions that come with your specific bulbs.
Step 1
Plant your bulbs in early winter if possible. You cannot plant bulbs while the ground is frozen, so if it is, place your bulbs in a thick plastic bag called a poly bag, which is available at your local home and garden store. Then store them in a cool, dark and dry place like your garage. However, plant them as soon as possible when you can successfully dig some holes.
Step 2
Plan to plant bulbs about three to six inches apart, depending on the type of bulbs. For instance, tulips and daffodils spread and grow quickly and should be planted about six inches apart, but crocuses and snowdrops should be planted only three inches apart
Step 3
Plan to cluster your bulbs together. You can even mix varieties. Place smaller growing plants in front and larger ones in the back.
Step 4
Dig holes that are about five inches deep for small bulbs and eight inches deep for large bulbs. The diameter of the hole should be twice as large as the bulb.
Step 5
Put the bulbs in the ground with the pointed end facing up. This is the end from which the sprout will emerge.
Step 6
Mix some compost or peat moss in with the soil you just dug up. Use that new soil mix to cover the bulbs. Pat the soil down with your hands to avoid any air pockets.
Step 7
Mulch over the area. A couple inches of mulch will help keep your bulbs in the ground warm until spring when you may see the green sprouts begin to emerge and then bloom soon thereafter. If not, they should bloom the next season.
Easter Flowers That Are Perfect For Your Sunday Table Centerpiece
Easter flowers bring beauty and meaning to the Easter holiday. Many colorful varieties are used worldwide for gift giving, decorations and church services in celebrating the resurrection of Jesus Christ in Christianity and in celebration of spring and rebirth.
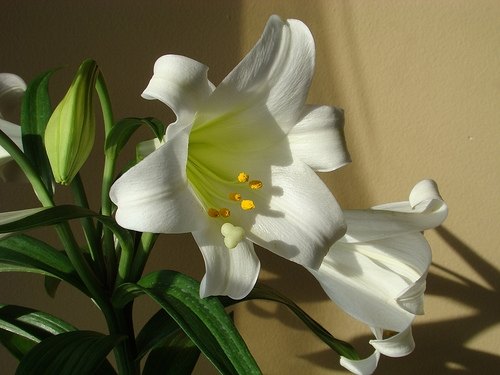
Lily
The white lily is considered the primary traditional Easter flower. It is originally from Japan. Americans started growing the Easter lily during World War II. The flower represents the purity and renewal of Easter. The shape of the flower petals are said to be the trumpet of God calling Jesus to return.
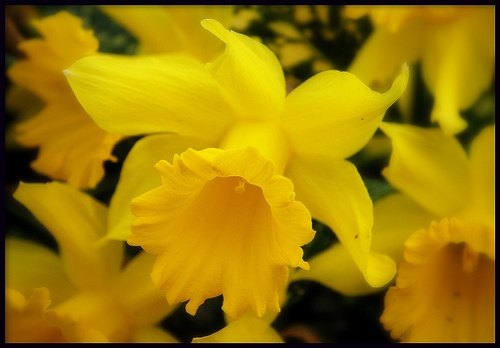
Daffodils
Daffodils are bright yellow trumpet-shaped flowers that symbolize friendship, rebirth and eternal life. According to legend, the daffodil first appeared in the Garden of Gethsemane and it bloomed during the time of Christ’s resurrection. Daffodils are called Osterglocken (Easter bells) in Germany and are the favored flower for Easter decorations in England, where they are nicknamed Lent lilies.
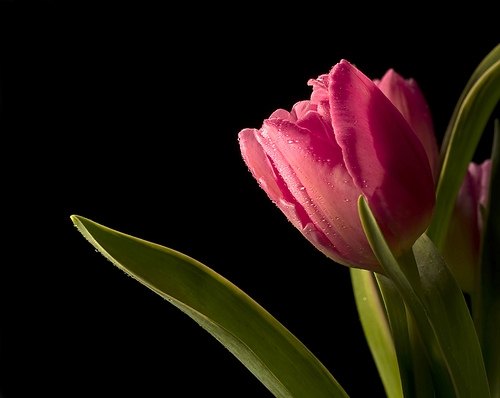
Tulips
Tulips are the third most popular spring flower worldwide. While it does not actually have a specific meaning for Easter except for wild tulips in the Middle East, it does represent the rebirth of spring and perfect love. An interesting odd fact about the tulip states that the bulbs can be used instead of onions in cooking.
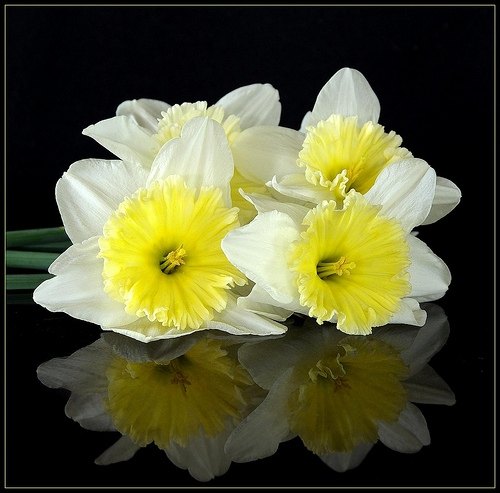
Narcissus
The narcissus was the first flower associated with Easter in parts of Europe. People in the Alps have valued the flower to symbolize Easter for centuries. It is the most popular flower in Germany.
Pussy Willows
Pussy willows are not a common Easter flower because the blooms of a pussy willow are not always present at Easter. They do, however, play a part in the Easter traditions of Russia, England and Finland. Since palms for Palm Sunday, the week before Easter, are hard to obtain in some areas, pussy willows may be substituted for palms in Easter celebrations.
NURTURING SPRING BULBS

Spring bulbs faithfully reappear at the most advantageous time – after a long, cold winter. Most spring bulbs are perennial and multiply in number every year. Seemingly carefree, bulbs do require a bit of nurturing ensuring that they perform their very best for years to come.
- Good soil drainage is important to prevent bulbs from rotting so plan your site accordingly.

- When planting bulbs in the fall, add a high phosphorus fertilizer to the planting hole for the development strong roots.
- Bulb foliage will often break through the soil after a few warm winter days. This vegetation is hardy and its exposure to the cold will not damage your plants or prevent them from blooming.
- Fertilize bulbs as plants are emerging from the ground. Do not fertilize once flowers appear. Use a 5-10-5 granular fertilizer to assist in foliage and flower development.
- After blooming, cut back the flower stalk. This will force the plant to put its energy into the bulb for next year’s flowers and not into seed production.
- Allow the leaves to die back naturally. The leaves are vital for producing food that is stored in the bulb for next year’s growth. Cut leaves; never pull, once they have turned yellow. Do not tie leaves as this reduces the leaf surface required for adequate food production.
- When the foliage dies back the bulb is dormant, this is the proper time to dig and separate bulbs if necessary. Flowering will often be reduced when bulb beds become over-crowded. If division is needed, bulbs should be dug and stored in a well-ventilated place and replanted in the fall.
- Fertilize bulbs again in the fall with a high-phosphorus, granular fertilizer.